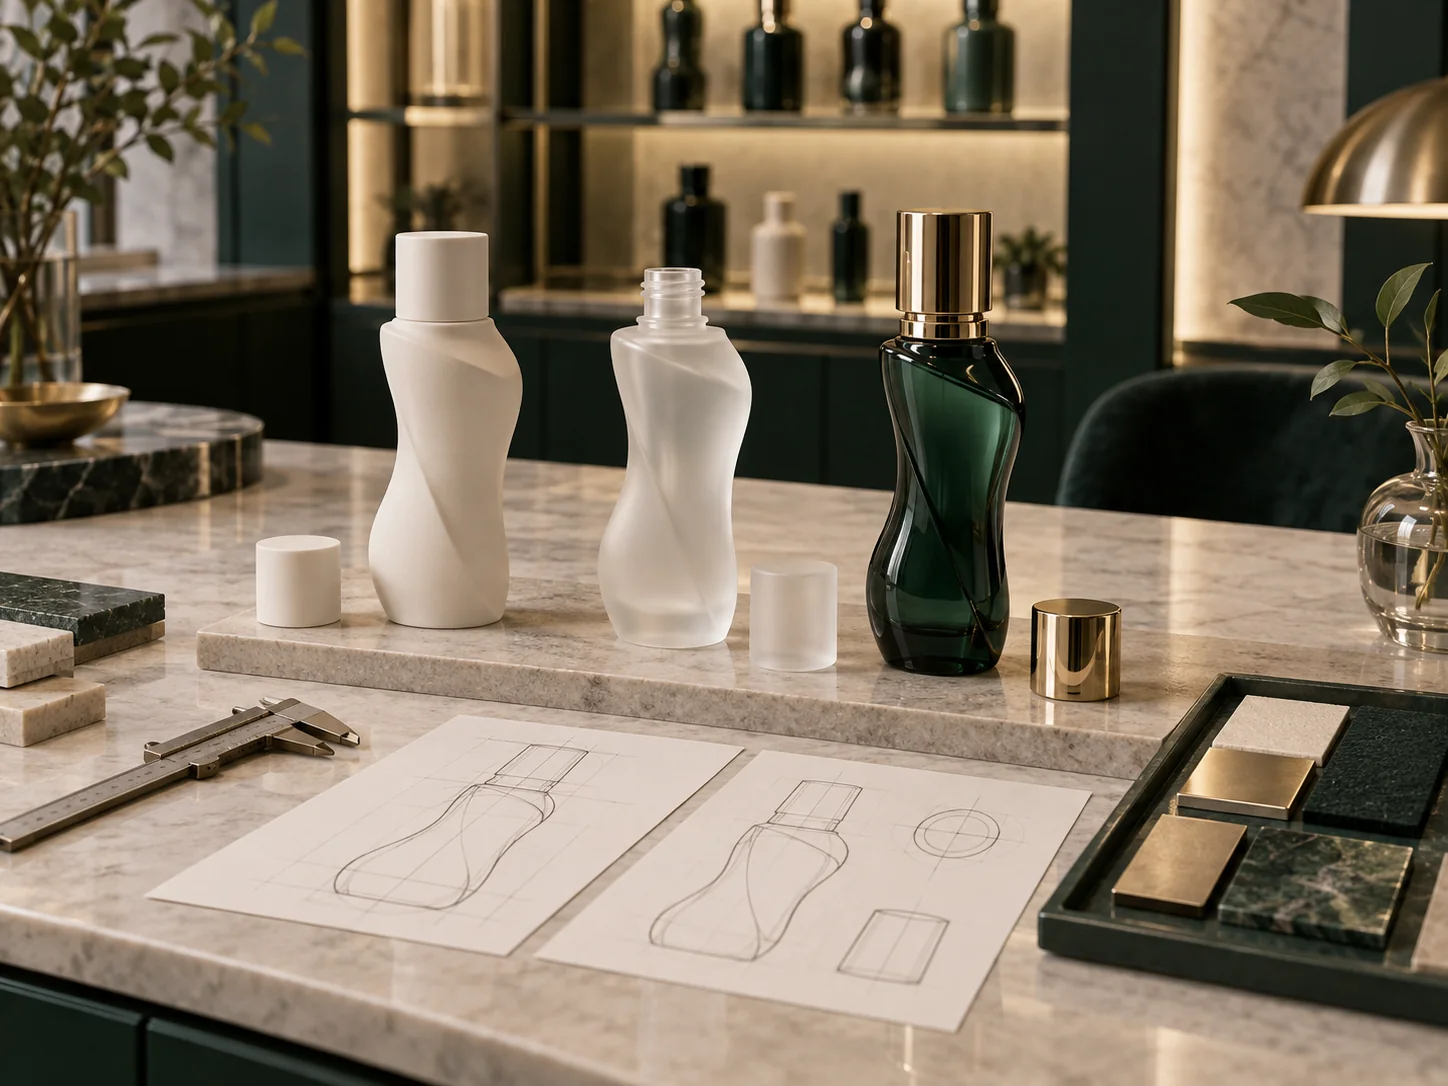
Shape and proportion
Start with the silhouette, grip and proportions that make your product recognizable.
Turn the distinctive features of your bottle into a design that can be made, decorated and filled. PauPack connects concept development, component selection, tooling where needed and sample review so your final packaging keeps the character of the original idea.
DEVELOPMENT ROUTE
Compare an existing format, decorated stock and full custom development.
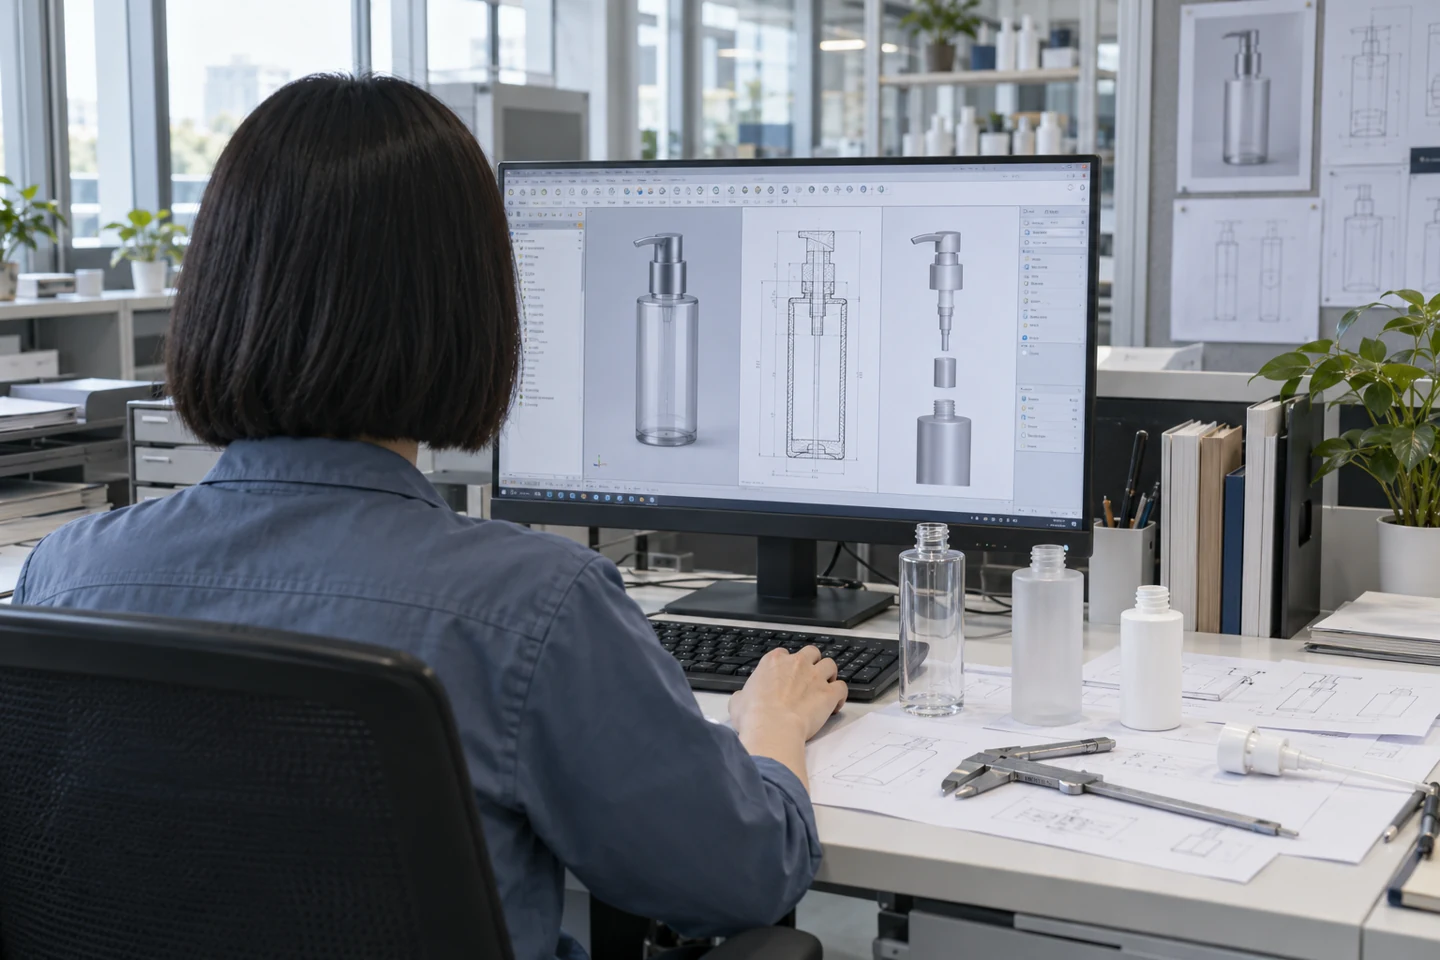
STAGE 02Review the shape, wall sections, neck interface and decoration area before finalizing the design.
STAGE 03Agree the tooling scope, ownership, trial samples and change process before work begins.
STAGE 04Review quotations, sample criteria and approval before production release.
STAGE 05Connect the approved drawing and sample to material, process and inspection requirements.
STAGE 06Define which components arrive assembled, how the pack is protected and who checks the finished set.
STAGE 07Confirm pack-out, inspection records, shipment identification and responsibilities at handover.
Quality checks run throughout the project. The exact scope, quotation, sample plan and production release are agreed for the selected route.
Your packaging choices
Start with the silhouette, grip and proportions that make your product recognizable.
Design the neck and closure interface around the selected cap, pump or dropper.
Define the print area, texture and coating alongside the bottle geometry.
Check the assembled height and contact points before designing the insert and paper box.
Review design feasibility, sample approval and production requirements with the project team before sample approval.
Explore project brief options with matching components, decoration and a clear sample route.
Explore →Explore engineering review options with matching components, decoration and a clear sample route.
Explore →Explore sample validation options with matching components, decoration and a clear sample route.
Explore →Explore supply coordination options with matching components, decoration and a clear sample route.
Explore →PauPack brings the container, components and finish into one project. We help you compare the available designs, decide where customization adds value and prepare an assembled sample for approval.
Your selection priorities
Custom packaging development begins with the product requirement, not a shape alone. PauPack helps brand, OEM and procurement teams define custom bottle design, material, neck finish, closure, decoration, sample milestones and the commercial route before tooling is released.
For private mold packaging and OEM ODM packaging programs, the feasibility record should state what is fixed, what needs validation and which component, finish or delivery assumption controls the final project timing.
People behind your packaging
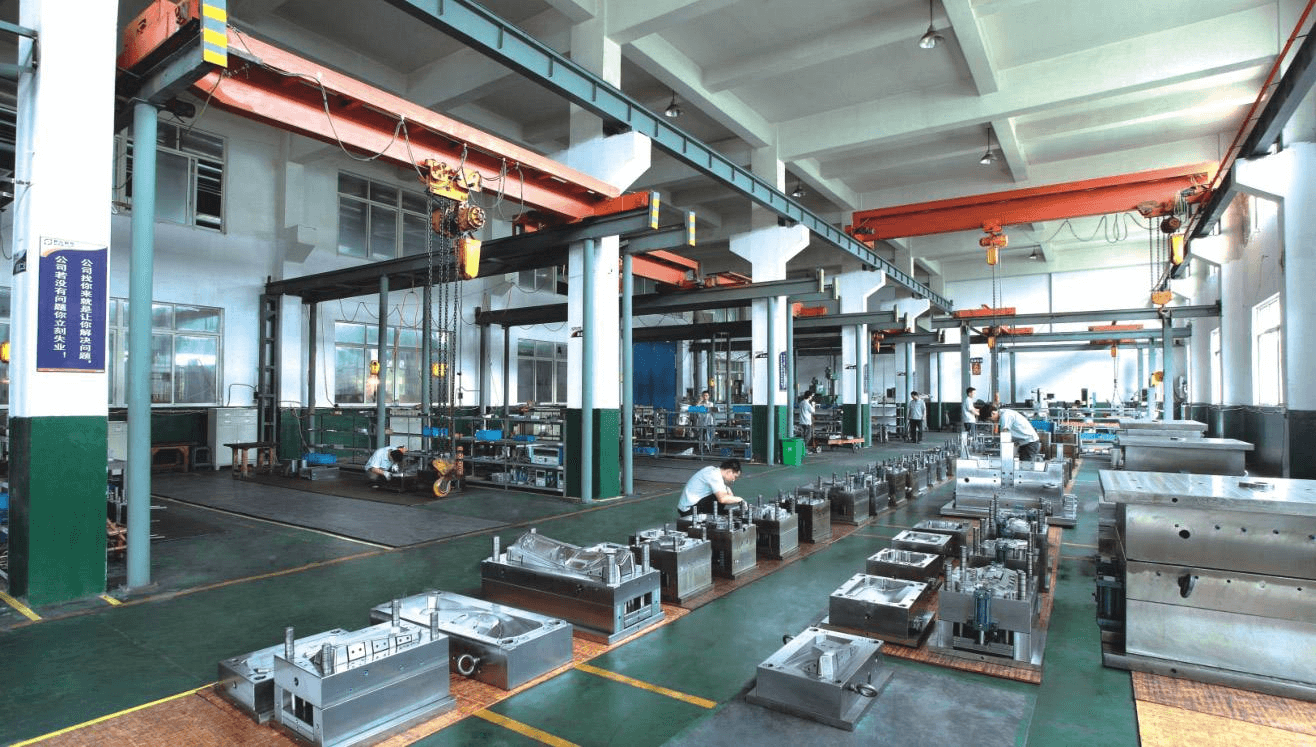
Since 2013, PauPack has combined manufacturing and trade services for packaging projects. Investment in four factories supports our work across bottle development, production and complete packaging coordination.
Explore our history ↗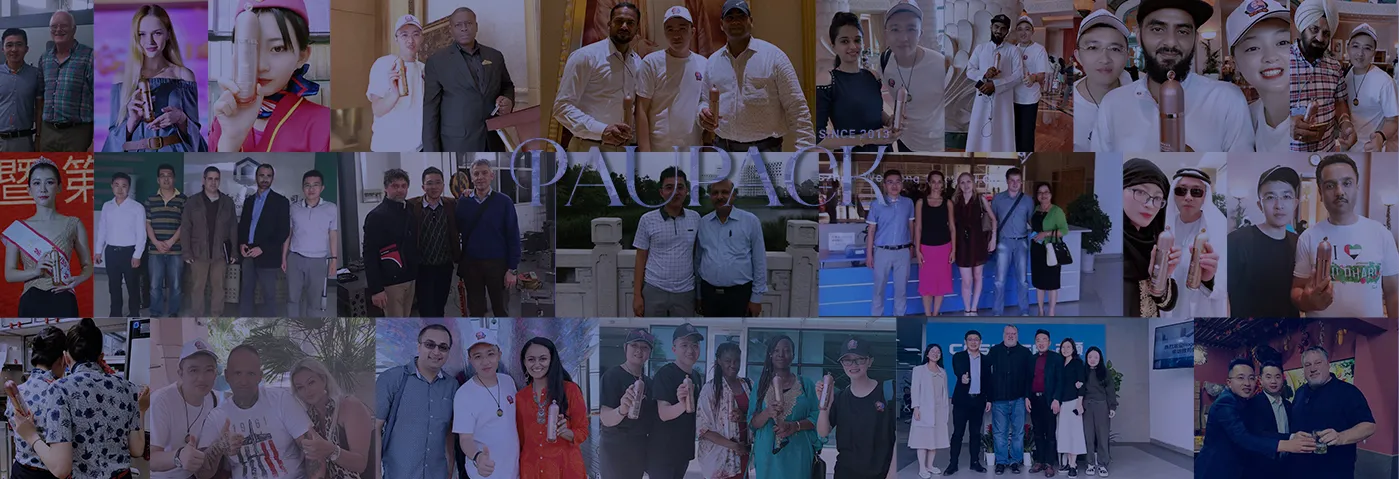
Customer feedback
“Their attention to detail, from material selection to final finishing, ensures our products always stand out on shelves.”
Claud** Wagn** · Watsons
Published in PauPack’s customer feedback
PROJECT FAQ
A project owner manages bottle, closure, decoration, secondary packaging and delivery milestones.
Timing depends on the selected design route, mold complexity, material, component availability, decoration, sample approvals and production schedule. Start a quote with product use, capacity, target quantity, reference, preferred material, closure, market and requested arrival date.
Custom development is justified when an available component cannot deliver the required silhouette, proprietary functionality, line-extension logic or premium visual distinction. The decision should be based on the product brief, expected quantity, tooling investment, timing and long-term value of the platform.
Convert the reference into measurable choices: capacity, overall dimensions, neck finish, wall or base treatment, material, closure interface, decoration zones, filling conditions and packing assumptions. This turns a visual direction into a feasibility discussion instead of an unsupported promise.
Agree the approved drawing or 3D direction, material route, key dimensions, closure and assembly interface, intended decoration, ownership terms, sample milestones and change-control process. Changes after tooling release can affect cost, timing and the ability to keep an approved reference consistent.
Review the assembled sample against a written reference for appearance, dimensions, component fit, dispensing or sealing needs, decoration placement, handling and packing. The review should identify what is approved, what remains conditional and who provides final project sign-off.
Set the required function, capacity, main geometry and interfaces with closures or other components. Identify decoration and packing constraints, then agree the drawing revision and trial-sample route. A distinctive feature should have a clear purpose and a practical way to be produced and checked.
Use a named drawing and artwork revision for each approval. Record changes to the container, components and assembly rather than reviewing each in isolation. Keep the approved sample and agreed tooling terms with the order so repeat production follows the same design decisions.
CONTINUE YOUR PROJECT
 CONNECTED PROJECT STEP
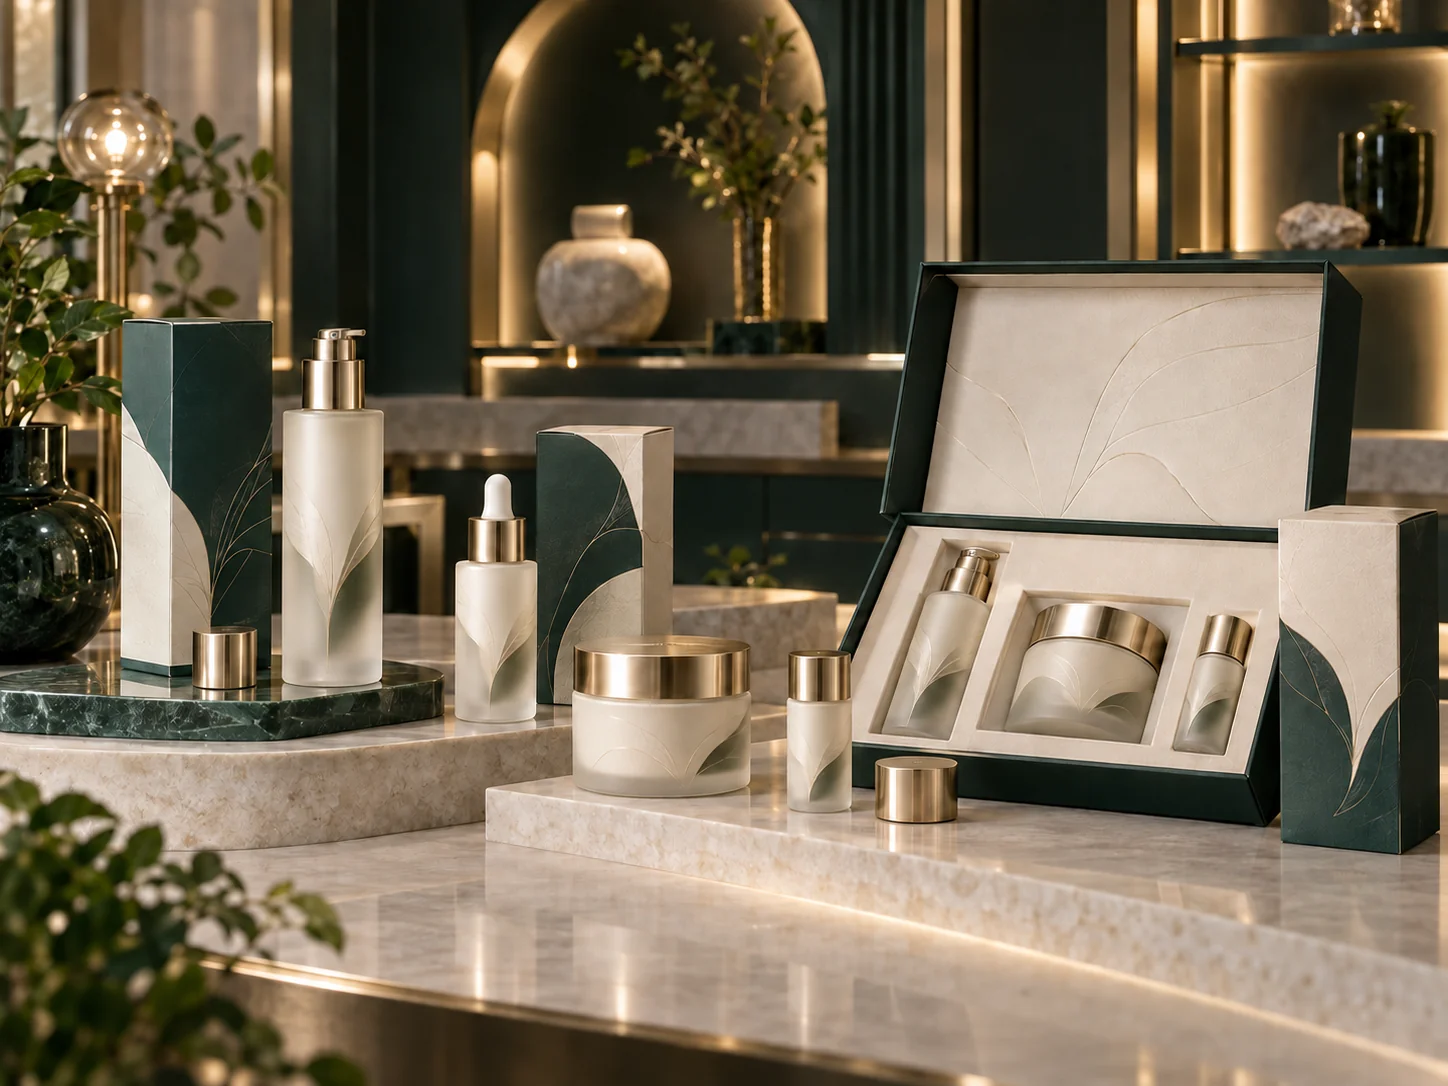
PauPack solutions connect product selection, custom development, decoration, component matching, quality coordination and commercial delivery.
CONNECTED PROJECT STEPReview the shape, wall sections, neck interface and decoration area before finalizing the design.
CONNECTED PROJECT STEPAgree the tooling scope, ownership, trial samples and change process before work begins.
PACKAGING GUIDESUse the related guidance before confirming the next selection or sample.
READ THE GUIDEIdentify the information and approvals needed before production release.