Essential features
Identify the silhouette, grip or presentation detail that must remain distinctive.
PAUPACK / RESOURCES
Decide which features need a new design and which can use an established component. This guide connects your visual reference with capacity, neck geometry, tooling scope and the samples needed before production.
Your packaging choices
Identify the silhouette, grip or presentation detail that must remain distinctive.
Connect the bottle geometry with closure fit, fill requirements and decoration space.
Separate mold development, trial samples and recurring production costs.
Keep drawings and approval samples tied to the version used for tooling.
Turn a design direction into a brief
Compare existing formats, decoration and a custom tooling route.
READ THE GUIDEUnderstand which specification and process decisions change the quotation.
READ THE GUIDEConnect bottle form, pump, cap and decoration decisions.
FROM LEARNING TO A PROJECT
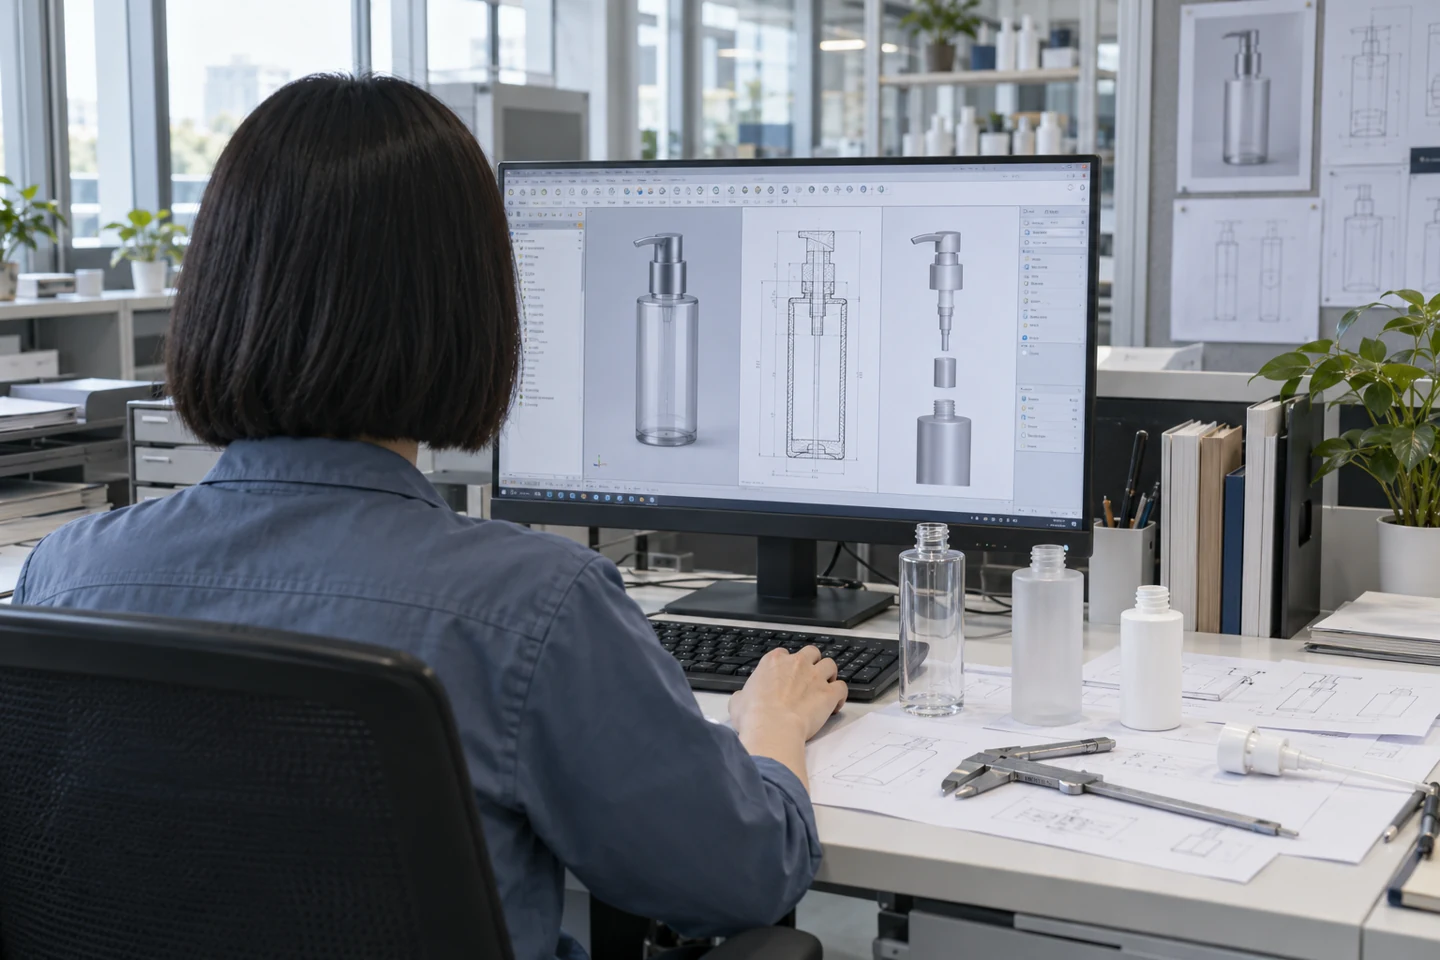
Review the shape, wall sections, neck interface and decoration area before finalizing the design.
EXPLOREAgree the tooling scope, ownership, trial samples and change process before work begins.
EXPLOREExplore how shape, material and finish can support your brand within a workable production plan.
PREPARE THE BRIEF
Download the project brief and review checklists, then bring the relevant drawings, formula category and samples to the discussion.
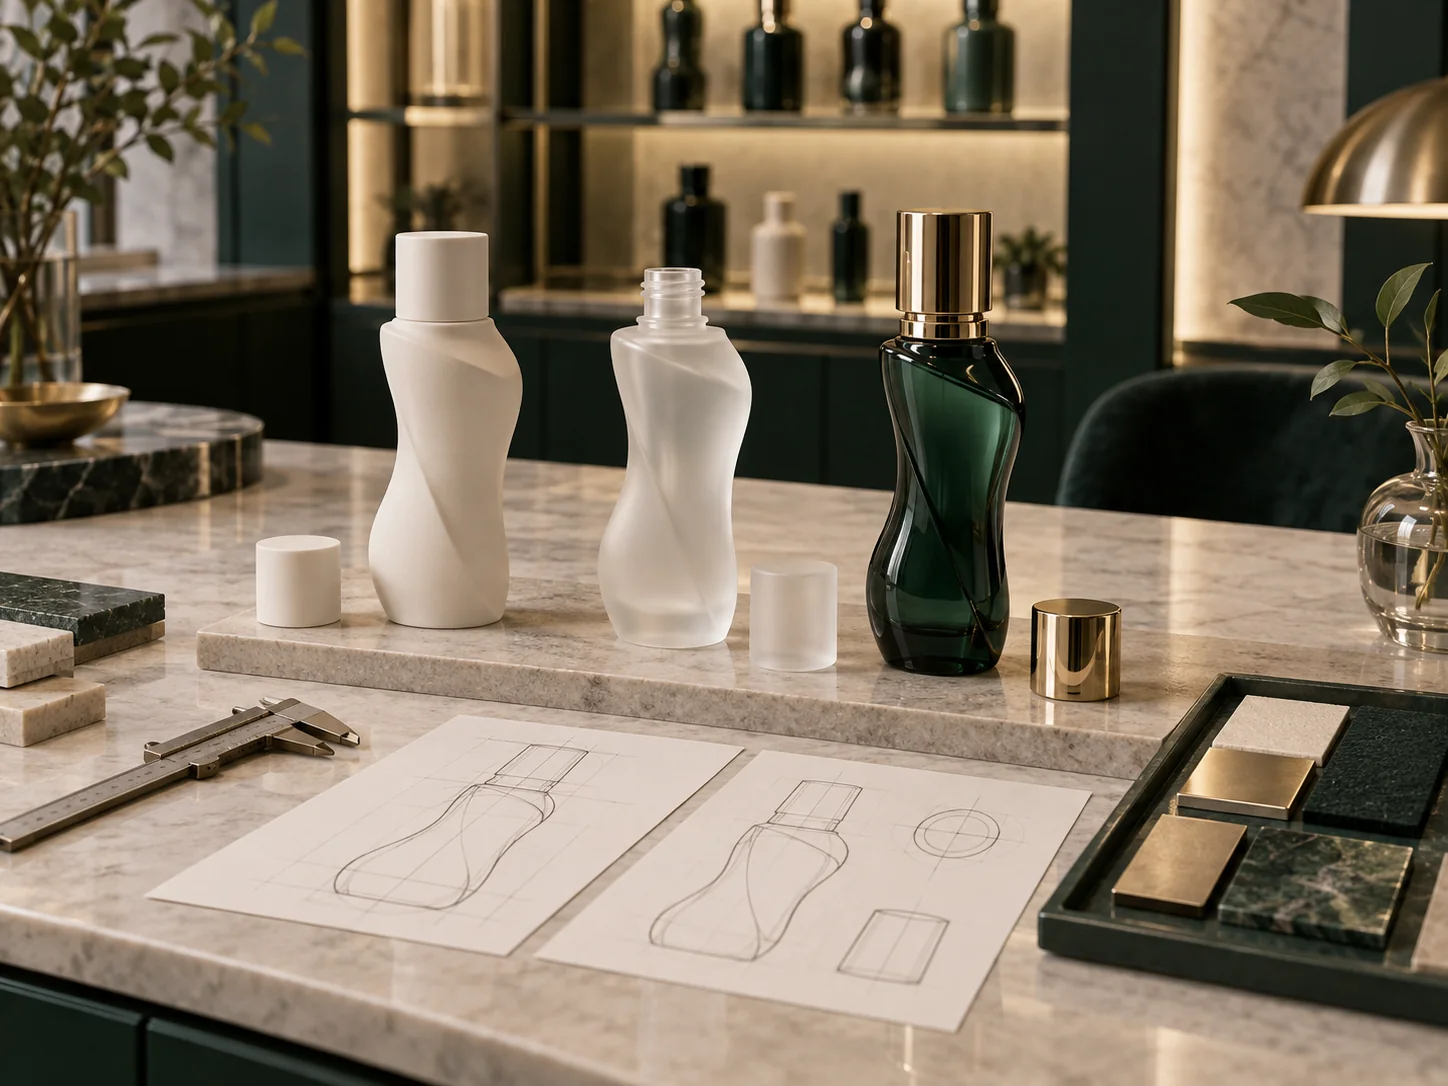
Get the checklistsA new packaging idea usually has a few details that matter most: a recognizable silhouette, a particular shoulder, a closure that sits flush or a family of sizes that looks coherent. Identify those priorities before the tooling discussion begins. PauPack can then help review which features can be achieved with an existing format and which require a new development. This keeps the conversation focused on the value the design brings to the brand.
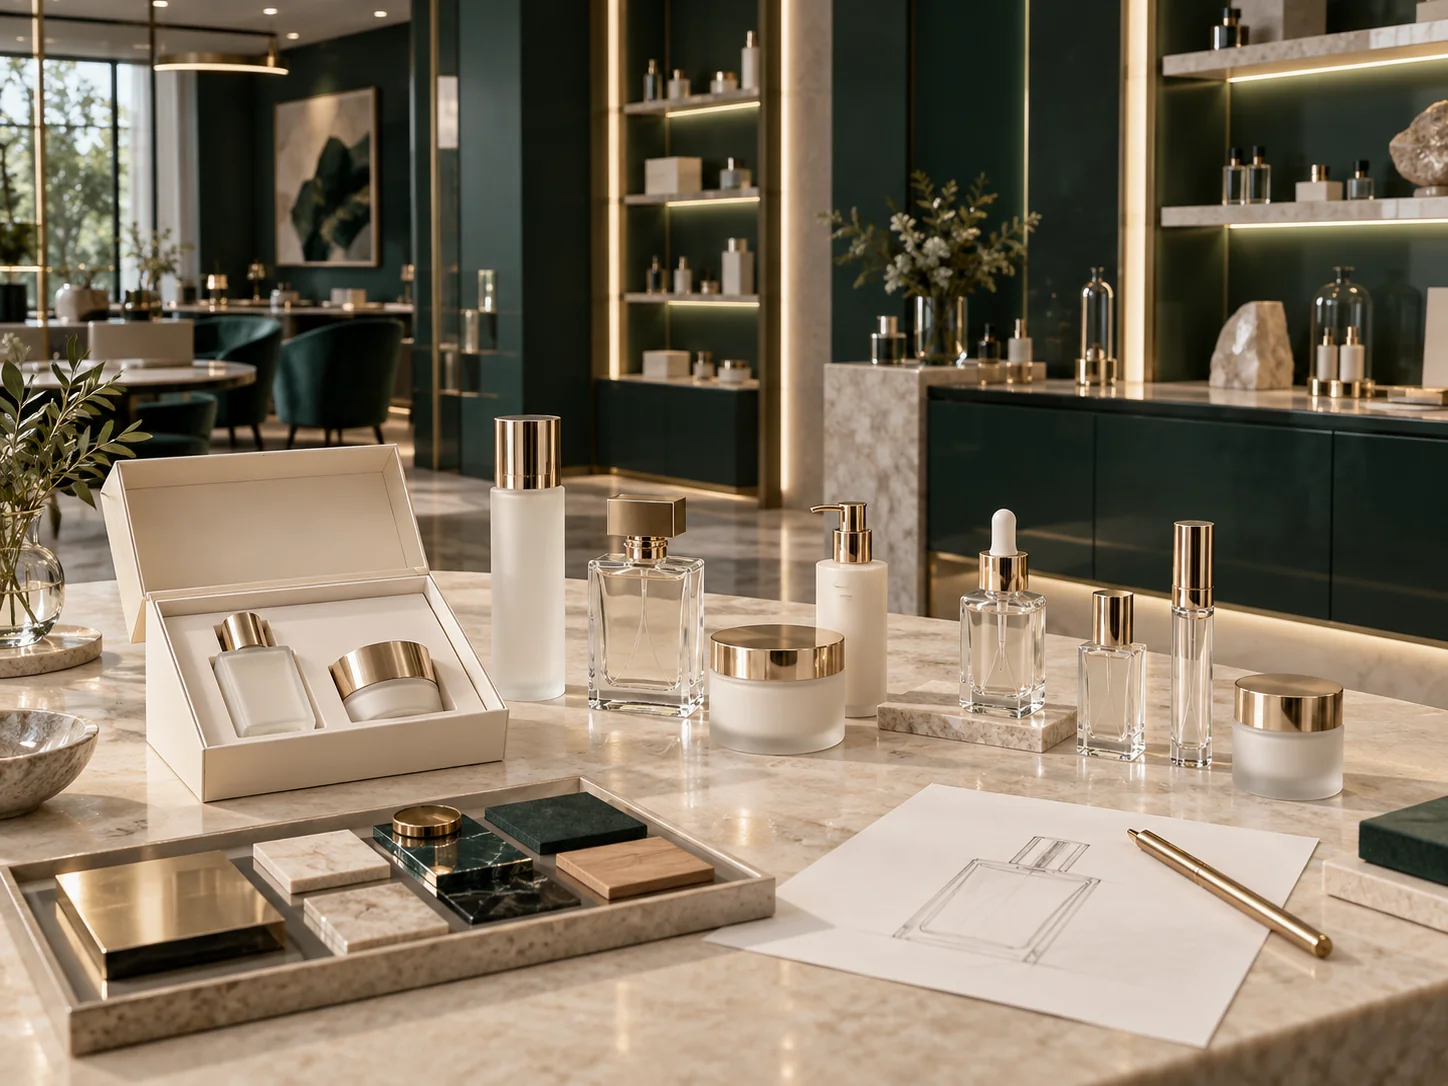
A mood board or reference image is useful for explaining direction. For engineering work, it also helps to describe the intended capacity, use, material and closure. If one of those choices is open, say so in the brief. A design can then be developed around the actual question instead of treating an early visual assumption as a finished specification.
The bottle shape cannot be considered independently of the pump, cap or other closure. The neck interface, assembled height and visual proportions all contribute to the finished result. Decoration adds another set of considerations: artwork space, label position, surface treatment and the way the design will be seen on a shelf. Bringing these requirements together early can reduce changes after individual parts have already been selected.
The supporting carton or presentation box also benefits from an early review. It needs to accommodate the completed pack and the intended method of protection. A change to a decorative cap or bottle profile can affect that arrangement. The complete-system resources show how these decisions connect across the primary container, components and outer packaging.
A concept image communicates an idea. A model can help assess shape and handling. A production sample is used to examine a more specific material and manufacturing route. Each stage has a role, and the approval given at one stage should describe what has actually been reviewed. This makes it easier to identify the next question and avoid assuming that every feature has already been resolved.
For a project involving new tooling, the discussion should cover the agreed design, tooling scope, samples, changes and the conditions for production release. Ownership, maintenance and future use are commercial matters to include in the project agreement. Our tooling guides help you prepare those questions so they are addressed alongside the design, rather than left until the mold is already being developed.
A launch may begin with one size and later expand into a larger bottle, travel format or refill. If that is part of your plan, share it at the start. The visual relationship between sizes, potential component reuse and decoration consistency can then be considered during development. This does not mean every future item must be designed immediately; it gives the first project a more useful context.
Explore the design and mold-development capabilities linked here, then send PauPack the references and priorities for your project. We can help separate essential brand features from open engineering decisions and identify a sensible route toward an approved packaging design.
People behind your packaging
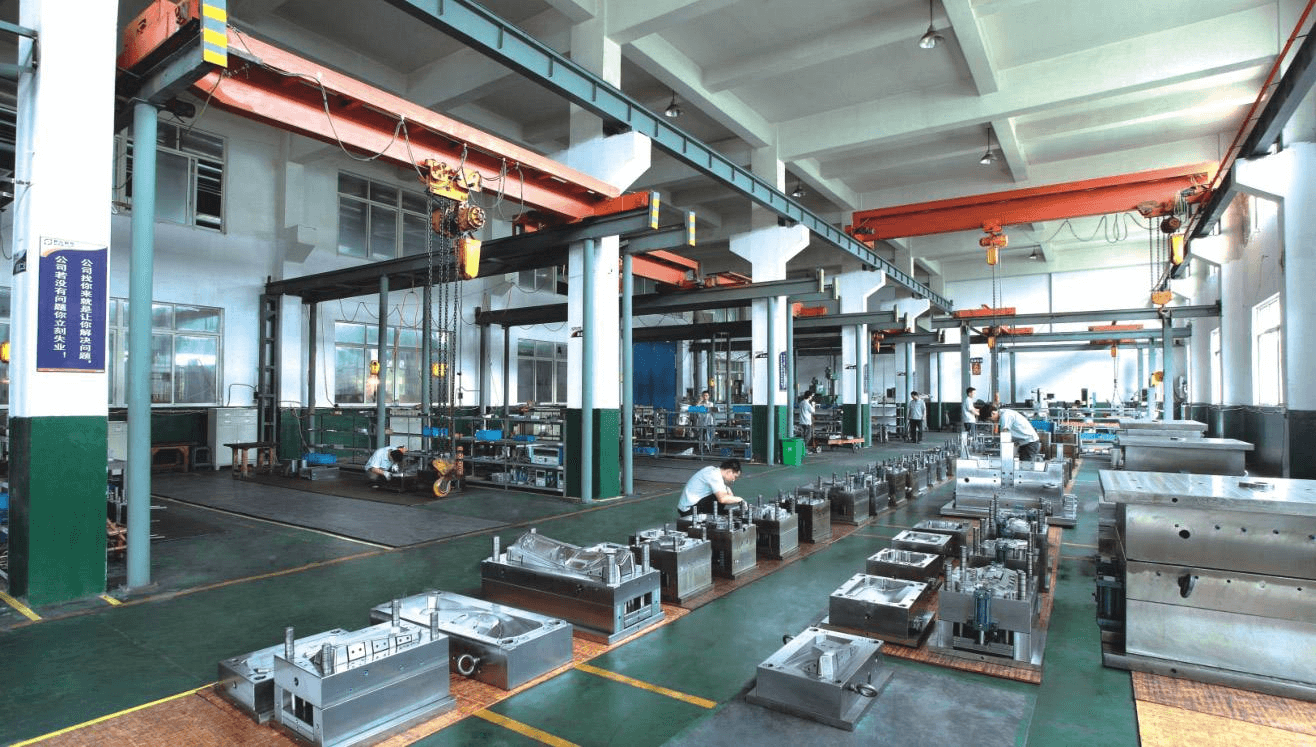
Since 2013, PauPack has combined manufacturing and trade services for packaging projects. Investment in four factories supports our work across bottle development, production and complete packaging coordination.
Explore our history ↗
Customer feedback
“Their attention to detail, from material selection to final finishing, ensures our products always stand out on shelves.”
Claud** Wagn** · Watsons
Published in PauPack’s customer feedback
Questions & answers
Provide editable artwork, structural references or drawings, color and finish targets, capacity, required components and paper-pack dimensions. Name the person who can approve engineering changes and decorated samples. Mark files with revisions and distinguish visual preferences from fixed functional requirements so the sampling team can resolve open decisions without guessing. Design Engineering →
Set the required function, capacity, main geometry and interfaces with closures or other components. Identify decoration and packing constraints, then agree the drawing revision and trial-sample route. A distinctive feature should have a clear purpose and a practical way to be produced and checked.
CONTINUE YOUR PROJECT
CONTINUE READINGExplore related guides and practical project tools.
 APPLY THE GUIDANCE
Explore the available product families and discuss the specification for your project.
APPLY THE GUIDANCETurn your references and product requirements into a design, sample and production brief.
YOUR NEXT STEP
Share the product use, target size, material direction, estimated quantity and launch needs. Choose the route that matches the information you have today.
For a new form, custom tooling, decoration or a coordinated packaging system.
CHECK A REFERENCEFor a bottle, pump, cap or assembly that needs a fit and performance review.
COMPARE OPTIONSFor a selected product family and an initial commercial discussion.