Product and format
Start with contents, use and the way the product reaches your customer.
PAUPACK / RESOURCES
Learn the decisions behind a complete bottle packaging project in a practical order. Start with your product and dispensing format, then explore materials, design, decoration, sampling and production handover.
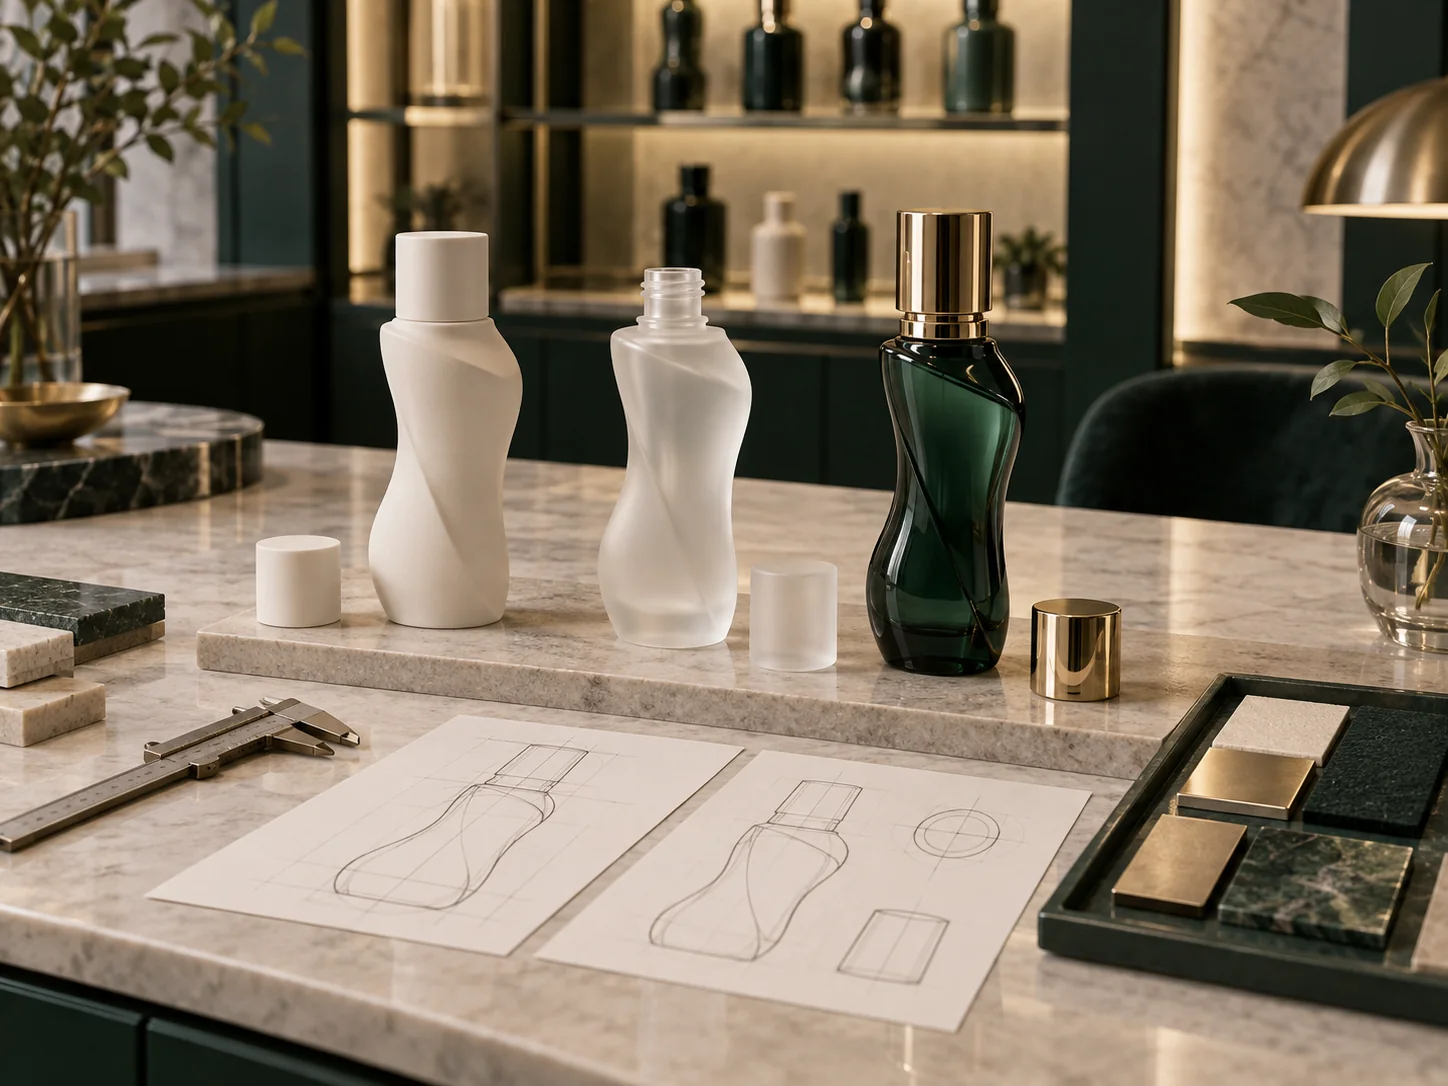
Your packaging choices
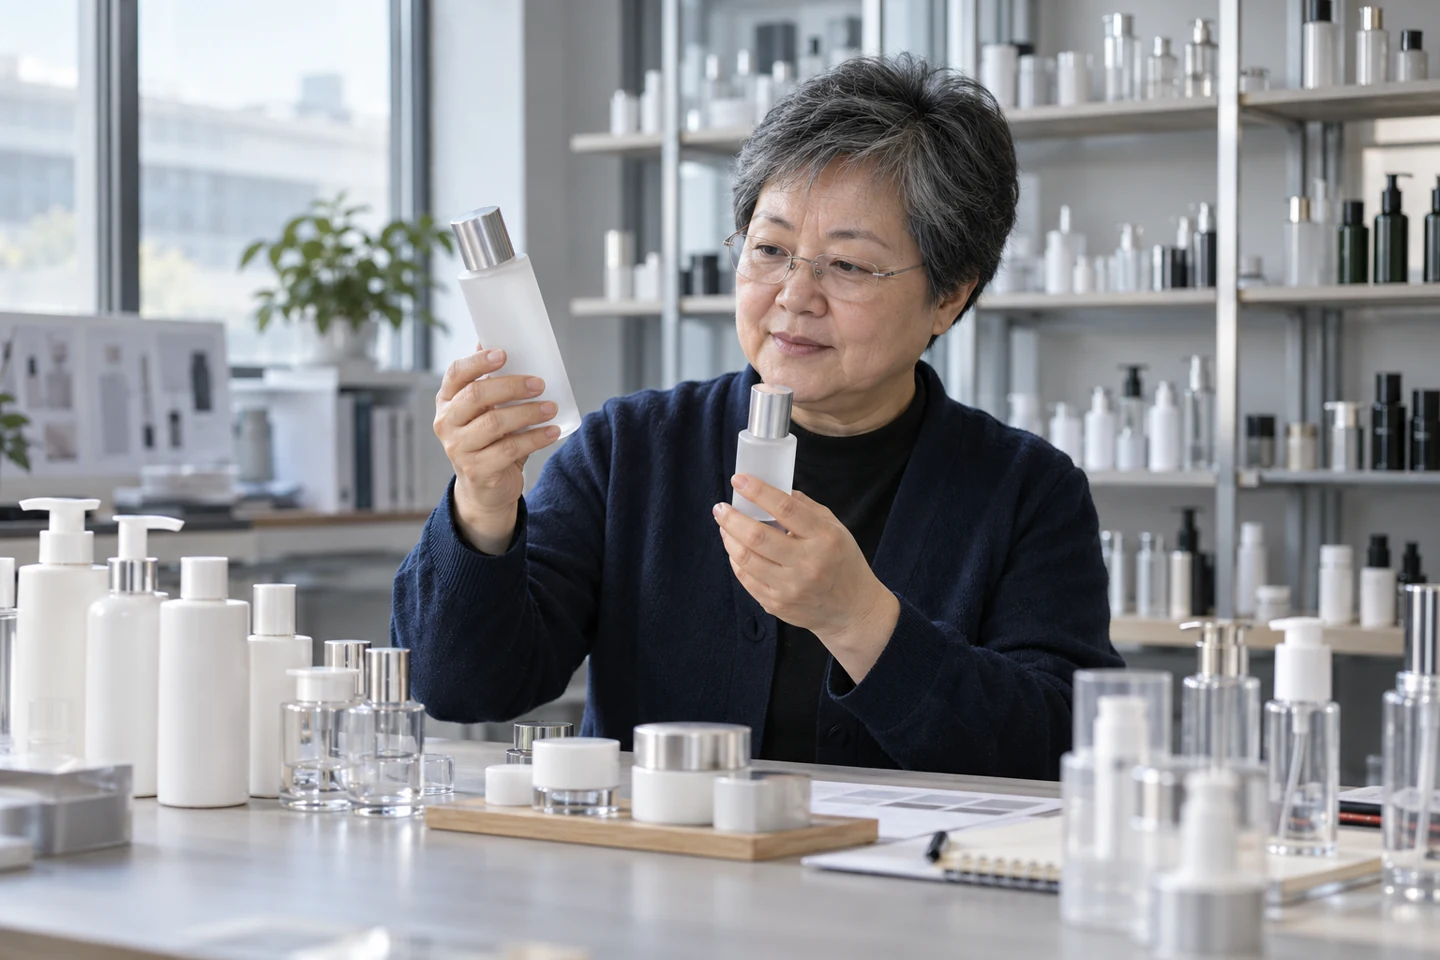
Start with contents, use and the way the product reaches your customer.
Compare appearance and function before fixing the shape or finish.
Review the actual bottle, closure and relevant product conditions together.
Keep the approved reference connected to inspection priorities and delivery.
SUGGESTED READING PATH
Compare stock, decorated stock and custom development before asking suppliers to quote.
STEP 02Consider appearance, formula compatibility, refill use, recycled content and the destination market together.
STEP 03Bring reference shapes, dimensions, closure interfaces and ownership questions into the development discussion.
STEP 04Start with the bottle drawing and dispensing requirement. Confirm fit and performance with the actual formula and selected components.
STEP 05Bring color references, artwork, surface finish, labels, cartons and inserts into one controlled sample review.
STEP 06Record the sample version, dimensional and functional checks, appearance references, packing plan and unresolved issues.
Packaging knowledge becomes easier to use when it follows a real project. Begin with the product and its use, move into format and material choices, then examine components, decoration and the complete presentation. Sampling and approval bring those decisions together before production. PauPack Packaging Academy organizes the learning around this sequence, so each topic supports a decision you are likely to face.
You can also enter at the point that matches your experience. A brand developing its first collection may start with the basic route comparison. A team replacing a pump or refining a finish may go directly to the relevant engineering topic. There is no need to follow the entire library before asking a focused question.
The container is one part of the finished product. A bottle may need a pump, cap, collar and label; a jar may need a lid, liner or inner component; a retail set may also require a carton and insert. Learning how these pieces relate helps you compare complete options and describe the result you want.
Use the product collections to see the available packaging families, then look at the component and complete-system guidance. The purpose is to understand the role of each element before treating an individual photograph or component price as a description of the whole pack.
Existing designs, customized existing designs and new tooling can all support a premium brand. The appropriate route depends on where the differentiation needs to happen. A surface finish or coordinated closure may be enough for one project, while another may depend on a new silhouette or construction. The learning materials explain the questions behind that choice.
Consider the whole launch context when comparing routes: the intended quantity, the number of variants, the sample work and the supporting packaging. These details help PauPack discuss the development scope and show where a decision may affect another part of the project.
Material selection and brand presentation are closely connected. Transparency, color, weight, texture and decoration influence how the finished pack is experienced. The choice also needs to suit the product and the way it will be filled and used. Treat appearance and function as part of the same discussion.
Sustainability topics add further questions about the selected components, refill method or proposed material change. The academy links to more focused resources so you can explore the option that matters to your project without reducing the decision to a broad environmental label.
A sample is most useful when it has a defined purpose. Decide whether the review concerns shape, decoration, assembled fit, handling or a project-specific performance question. Keep the relevant references with the sample and record what has been agreed. This makes the next stage easier to plan and gives repeat orders a clearer starting point.
Use the downloadable brief and checklists to put the learning into practice. PauPack can help connect those notes with a product selection, a custom-development discussion or a sample-matching request. You can bring the questions that remain open; the first conversation does not require every specification to be settled.
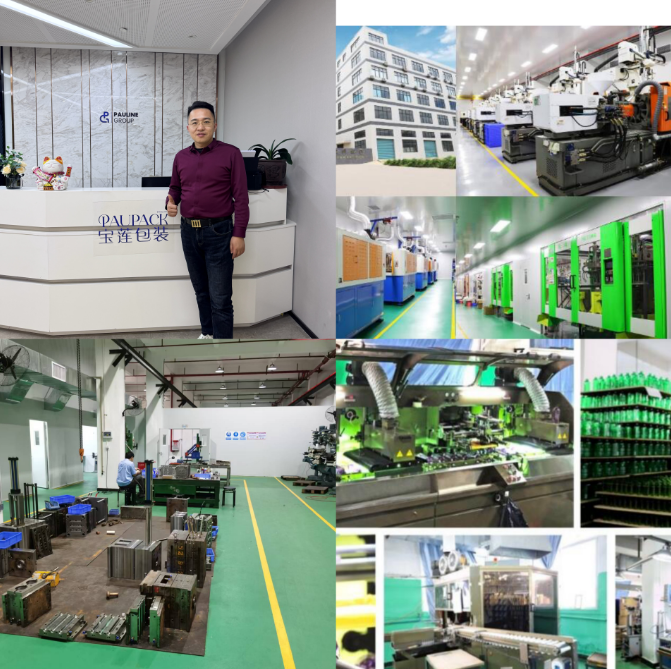
People behind your packaging
Since 2013, PauPack has combined manufacturing and trade services for packaging projects. Investment in four factories supports our work across bottle development, production and complete packaging coordination.
Explore our history ↗
Customer feedback
“Their attention to detail, from material selection to final finishing, ensures our products always stand out on shelves.”
Claud** Wagn** · Watsons
Published in PauPack’s customer feedback
Questions & answers
Begin with container and material selection, then study closure fit, decoration, sampling and quality review. Follow the linked product pages to compare physical formats. Keep the project brief beside the guides so technical terms translate into decisions about your own formula, brand and launch. Packaging Guides →
CONTINUE YOUR PROJECT
CONTINUE READINGExplore related guides and practical project tools.
APPLY THE GUIDANCETurn your references and product requirements into a design, sample and production brief.
 APPLY THE GUIDANCE
Agree the test conditions, acceptance limits and records needed for your packaging and formula.
YOUR NEXT STEP
Share the product use, target size, material direction, estimated quantity and launch needs. Choose the route that matches the information you have today.
For a new form, custom tooling, decoration or a coordinated packaging system.
CHECK A REFERENCEFor a bottle, pump, cap or assembly that needs a fit and performance review.
COMPARE OPTIONSFor a selected product family and an initial commercial discussion.