


Beverage bottle fill height sits between three departments that rarely compare notes: the glass supplier, the filling line and the marketing team that promised a volume on the label.
Get it right and nothing happens, which is the point. Get it wrong and a sparkling drink goes flat on a shelf, a hot-filled juice fails its net content check, or a bottle deforms under its own stack load.
PauPack supplies beverage bottles to juice, kombucha, dairy and spirits customers across Europe, North America and Australia, and the fill height is the single number that generates the most late questions.
This is how the target is set, line by line, and how to hold it once production starts.
What Beverage Bottle Fill Height Actually Controls
Four things move with the fill line. Headspace gas volume sets carbonation retention in a sparkling pack and oxygen exposure in a still one. Net content sets the label claim. Thermal mass sets how fast the bottle cools or how much heat it carries into a tunnel. And stack load sets whether the shoulder survives a pallet in a warehouse.
That is why a single number cannot be copied from one product to another. A beverage bottle fill height is a process decision expressed in millimetres, and it only makes sense with a temperature and a closure attached.
PauPack writes the fill window on the mould drawing rather than leaving it to the filler, because the bottle's internal profile is what makes the window practical in the first place.
The Three Lines and Their Targets
Almost every beverage project falls into one of these three families. Find the row that matches the process and the rest of the numbers follow.
| Line type | Headspace target | Fill temperature | What sets the number |
|---|---|---|---|
| Carbonated | 4 to 6% of volume | 2 to 6 C | CO2 volume and pressure retention |
| Hot fill | 6 to 8% of volume | 85 to 92 C | Thermal contraction on cooling |
| Ambient or aseptic | 2 to 4% of volume | 15 to 25 C | Oxygen control and stack load |
| Nitrogen dosed still | 5 to 7% of volume | 10 to 20 C | Pressure cushion from the nitrogen boil-off |
Read the second column as a window rather than a target. Within a carbonated line, a 4.0 volume drink needs more headspace than a 2.2 volume one, and the same bottle can carry both if the fill line moves.
Carbonated Filling: Headspace Is Part of the Recipe
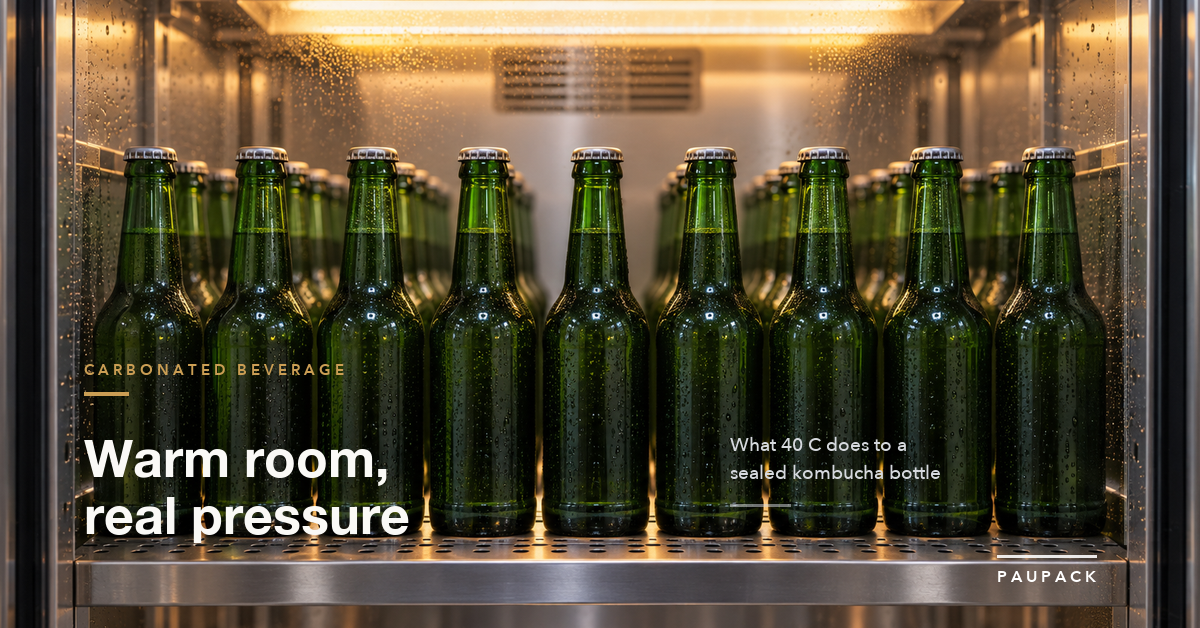
A sparkling drink keeps its carbonation because the headspace reaches equilibrium pressure with the liquid. Fill the bottle too high and that pocket disappears, the pressure collapses, and the drink tastes flat within days even though the filler measured the CO2 correctly.
The counter-intuitive part is that filling lower is not automatically safer either. Too much headspace leaves the drink with a large gas pocket that expands when the bottle warms, which pushes the closure and can deform a light bottle on a pallet in summer.
PauPack sizes carbonated moulds with a shoulder profile that gives the fill line a clear visual reference, so a vision system can hold a beverage bottle fill height to a millimetre without a special gauge.
Hot Fill: Fill Low and Let It Cool Into Place
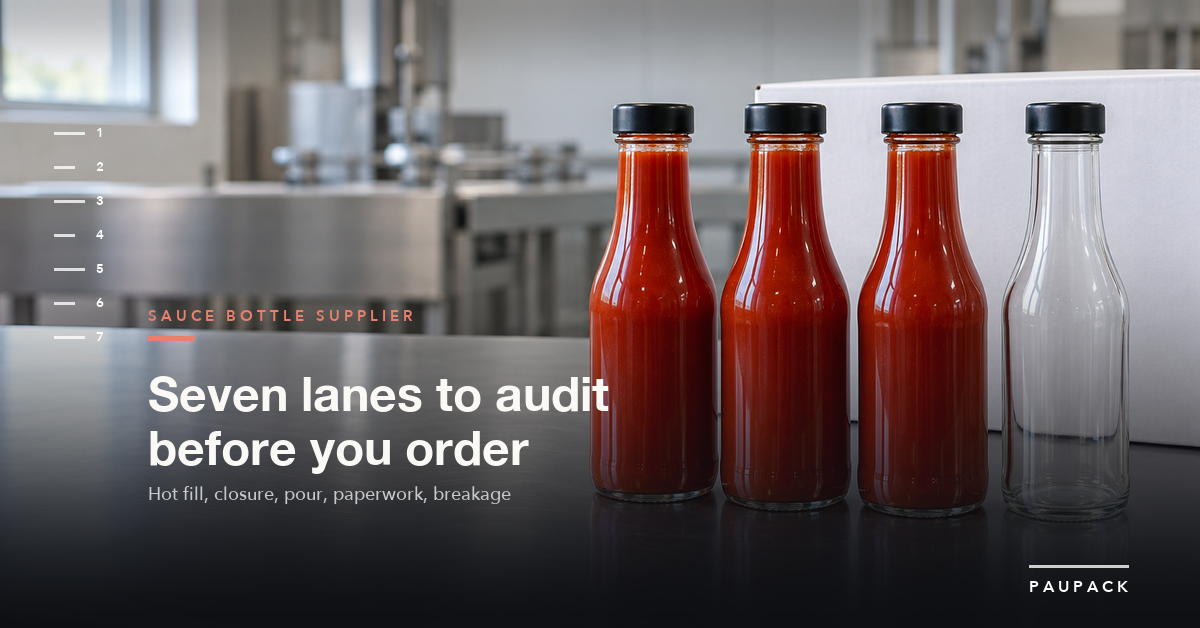
In a hot-fill line the bottle is filled near 90 C, capped immediately, and then cooled. The product contracts by 3 to 5 percent as it drops to room temperature, and the fill line falls with it.
The visual trap is obvious once stated: a bottle that looks under-filled at the filler is usually correct twelve hours later. Operators who top it up on the line create an over-filled pack that stresses the closure and, in a glass bottle, can crack the neck on the cooling tunnel.
PauPack supplies a fill-height gauge with hot-fill sample shipments so the line can mark the correct line before first production, which removes the argument entirely.

Ambient and Aseptic: The Tallest Fill
Cold, non-carbonated filling allows the smallest headspace, and that is usually what the brand wants: less oxygen, more product per pallet, and no pressure to manage. A beverage bottle fill height of 2 to 4 percent is normal here.
The constraint arrives from a different direction. With a small headspace there is little room for the product to expand in a warm warehouse, so the closure carries more hydraulic load than in a carbonated pack. A liner that was qualified at 3 percent headspace may weep at 1 percent.
PauPack pairs the fill window with the closure test rather than treating them as separate items, which is the same logic that runs through our beverage bottle sample testing checklist.
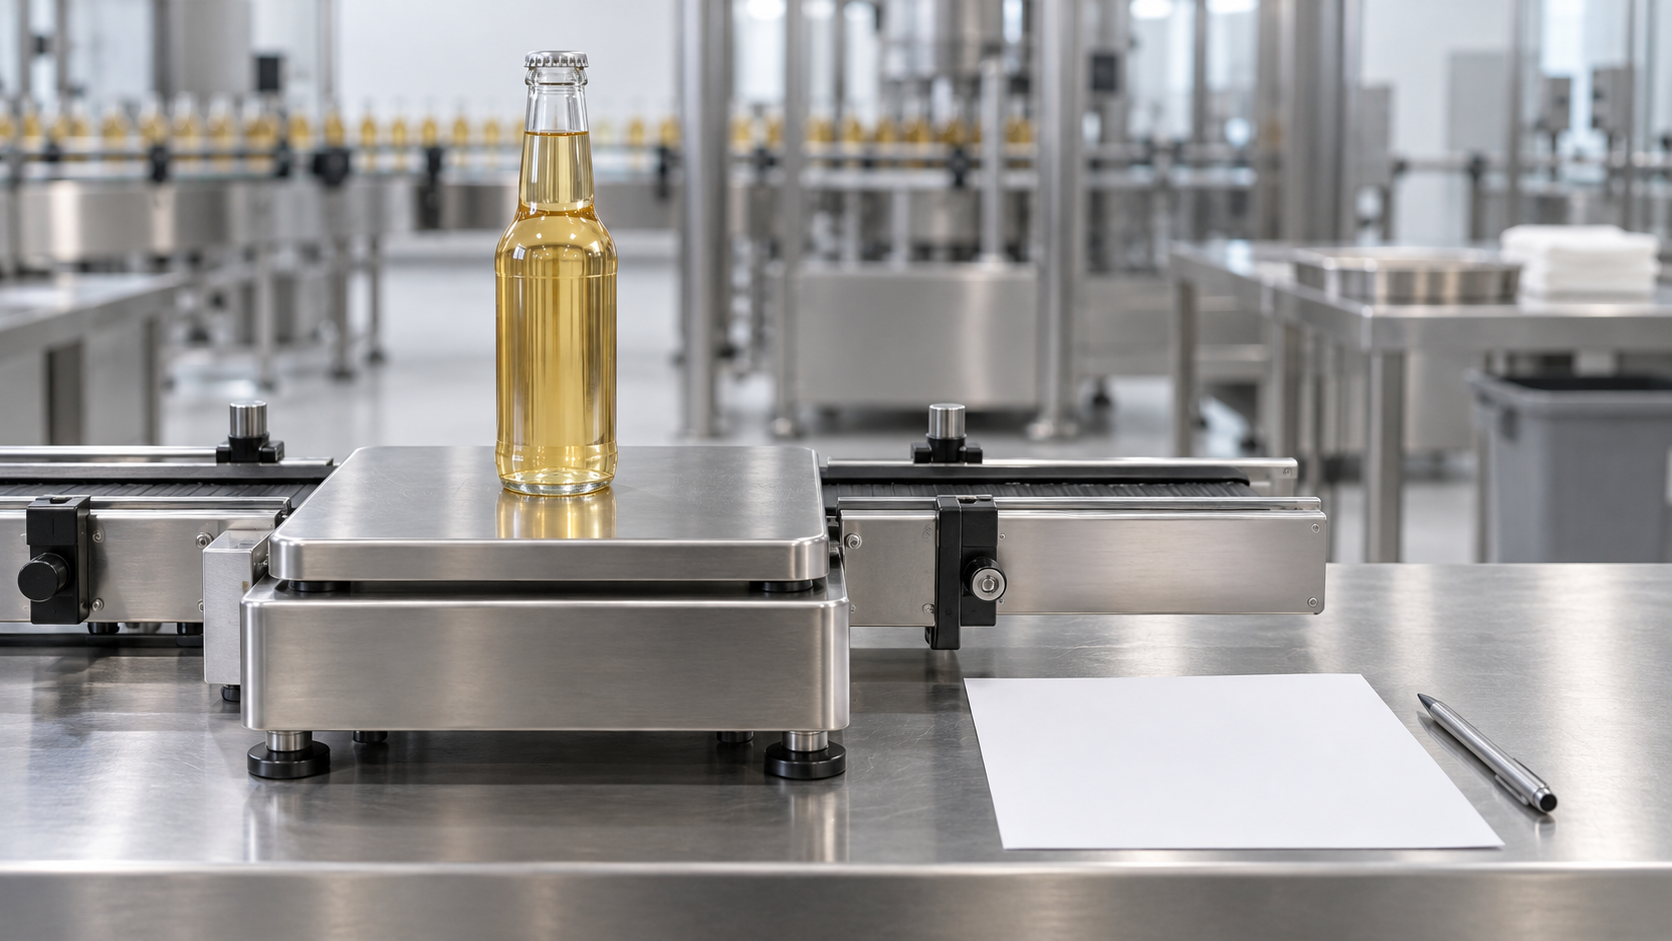
Measuring Fill Height on the Line
Three instruments usually disagree on the same bottle, and each disagreement means something different.
- Mark the target line on a reference bottle and keep it at the filler as the physical standard.
- Set the vision system against that reference, then confirm it on ten bottles from each cavity rather than on one.
- Cross-check with the checkweigher using the measured product density, and record the difference between the two methods.
- Log product temperature every 30 minutes, because a 5 C drift moves the fill line more than a nozzle change does.
- Sample the headspace gas on three bottles per hour if nitrogen is dosed, and record the reading against the fill height.
- Photograph the bottle shoulder at the start, middle and end of the shift under the same lighting.
PauPack asks for that six-line record with every sample complaint, because it separates a mould issue from a line issue in about ten minutes, and because a beverage bottle fill height without a temperature beside it cannot be reproduced later.
Why the Same Bottle Reads Differently on Two Lines
Move a mould from one plant to another and the beverage bottle fill height appears to shift, even though the bottle is identical. Three causes explain nearly all of it: a different product temperature, a different fill time because the valve is larger or smaller, and a different approach to foam.
Foam is the one that catches people out. A high-speed filler that fills against the wall produces less foam than a slow one filling down the centre, and foam height determines where the product settles, not where it was dispensed.
PauPack keeps the neck bore and the shoulder profile constant across the range for this reason. Consistency in the bottle removes at least one variable the line cannot control.
Beverage Bottle Fill Height and the Volume Claim
Net content rules are judged at the point of sale, so the beverage bottle fill height has to survive shrinkage, evaporation loss and a year in a warehouse before it is tested.
The practical method is to fill above the label volume by the sum of the expected losses, then verify that the finished pack still reads correctly after six months in the retention store. PauPack keeps those retained bottles and re-weighs them at 30, 90 and 180 days, which is how the beverage bottle fill height in the specification gets confirmed rather than assumed.
Where the product ships into the United States as a consumer good, the same pack may also fall under federal packaging rules. The CPSC business education pages are a quick way to check whether the closure or the container brings an extra requirement.
Neck Finish and Fill Height Are One Decision
The neck finish sets where the product can safely sit. Fill above the insert seat and product reaches the closure thread, where it can wick, stain the cap or grow on the shelf. A beverage bottle fill height is therefore a neck dimension as much as a process setting.
That is why fill height and neck finish are quoted together on the drawing. A beverage bottle fill height that leaves 3 mm of clear neck in one finish can leave zero in a taller one with identical volume.
PauPack marks both dimensions on the mould drawing and issues a fill gauge with the sample, which is a cheap way to stop a shop-floor argument before it starts.
Faults That Look Like Fill Problems
Not every fill complaint is a fill setting. Half the calls we take are actually a different fault wearing the same symptom.
| What the line reports | What it usually is | First check |
|---|---|---|
| Fill line drifts down the shift | Product warming, so volume expands | Temperature log against fill line height |
| Bottles weigh light but look right | Density changed with a recipe revision | Re-measure density, then the checkweigher |
| Headspace grows after capping | Liner relaxing or closure not holding pressure | Closure torque and crimp depth at 24 hours |
| Fill height varies bottle to bottle | Cavity weight variation in the glass | Weigh ten bottles from each cavity |
| Product reaches the thread | Fill target set above the neck seat | Mark the reference line lower and re-run |
A Fill Height Trial You Can Run in a Week
One bottle, three fill levels, one week. The output is a specification you can hand to a filler in another country.
- Fill thirty bottles at the recommended level, thirty at 3 mm above and thirty at 3 mm below, all at production temperature.
- Cap and pressurise half of each group, or run the hot-fill cycle, so the comparison matches the real process.
- Store at 20 C and at 32 C for seven days, then measure fill height, headspace gas and closure torque on every bottle.
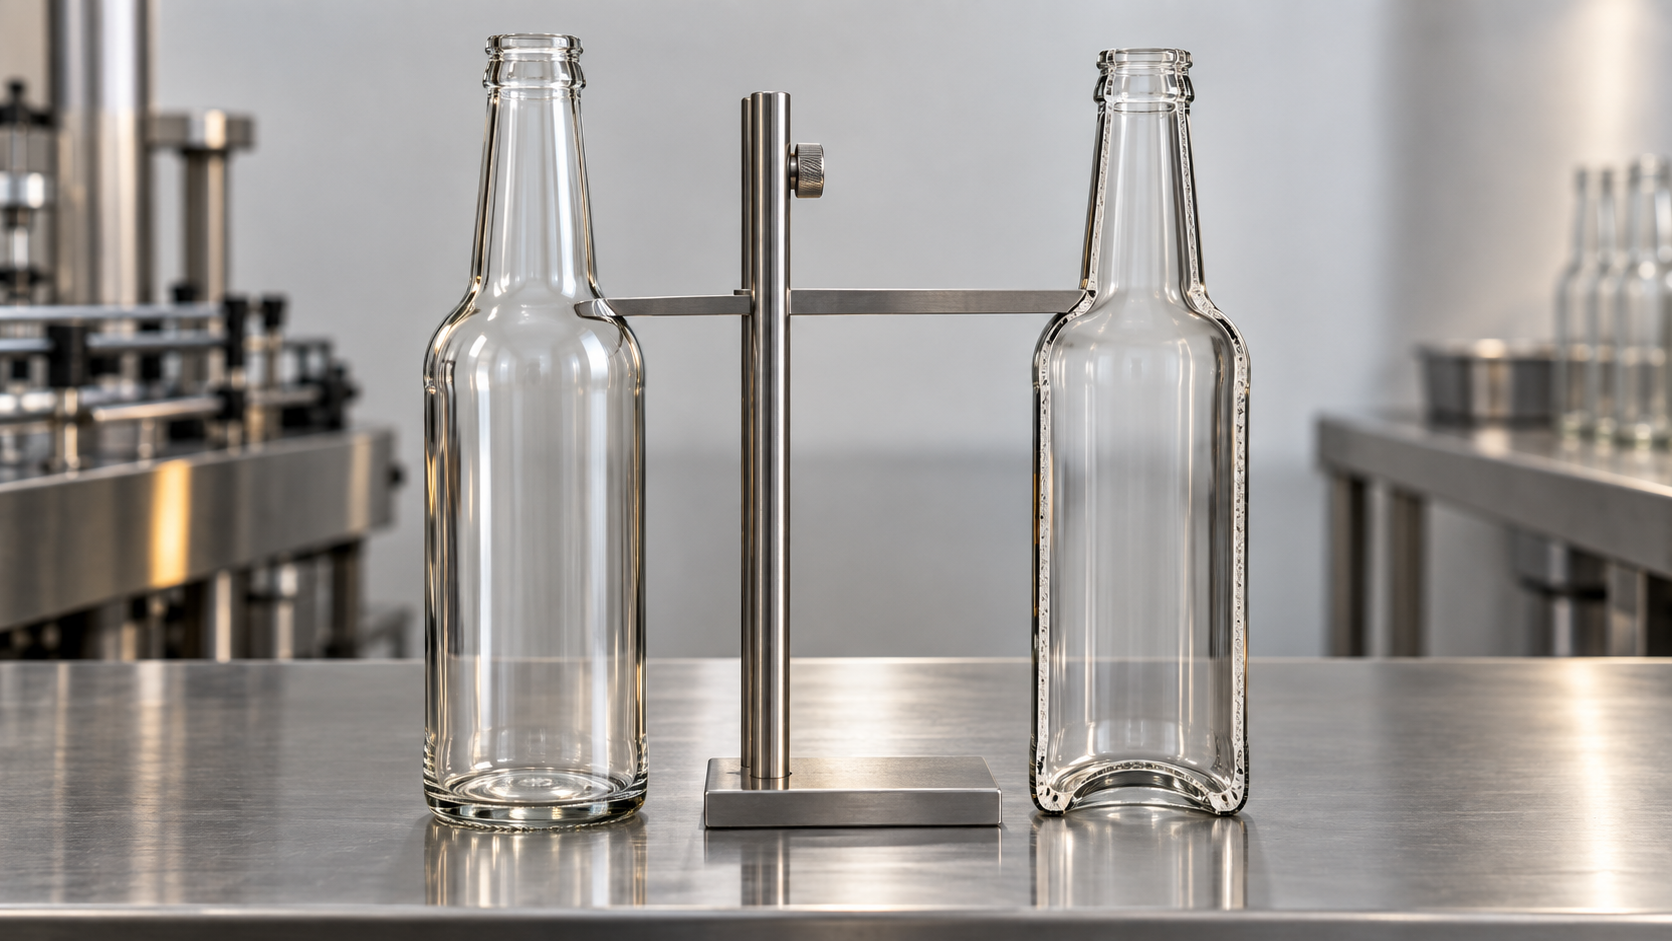
- Cut three bottles from each group vertically to photograph the fill line against the shoulder.
- Write the winning band into the specification with the temperature and the closure type attached.
PauPack runs that trial with the brand's own product and the production bottle, and keeps the cut sections with the batch record, which is what makes the result repeatable on the next order.
What PauPack Prepares Before a Beverage Run
A beverage pack is a bottle, a closure, a fill window and a process temperature that have to agree before the first pallet leaves.
PauPack prepares beverage bottles in the mould, neck and decoration the brand has chosen, and supplies reference bottles with the fill gauge matched to the production cavity. Juice brands usually start from glass juice bottles, sparkling lines from kombucha bottles, and dairy customers from glass milk bottles, where the cream line and the fill line are the same design decision.
Where the pack carries a pressure duty, our notes on swing top bottles cover the closure side of the same argument. And for products that also carry a storage claim, the USP packaging and storage requirements make the useful point that container, closure and fill condition are qualified as one system.
Beverage Bottle Fill Height: The Questions Brands Ask
What is the correct fill height for a beverage bottle?
It depends on the line. Carbonated packs are filled to a headspace of roughly 4 to 6 percent of the bottle volume, hot-filled packs to 6 to 8 percent because the product shrinks on cooling, and ambient or aseptic packs to 2 to 4 percent. The bottle design sets the window; the process sets the target inside it.
Why does a carbonated bottle need more headspace?
Because the headspace carries the carbonation. CO2 leaves the liquid and settles into that gas pocket, and the pressure it creates keeps the drink from going flat. Fill to the brim and the pressure has nowhere to build, which is why a beverage bottle fill height that works for still juice will fail for a sparkling one.
How much does hot filling shrink the product?
For a typical juice or tea, roughly 3 to 5 percent by volume between 88 C and 20 C. That contraction is why the fill line sits low on the filler and the finished bottle looks correct on the pallet, and it is also why the fill height has to be specified with a temperature attached.
Does fill height affect the net content claim?
Directly. Net content is judged at the point of sale, not at the filler, so a pack that meets the label on the line can miss it after shrinkage and evaporation loss. Our compliance notes on food grade glass bottles walk through how the target is set with that drift in mind.
How is fill height measured on a production line?
Three ways. A vision system reads the meniscus against the shoulder, a checkweigher converts weight to volume through a known density, and a manual gauge measures from the rim. PauPack links all three on the sample report, because each one fails in a different way.
Can the same bottle be used for still and sparkling drinks?
Usually yes with a different fill target, but check the pressure rating first. A still-drink bottle with a thin wall may deform under carbonation at 4 volumes, and the fill height window narrows as pressure rises. The kombucha bottle specification is a good example of the same mould carrying two different pressure duties.
Why does fill height drift during a shift?
Four usual causes: product temperature moving, pump or valve wear, line speed changes that shorten the fill time, and bottle weight variation between cavities. Only the last one is a bottle problem, and it is the one a checkweigher trend will show you first.
Does the headspace need nitrogen?
For oxygen-sensitive drinks, yes. Dosing liquid nitrogen into the headspace and capping immediately creates a pressure cushion as it boils off, which lets a thin-wall pack hold pressure without being filled to the top. It is a common answer for still drinks in light bottles.
What tolerance should the fill height carry?
Plus or minus 2 mm is a practical line tolerance for a 500 ml glass bottle, and tighter than that usually costs more in rejected good bottles than it saves in giveaway. PauPack prints the tolerance band on the mould drawing so the filler and the glass supplier are working from one number.
What belongs on a fill height record?
Product temperature at the filler, fill height at three points across the run, checkweigher weight, headspace gas reading if nitrogen is used, bottle cavity number, and the time of day. Fourteen lines. With those, PauPack can separate a glass problem from a line problem in one shift.