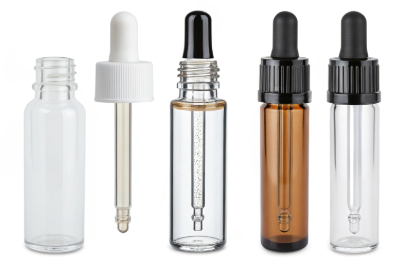


The packaging prototype process exists to move risk out of the mass run. Every gate is a chance to be wrong cheaply, and the brands that treat it as seven small decisions rather than one big approval usually reach tooling with fewer surprises and a shorter schedule.
PauPack runs this sequence with brands launching custom glass and plastic containers, and it uses the same seven gates for a 3,000-unit first order as for a full production mould. What follows is the order we use, what each gate proves, and the evidence that should exist before the next one starts.
What a Prototype Has to Decide Before Tooling
A prototype is not a small bottle. It is a set of answers: does the shape hold, does the closure seal, does the fill look right, does the decoration survive, does the line run it, and does the cost per unit land where the brand needs it. Each of those is a separate question with a separate test.
When they are bundled into one approval, the schedule slips, because a change requested for appearance reasons forces a re-test of the sealing and the line run. Splitting the work into gates keeps appearance and engineering on their own clocks. The design service page shows how PauPack stages those gates on a live project.
Gate One: The Drawing and the Constraints
The first gate fixes five numbers: fill volume, target weight, closure diameter and direction, label area, and annual volume. Until those exist a drawing is a sketch with better line quality, and any sample built from it will have to be remade.
The review looks for what the sketch missed. A shoulder radius that leaves no room for a cap, a taper that eats the label, a weight that pushes freight over a threshold. Fixing those on paper costs nothing; fixing them on a mould costs the mould. This is also the point to record the market, because packaging rules differ by destination and some of them reach into the design.
Two documents come out of this gate: a one-page brief and a drawing marked as a draft. Everything later in the packaging prototype process is measured against them, which is why both are dated and versioned rather than left in an email thread.
Gate Two: Material, Weight and Closure
Material and closure belong together because they answer the same question: what is inside and how long does it have to stay that way. A clear flint bottle for a short-cycle beverage acts very differently from an amber bottle holding a light-sensitive oil.
Weight is where the brand's taste and the freight bill meet. Heavier glass reads as premium and costs more to ship, so the honest move is to weigh two samples at two weights and look at them side by side. PauPack supplies stock glass in both weights for exactly that comparison, and the bottle manufacturing notes explain how wall distribution affects the result.
Gate Three: Look-Like Models and Print Tests
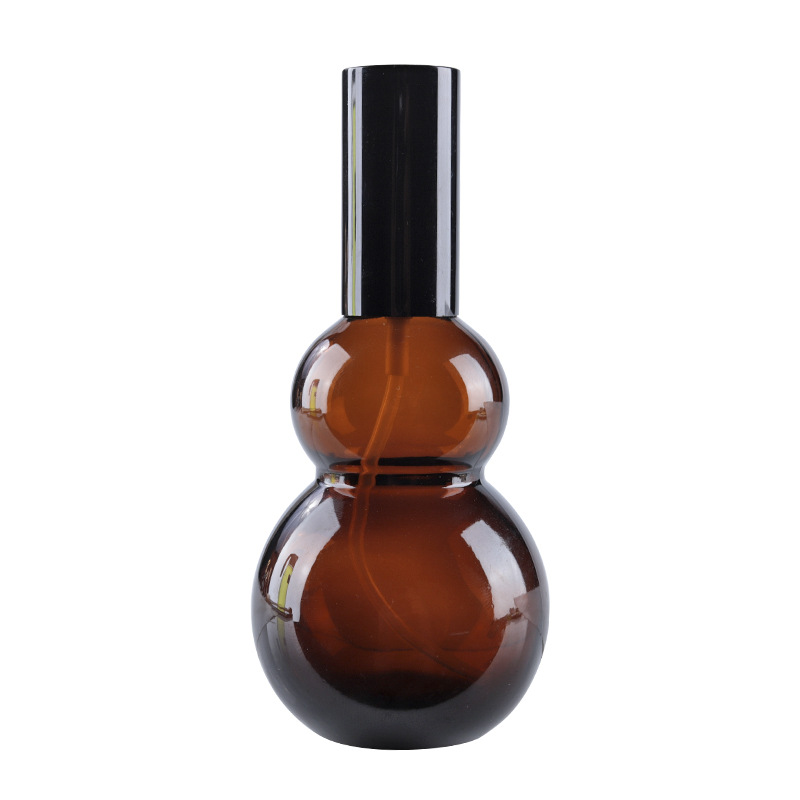
Look-like models are the cheapest way to make the decision that photographs decide. They are also the most misunderstood, because a model that has not been built at the target weight lies about the product in the customer's hand.
| Prototype form | What it proves | Typical lead time | Cost driver |
|---|---|---|---|
| Drawing and feasibility review | Shape logic, neck finish, weight | Days | Engineering hours |
| 3D-printed model | Proportion, grip, label area | 3 to 7 days | Print time and finishing |
| Machined resin or acrylic | Shape and light behaviour | 1 to 2 weeks | Machining hours |
| Decorated print trial | Colour, registration, ink adhesion | 1 to 2 weeks | Screens, plates or pads |
| Filled functional sample | Closure fit, headspace, seal | 2 to 3 weeks | Trial mould or converted stock |
| Trial production run | Line runnability, lot quality | 3 to 5 weeks | Mould and setup |
A print or resin model should never be used to approve a glass surface. Glass has its own behaviour at the shoulder and the base, and decoration that looks right on resin can sit differently on a moulded wall. Use the model for the shape, then repeat the decoration on a real container.
Gate Four: A Filled Sample, Not an Empty One
Fill changes everything the brand thought was settled. The liquid colour reads through the glass, the fill line has to sit below the label break, and headspace that looked generous on an empty bottle can look like a short measure once the product is inside.
A filled sample also proves the functional side: closure torque, leakage at the shoulder, and whether the decoration survives contact with the product. In this packaging prototype process, the filled sample is the gate where appearance and engineering finally meet, and it is the gate that saves the most money when it is run early. PauPack ships it filled so the brand can put it on a shelf next to the pack it is replacing.
Gate Five: Mould-Ready Files and Tooling
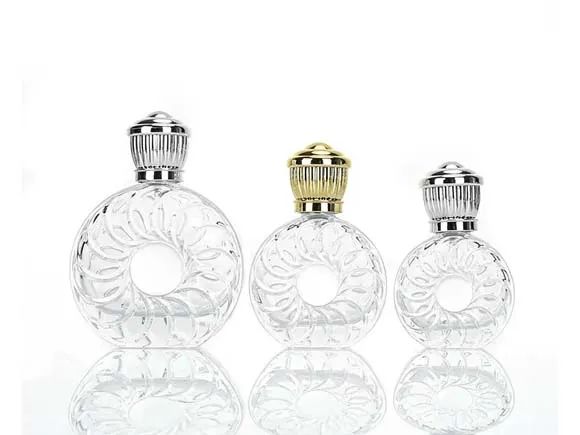
When the shape is approved, the drawing is frozen. Every change after that point has a cost, and the cost is highest once the mould is cut. Freezing the drawing is the single most useful discipline in the whole packaging prototype process.
PauPack issues the tooling drawing with tolerances, the material declaration and the finish specification, and the brand signs one document rather than three emails. If the schedule allows, a single-cavity trial mould proves the shape before the multi-cavity tool is committed, which keeps the expensive decision last. The custom bottle design notes cover what a frozen drawing should contain.

Gate Six: Trial Production and the Filling Line
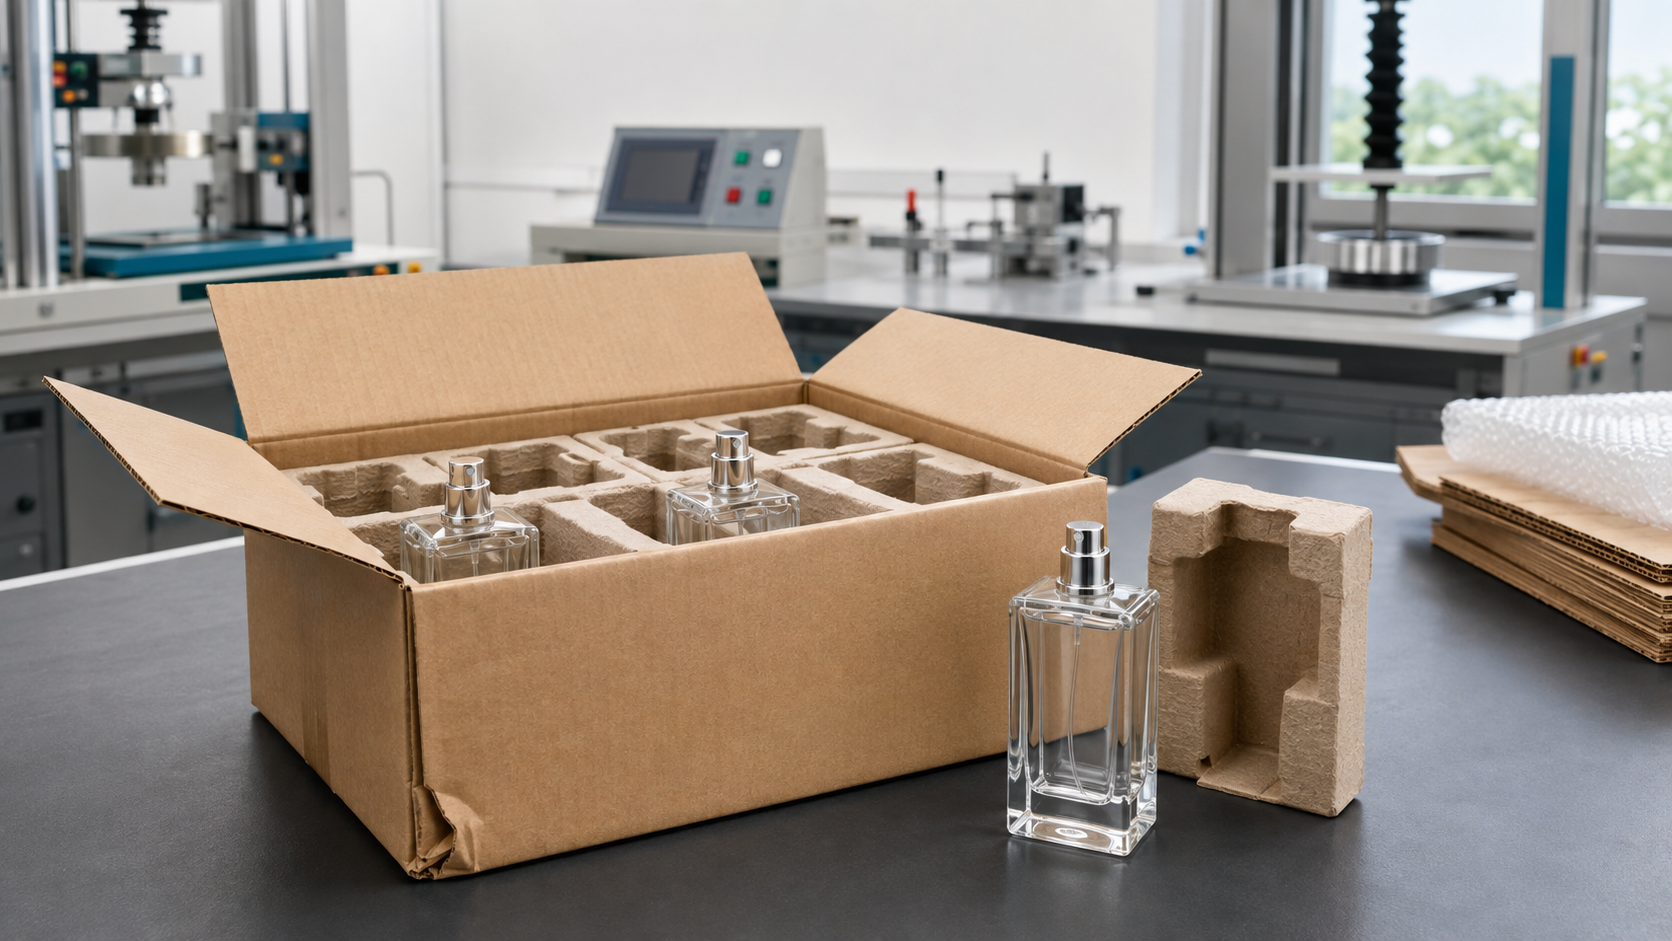
Trial production answers two questions that drawings cannot: does the container come out of the mould consistently, and does the customer's line run it. Wall thickness, weight spread, seam quality and finish dimensions are measured on real units rather than on a sample the lab selected.
Send the filling details early - the conveyor, the capper, the induction sealer if there is one, and the case pack. A container that protects perfectly and jams the unscrambler is not finished, and the line trial is the cheapest place to find that out. PauPack records the run against the quality management process so the mass run has a baseline to match.
The trial is also the first time the whole packaging prototype process is visible as one unit: the drawing, the mould, the decoration, the closure and the case pack running together. Problems that were invisible in isolation usually surface here, and they are still cheap to fix.
Gate Seven: Golden Sample and Handover
The last gate is administrative, and skipping it undoes the first six. A golden sample is signed and retained with its drawing, material declaration, decoration reference, closure part number and measured weight. It becomes the physical specification that a reorder is checked against.
Handover is also where the commercial file closes: tooling ownership, the approved specification, the trial record and a quotation for the first mass run sit in one place. PauPack keeps that file with the project, so a second order eighteen months later does not restart the packaging prototype process from a sketch. The small batch production notes show what a first run looks like once the file is complete.
Where a Packaging Prototype Process Loses Weeks
Most delays are not technical. They are approvals that arrive twice, drawings that move after signing, and samples that were never tested with the product inside. The pattern repeats often enough to be worth planning against.
| What you see | Usual cause | Fix before the next gate |
|---|---|---|
| Sample looks right, feels cheap | Weight and wall distribution not modelled | Build the next sample at the target weight |
| Decoration fails after filling | Ink not cured for that surface | Print on the real finish, then wipe test |
| Closure weeps at the shoulder | Neck finish and liner mismatch | Measure the finish and re-specify the liner |
| Tooling cost rises after approval | Drawing changed after the go-ahead | Freeze the drawing at gate five |
| First run jams the filling line | Base or finish tolerance never trialled | Run the line trial before the mass run |
| Label coverage is wrong in production | Wall taper and draft not drawn | Model the taper on the 3D sample |
Two of those six are pure communication failures, and both are fixed by naming one approver per side. A prototype round repeated because two departments signed different versions is the most avoidable cost in the schedule.
Who Owns Which Decision
The brand owns the shape, the weight, the closure direction and the commercial target. PauPack owns the drawing, the tolerances, the material declaration and the trial record. The line between those two lists is the point where most projects either run smoothly or stall.
Keep the number of approvers small. One name on the brand side for shape and one for commercial, and one contact at PauPack, is the configuration that keeps a packaging prototype process moving through its gates without a round trip for every question. Where a design agency is involved, it should hold the drawing while the brand holds the approvals, not the other way round.
Cost, Rounds and When to Skip a Round
Each gate costs something, and the useful question is what it buys. A printed model costs days and prevents a mould change caused by proportion. A filled sample costs a couple of weeks and prevents a stability failure discovered after the container is in volume production.
A gate can be skipped when it is already proven. If the container is a stock bottle and the brand is changing only the decoration, gate five is unnecessary because there is no mould to cut. If the shape is new, no gate is optional. Where the change is a label on an existing pack, the whole sequence collapses into one round, and saying so plainly is part of the advice.
What to Send PauPack to Start the Process
Send the sketch or the reference that the brand is aiming at, the fill volume, the closure direction, the target weight, the market, the annual volume and the filling method. Those seven points are enough to open gate one, and every later stage of the packaging prototype process is scheduled against them.
The accessories supply team quotes cap, liner, pump or dropper in the same response, so the closure is not a later surprise. Where the product is food or drink, the FDA guidance on food ingredients and packaging is worth reading alongside the design brief. On the glass itself, the USP reference on glass containers shows the inspection language a specification can borrow. When the seven points are ready, send the brief and PauPack will come back with the gate plan, the sample route and the tooling decision.
Questions Brands Ask About the Packaging Prototype Process
How long does a packaging prototype process take?
Seven to twelve weeks for a new glass mould, from drawing review to an approved trial run. The first four gates - drawing, material, look-like model and filled sample - usually take three to four weeks. Tooling and trial production account for the rest, and delays there are almost always caused by a drawing that moved after approval.
When should a brand make a 3D-printed model?
As soon as the shape is close, because it costs days rather than weeks. A printed model settles proportion, grip and label area, and it lets marketing photograph the direction before any tooling exists. Print it at the intended weight and wall thickness, or it will feel lighter and cheaper than the real bottle.
What can a printed model not prove?
Anything to do with glass, pressure or the finish. A print does not show wall distribution, seam quality, glass clarity or how a closure torques onto the real neck. Treat it as a shape decision only, and let the machined and filled samples answer the engineering questions.
Do I need a filled sample before tooling?
Yes, if the product inside matters. A filled sample shows the fill line, the headspace, the closure torque and whether the label still reads correctly once the bottle is full. Brands that approve an empty sample often find that the bottle looks smaller and the liquid colour changes the whole design.
How much does new tooling cost?
It depends on the format. A glass mould is the largest single cost in the project and it is quoted against the shape, the weight and the number of cavities. PauPack quotes the stock route and the custom route together with the crossover volume, so a brand can see how many units the mould needs to pay for itself.
Can a packaging prototype process start from a sketch?
A sketch is enough to begin. What it has to be paired with is the fill volume, the closure direction, the target weight, the market and the annual volume. With those five points a usable drawing can be produced, and the first review usually finds one constraint the sketch ignored.
Who should sign off each stage?
Name one person per side. The brand's decision maker signs the shape, the closure and the golden sample; PauPack signs the drawing, the tolerances and the trial record. Approvals that arrive from three directions are the most common reason a prototype round has to be repeated.
What is a golden sample?
The signed reference unit that later production is measured against, held with its drawing, material declaration, decoration reference and closure part number. It is the physical version of the specification, and it settles arguments about shade, weight and fit without returning to drawings.
Can we skip the trial run and go straight to mass production?
Only when the container is stock and unchanged, and even then a line trial is worth the day. For a new mould, skipping trial production moves the risk to a full run of glass. A single day of trial costs less than remelting a mass-produced batch.
What does PauPack deliver at the end of a prototype program?
The approved drawing with tolerances, the golden sample with its reference set, the decoration and closure specifications, a trial production record, tooling ownership terms and a quotation for the first mass run. The design team keeps the files in the project folder so a reorder behaves like the first order.