

A reed diffuser wick draw test measures how fast fragrance climbs the reeds and leaves the bottle, and it is the only test that predicts what the customer will say about throw before the product reaches a shelf. Brands often treat diffusion as a property of the fragrance oil alone. In practice it is a property of the oil, the reed, the neck bore and the ambient temperature acting together.
PauPack supplies diffuser bottles and diffuser packaging to home fragrance brands in Europe, North America and the Gulf, in formats from 50 ml desk bottles to 1 litre refills. The same failure appears across all of them: a bottle that smells strong on the sample bench and quiet three weeks later, because draw rate was never measured.
This page sets out the six measurements behind a reed diffuser wick draw test, the order to take them in, and the numbers that separate a working diffuser from a promising one.
What a Reed Diffuser Wick Draw Test Measures
Capillary draw moves fragrance from the reservoir to the exposed reed surface, where it evaporates and carries scent into the room. Every number in a reed diffuser wick draw test describes one part of that journey: how fast the liquid leaves the bottle, how far up the reed it reaches, how much surface stays wet, and how the rate changes as the bottle empties.
Two bottles can carry identical fragrance and deliver completely different throw, which is why a reed diffuser wick draw test is run on the finished pack rather than on a sample of oil. Reed count, reed diameter, neck bore and the gap around the reeds are all design variables, and all of them are set by the container.
Before the Test: Condition the Sample
Conditioning removes the variables that have nothing to do with the design. Fill the bottle to the working level, insert the reeds, and leave the assembly at 22 C for two hours so the reeds reach the same temperature as the liquid. Then lift and invert the reeds once, which is what a customer does on day one, and start the clock.
Record ambient temperature and note whether the room has air movement, because a diffuser placed near a doorway can lose fragrance twice as fast as one in a still corner. PauPack runs the reference reed diffuser wick draw test in still air and treats every other condition as a variant on that baseline.
Measurement One: Draw Rate Over 24 Hours
Weigh the assembly at zero, four and twenty-four hours. The four-hour figure tells you whether the reeds have wetted and draw has started; the twenty-four hour figure is the first number worth comparing between batches.
| Bottle size | Reeds | 24-hour loss | What it usually means |
|---|---|---|---|
| 100 ml | 5 reeds, 3 mm | 1.0 to 1.5 g | Right for a small room, quiet throw |
| 200 ml | 6 reeds, 3 mm | 1.6 to 2.4 g | The working band for a standard living space |
| 200 ml | 8 reeds, 4 mm | 2.8 to 3.6 g | Strong throw, shorter bottle life |
| 500 ml | 8 reeds, 4 mm | 2.5 to 3.5 g | Balanced for a long-life refill format |
| 1,000 ml | 10 reeds, 5 mm | 3.0 to 4.5 g | Needs a wide neck to keep air exchange adequate |
The figures assume a 22 C room and a mid-viscosity fragrance. A heavy base note oil can sit at forty percent below the top of the band and still smell correct in a small room, which is a design choice rather than a fault. PauPack treats the bands as starting points and re-bases them on the brand's own oil before any reed count is fixed.
Measurement Two: Wick Saturation and the Dry Tip
At twenty-four hours, cut one reed from the top, the middle and the base, and measure how far the colour has travelled. A correctly matched reed shows saturation over eighty percent of its length within a day. A reed that is wet only in the lower third has the right fragrance and the wrong reed.
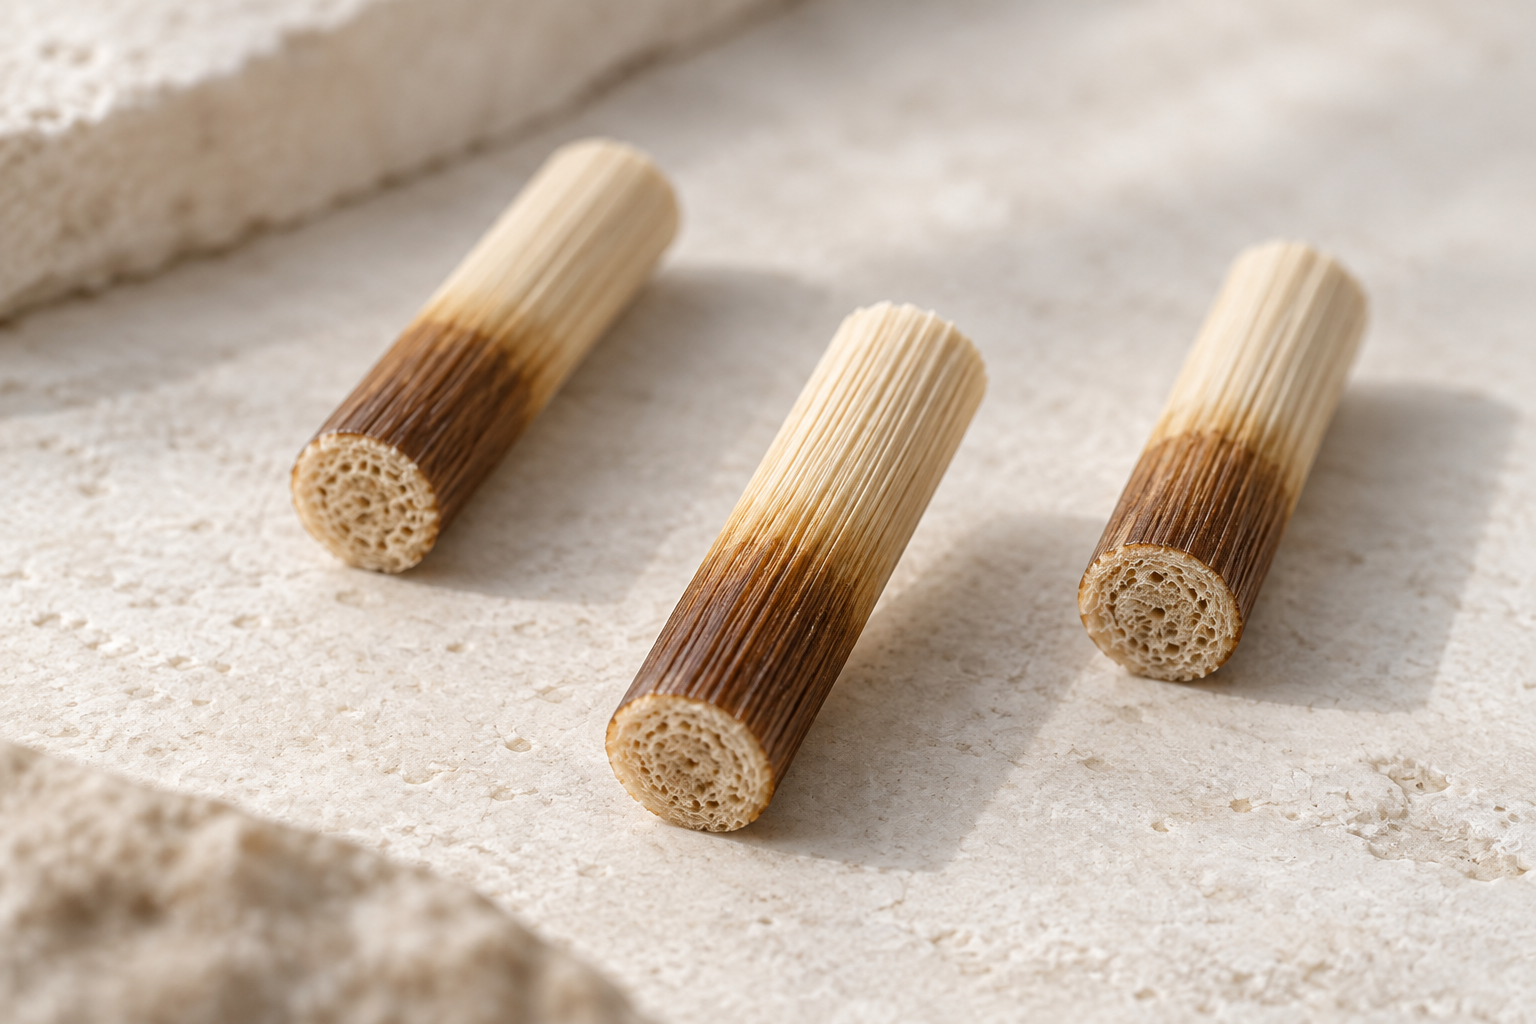
Dry tips have a second cause that is easy to miss: reeds that were cut with a crushing blade have closed pores at the end. A clean shear cut usually adds ten to fifteen percent to the draw height without changing anything else in the pack, which makes it the cheapest improvement in the whole test.
Measurement Three: Neck Fit and the Evaporation Gap
Air has to enter the bottle as fragrance leaves it, and the neck bore plus the space around the reeds decide how easily that happens. A neck that grips six reeds tightly can slow the draw noticeably, and the effect grows as the liquid level falls.
PauPack measures the free area around the reed bundle and keeps it above roughly thirty percent of the neck bore. Where the design calls for a narrow decorative neck, the answer is usually fewer reeds rather than a larger bottle, because the geometry is set by the mould. Getting this wrong is the most common reason a reed diffuser wick draw test looks healthy at four hours and disappointing at day ten.
Measurement Four: Colour and Oil Migration Up the Reed
Reeds pull colour as well as oil, and a pale fragrance in a dark amber bottle can still leave dark tips after a fortnight. We photograph the reeds against a neutral card at day one, day seven and day thirty and note any banding.
The check matters for two reasons. A dark tip on a light reed is a visible quality cue that customers notice, and a banded reed often means the fragrance carries suspended material that will settle in the bottle as well.
Measurement Five: Tilt, Leak and the Collar Seal
A diffuser spends far more time on its side than a cosmetic bottle does. Fill to the working level, cap the bottle and hold it at forty-five degrees for ten minutes, then inspect the collar, the thread and the carton base for wetness.
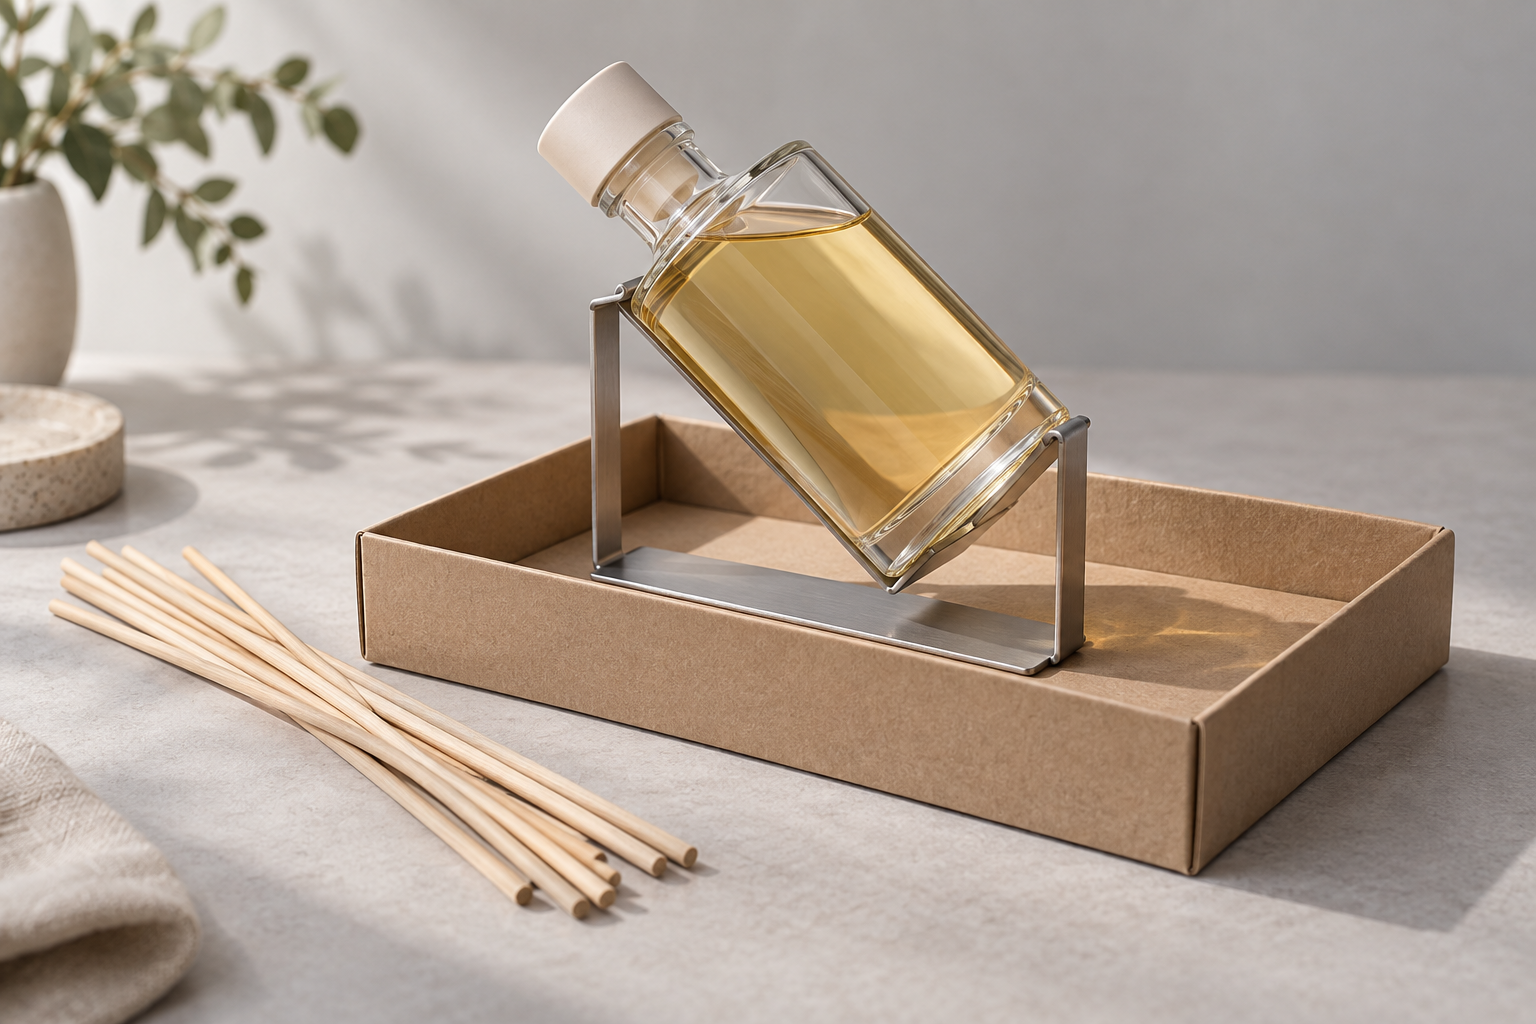
Repeat the tilt after the bottle has been open for a week, because reeds left in place change the internal pressure as the level drops. PauPack keeps the tested units and repeats the tilt at day seven and day thirty, since a seal that passes cold frequently fails warm.
Measurement Six: Thirty-Day Evaporation Curve
The last measurement is the shape of the curve rather than a single figure. Weigh at day one, three, seven, fourteen and thirty, then plot the daily loss. The curve is what makes a reed diffuser wick draw test predictive rather than descriptive, because it separates a bottle that starts fast from one that keeps working.
| Period | Healthy pattern | Warning pattern |
|---|---|---|
| Day 0 to 1 | Fast, 1.6 to 2.4 g on a 200 ml bottle | Under 0.8 g, reeds not wetted |
| Day 1 to 3 | Rate falls about 20 percent and steadies | Rate keeps falling, tip drying out |
| Day 3 to 14 | Flat line within 10 percent | Steady decline, neck starving the draw |
| Day 14 to 30 | Slow decline as the level drops | Sharp drop, reeds clogged with colour |
The Six Measurements as One Test Protocol
Run in this order, the protocol takes about forty minutes of hands-on time spread across a month, and it produces a specification that a second production run can be measured against.
- Fill to the working level and condition the assembly at 22 C for two hours.
- Weigh at zero and four hours to confirm the reeds have wetted.
- Weigh at 24 hours and record the daily loss against the table above.
- Cut one reed at three heights and photograph the saturation line.
- Measure the free area around the reed bundle against the neck bore.
- Tilt the capped bottle at forty-five degrees for ten minutes and inspect the carton base.
- Weigh again at day three, seven, fourteen and thirty and plot the curve.
- Repeat the tilt and the colour reading at day thirty, then write the numbers into the specification.
PauPack runs the protocol on the brand's own fragrance rather than a reference oil, because the difference between two fragrances at the same viscosity is often larger than the difference between two reed counts.
Choosing the Reed Count From the Bottle Diameter
Reed count follows the surface area of the fragrance, not the height of the bottle. A wide 200 ml bottle exposes more liquid surface than a tall 200 ml bottle, and it will draw faster with the same number of reeds.
The practical rule we use is one 3 mm reed per 30 mm of neck diameter for a standard throw, and one 4 mm reed per 25 mm for a strong throw. Brands selling into warm markets usually step one size higher, then reduce the reed count rather than the bottle size to protect bottle life.
What a Failed Draw Looks Like, and Why
Failures look the same across formats, and each one points at a specific part of the pack rather than at the fragrance as a whole.
| Symptom | Usual cause | First change to make |
|---|---|---|
| Strong for two days, then quiet | Reeds clogged with colour or a heavy base note | Move to a tighter-grain reed and re-check the free area |
| Never reaches full throw | Neck bore starving the draw | Reduce the reed count or open the neck |
| Dry tips at day one | Reeds crushed at the cut | Specify a clean shear cut on the reed supply |
| Bottle empties in three weeks | Reed count too high for the bottle size | Step down one reed size, keep the format |
| Wet ring under the bottle after transit | Collar seal relaxed at warm temperature | Re-run the tilt test at 30 C, then review the gasket |
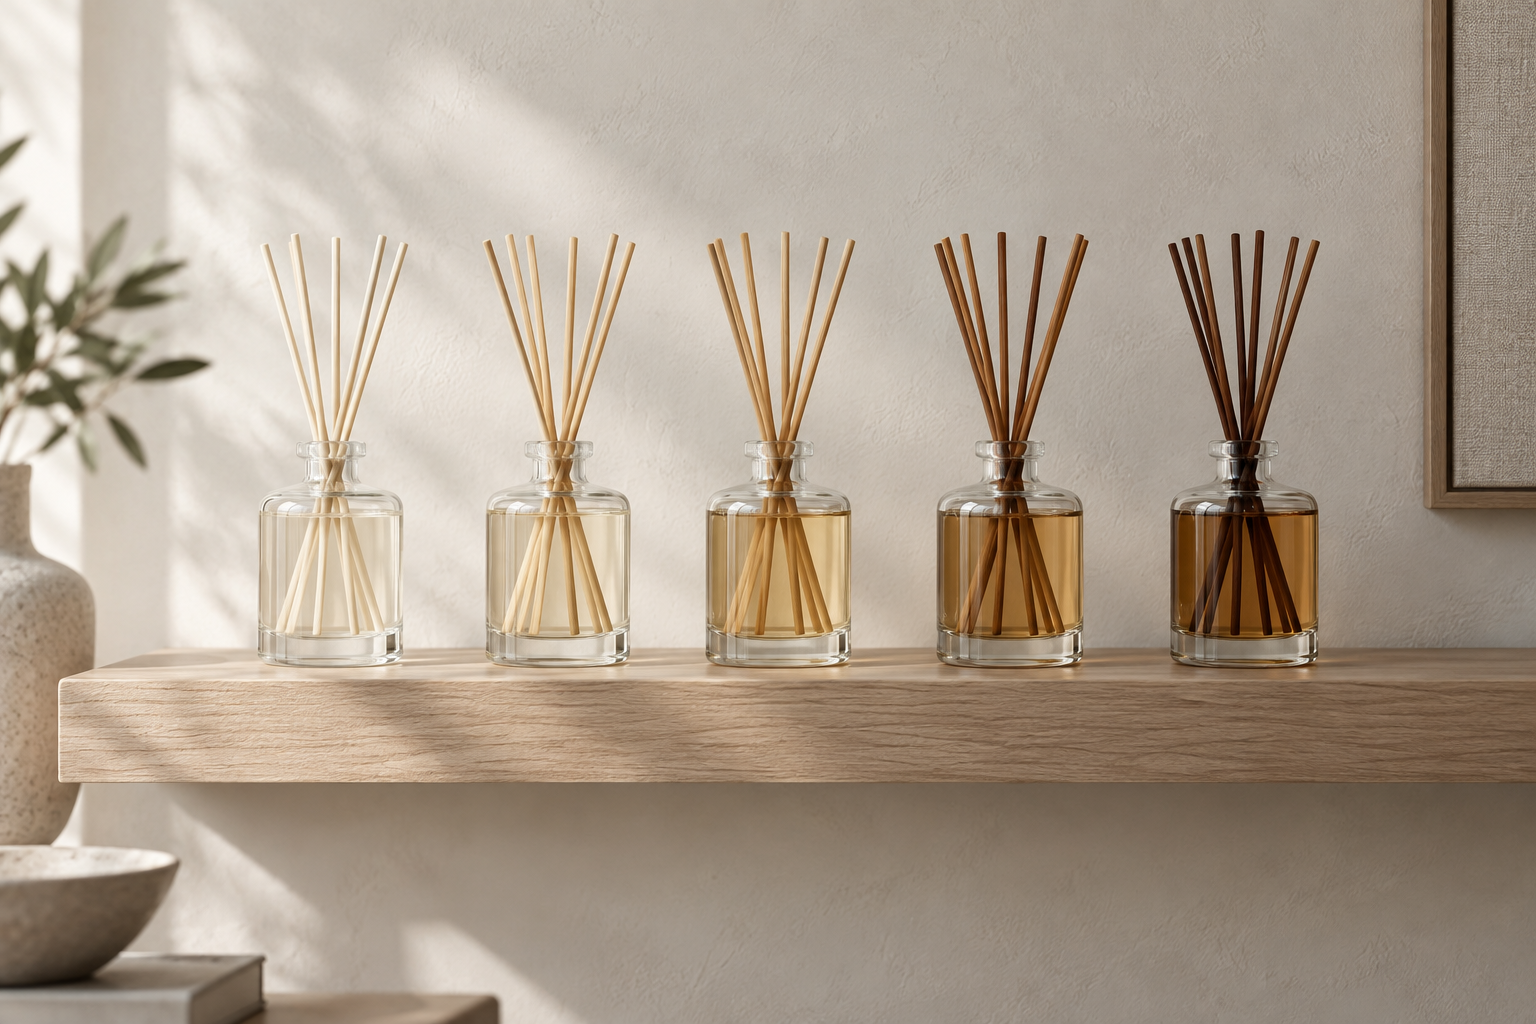
PauPack keeps the failed units from each trial for a month, because a bottle that draws poorly on day two often looks normal by day twenty. Comparing the two states is what identifies the cause with confidence, and it is why the retained sample matters as much as the test itself.
Records and Retained Samples
The record is nine lines long and it travels with the order: bottle size, neck bore, reed count and diameter, fragrance type, ambient temperature, four-hour and 24-hour weights, saturation height, tilt result and the curve. Photographs of the reeds at day one and day thirty finish the file, and PauPack stores a copy with the batch so a repeat order can be compared without repeating the month.
Where the diffuser also carries a safety instruction or a warning statement, the packaging itself becomes part of the claim, and the CPSC statutes and standards are a sensible reference for how consumer packaging statements are written and checked in the United States.
What PauPack Prepares Before a Diffuser Trial
A diffuser trial needs the production bottle, the production neck finish and the intended reeds. PauPack prepares reed diffuser bottles in the finish and decoration the brand has chosen, and supplies glass diffuser bottles wholesale with reference reeds from the same lot that will be used in production.
Brands developing a full range usually pair this test with branded diffuser packaging and the closure checks in diffuser bottle sample testing. Where the same house also sells candles, the candle jar sample testing protocol covers the parallel set of measurements, and custom diffuser bottle moulds are quoted from the neck bore the draw test settles on.
Reed Diffuser Wick Draw Test: The Questions Brands Ask
What is a reed diffuser wick draw test?
It measures how quickly and evenly fragrance travels from the bottle up the reeds, using weight loss, wick saturation and surface colour as the evidence. A reed diffuser wick draw test turns a subjective comment about throw into numbers that a second batch can be measured against.
How long does a draw test take?
The first reading arrives at four hours and the meaningful result at 24 hours. A full test runs thirty days, because draw rate usually settles into a stable line after day three and that line is what predicts the customer's experience in week four.
How much fragrance should a diffuser lose per day?
A 200 ml bottle with six reeds typically loses 1.6 to 2.4 grams of fragrance per day at 22 C in still air. Below 1.2 grams the throw is usually weak; above 3 grams the bottle empties before the customer expects it to.
Why do my reeds stay dry at the top?
Three causes cover most cases: reeds that were compressed rather than cut, a neck opening that is too small to let air replace the rising liquid, or a fragrance with a viscosity high enough to slow capillary movement. Start by checking the neck bore, because that is the cheapest change.
Does the number of reeds change the draw rate?
It does, and not linearly. Going from four reeds to eight on a 100 ml bottle roughly doubles the exposed surface and the daily loss, but it also lowers the height the liquid climbs. Most brands settle on six for a 200 ml bottle and eight for a 500 ml bottle.
Can a draw test be run on a plain sample bottle?
It should be. Run the test on the production bottle with the production neck, because the neck diameter sets how much air enters as the liquid leaves. PauPack supplies trial bottles at the production finish rather than a laboratory equivalent.
What temperature should the test run at?
Hold the sample at 22 C in still air for the reference reading, then repeat at 30 C if the product ships to a warm market. Draw rate roughly doubles between those two points, and a bottle that behaves well at 22 C can empty twice as fast on a shop floor in summer.
Why does the fragrance change colour in the reeds?
Reeds are porous and pull colour with the oil, so a pale liquid in the bottle can leave dark tips. Using natural reeds with a tighter grain reduces the effect, and the check belongs in the test rather than in the customer's first complaint.
How should the bottle be tilted to test the seal?
Fill to the working level, cap and hold the bottle at forty-five degrees for ten minutes, then inspect the collar and the carton base. A diffuser is often stored on its side during transport, so the USP packaging and storage requirements are a useful reference for treating orientation as part of the pack qualification.
What belongs on the test record?
Bottle size, neck bore, reed count and diameter, fragrance type, ambient temperature, the four-hour and 24-hour weights, the colour reading, the tilt result and a photograph. Those nine lines let PauPack reproduce the result on the next production run without repeating the full month.