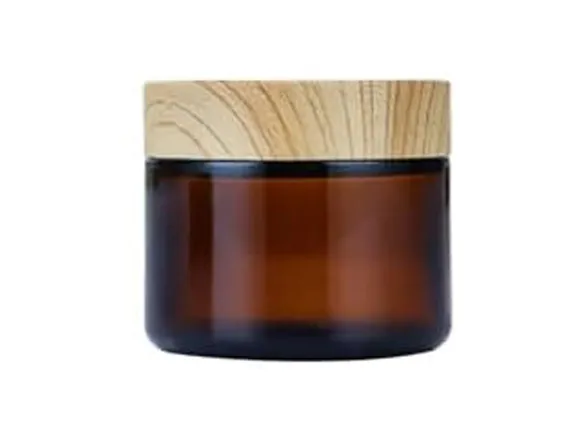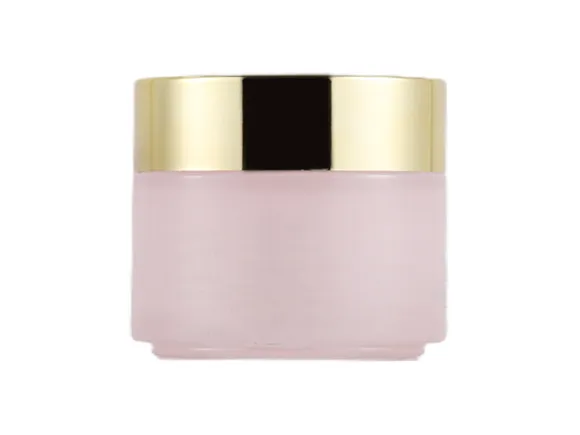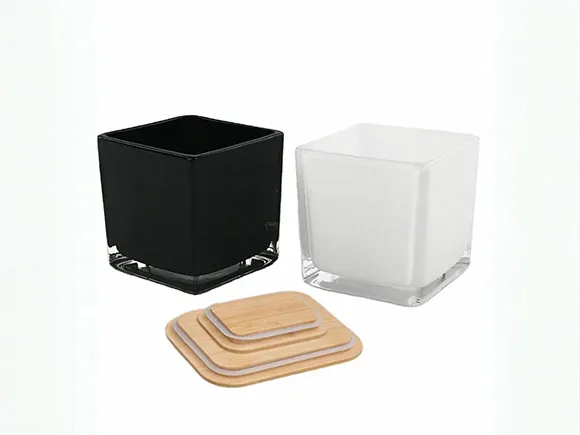


A candle vessel can look flawless when empty and still fail during filling, burning, transport or customer use. That is why candle jar sample testing should be treated as a staged approval process, not a quick visual inspection.
The purpose of a sample program is to answer three questions: Is the vessel suitable for the intended candle system? Can the supplier reproduce the approved appearance? Can the finished product survive its real distribution environment?
The workflow below separates those questions so buyers can identify problems before a bulk order.
Stage 1: Confirm the Sample Represents the Proposed Order
Begin by recording exactly what arrived. Note the jar model, dimensions, glass color, unit weight, finish, lid, packing method, supplier, sample date and sample version.
Do not combine samples from different versions in one test. A change in wall thickness, base profile, coating, lid or production lot can change the result.
Create a sample ID and photograph the vessel from the front, side, top and base. Keep at least one unused reference sample for comparison after testing.
The supplier's bottle manufacturing process can also inform which dimensions, finish controls and production records should be included in the approval discussion.
Stage 2: Inspect Empty-Vessel Geometry and Appearance
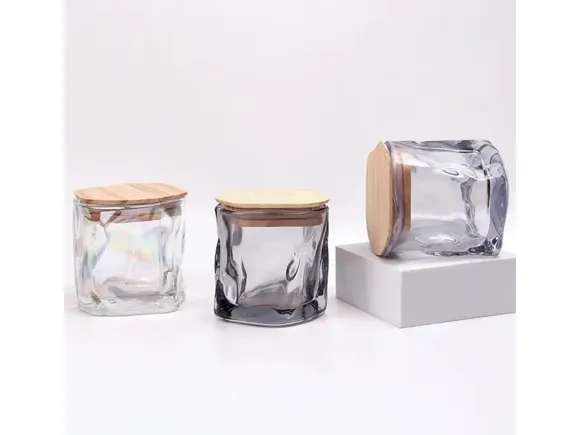
Measure the points that matter to filling and presentation:
- Overall height and outside diameter
- Inside opening diameter
- Base thickness and stability
- Rim flatness and visible edge condition
- Lid fit and clearance
- Label or print area
- Empty vessel weight
Then inspect the glass or surface finish under consistent light. Look for visible seeds, stones, sharp edges, cracks, uneven color, coating gaps, scratches, distorted shapes and bases that do not sit steadily.
Not every visual variation has the same importance. Define which conditions are critical, major or minor for the brand before judging production lots.
Stage 3: Test the Candle System, Not the Jar Alone
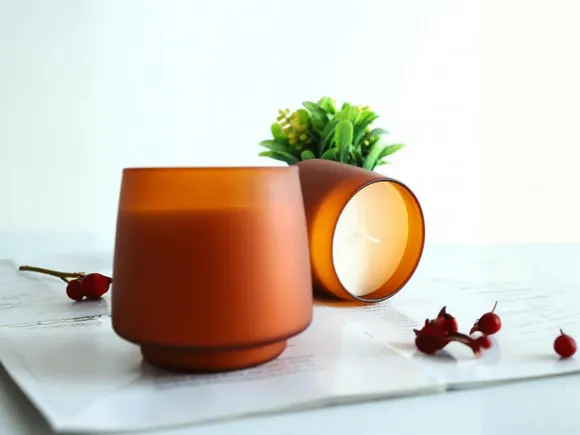
A meaningful test uses the intended wax, fragrance load, wick, fill weight, curing process and lid. Changing the candle system can change heat distribution and burn behavior.
The brand or candle manufacturer should design the burn-test method for the actual product. Record the environment, burn intervals, flame behavior, melt pool, soot, vessel temperature observations, wick condition and any visible change to the glass or decoration.
Packaging suppliers can provide vessel information, but they cannot replace finished-product validation by the candle brand. The completed candle, instructions and target market determine the final testing responsibility.
Stage 4: Review Lid Fit and Customer Handling
The lid is part of the product experience and the shipping system. Check whether it sits level, removes smoothly and remains secure during handling.
For wood, metal, glass or other lid formats, review:
- Fit consistency across several samples
- Gasket or liner placement
- Visible gap around the vessel
- Scratching between lid and jar
- Odor transfer where relevant
- Changes after storage
- Compatibility with labels, dust covers or carton inserts
A lid that is too tight can damage decoration or frustrate the user. A loose lid can rattle, detach or create inconsistent shelf presentation.
Stage 5: Test Decoration After Heat and Handling
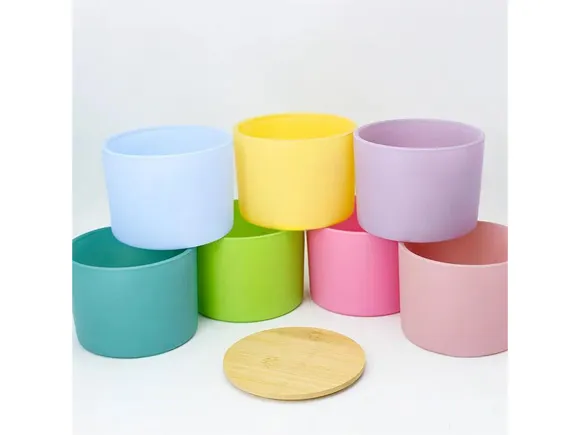
Coatings, frosting, labels, printing and metallic details should be checked before and after the candle test. Heat, wax residue, fingerprints and repeated handling can reveal weaknesses that are not visible on a new sample.
Use a written comparison:
| Area | Before test | After test | Acceptance decision |
|---|---|---|---|
| Color and coating | Uniformity, shade, coverage | Discoloration, blistering, softening | Accept, revise or reject |
| Printing | Position, sharpness, opacity | Lifting, smearing, loss of contrast | Accept, revise or reject |
| Label | Alignment, bubbles, edge lift | Adhesive change, curling, staining | Accept, revise or reject |
| Lid finish | Color, scratches, fit | Heat effect, abrasion, odor | Accept, revise or reject |
Photograph samples in the same lighting before and after testing. Written descriptions alone make small changes difficult to compare.
Stage 6: Simulate Packing and Distribution
The jar is shipped empty to the filler and later shipped as a finished candle. Both journeys matter.
Evaluate the proposed dividers, trays, individual protection, carton strength and pallet plan. For e-commerce products, also consider parcel handling and the space around the finished candle inside the consumer pack.
After a handling or transit test, inspect for cracks, chipped rims, decoration rub, lid movement, broken inserts and contact between vessels. A premium jar with weak secondary packing is not a premium delivery experience.
Stage 7: Turn Test Results into an Approval Standard
Testing only creates value when the result becomes a production requirement. The final approval record should include:
- Approved vessel and lid samples
- Dimensions and agreed tolerances
- Color or finish reference
- Artwork position and print standard
- Defect examples and classification
- Packing method
- Required production inspection
- Version and approval date
Keep the approved standard available to procurement, quality, the filler and the packaging supplier. If the product changes, review whether the validation must be repeated.
Candle Jar Sample Testing Failure Signals
Cracks or visible damage
Stop the evaluation and investigate the sample, packing and candle system. Do not treat a structural issue as a cosmetic defect.
Unstable or uneven base
Check whether the condition is isolated or repeated. A vessel that rocks can affect filling, labeling and customer use.
Coating or printing change
Review surface preparation, decoration process, curing, handling and exposure during the candle test.
Lid inconsistency
Measure both the lid and jar interface. Confirm that samples came from the intended component combination.
Damage after shipping simulation
Investigate carton geometry, dividers, void space, unit orientation and palletization before changing the jar automatically.
A Practical Sample Quantity Plan
One beautiful sample is not enough to show consistency. Request enough units to separate appearance review, candle testing, lid testing, packing evaluation and retained references.
The right quantity depends on the test design and the number of colors, finishes, lids and candle formulas. List each combination in a sample matrix so that no variant is approved by assumption.
PauPack's candle jar collection includes clear, colored and decorated vessel options. Buyers can also review types of candle jars when narrowing the initial format.
What to Send the Supplier After Testing
Return one consolidated document rather than separate comments from design, quality and procurement. Mark every issue with a photo, sample ID, location, severity and requested action.
Separate required corrections from preferences. A dimensional or safety-related concern should not be mixed with a request to make the color slightly warmer.
Before production, confirm which sample version is final, which changes have been incorporated and what evidence will be used for bulk inspection. PauPack's quality management page outlines the role of controlled quality processes in packaging production.
Successful candle jar sample testing ends with a repeatable standard, not a general statement that the sample looks good. That standard protects the candle brand, filler, supplier and customer from avoidable ambiguity.
Buyers ready to compare vessel options can review PauPack's broader packaging products or contact the packaging team with the candle format, fill weight, finish, lid and sample requirements.
Frequently Asked Questions
Can an empty candle jar sample confirm that the jar is safe for a candle?
No. The completed candle system must be tested with the intended wax, fragrance, wick, fill, curing process and use instructions. Empty-vessel inspection is only one stage.
Should decoration be tested with the candle inside?
Yes. Review coating, printing and labels before and after relevant heat, handling, storage and product-use tests.
How many candle jars should be requested for sample testing?
The quantity should cover every vessel, color, finish, lid and candle-system combination, plus packing tests and retained reference units. Build a sample matrix before ordering.
What records should be kept after candle jar approval?
Keep approved samples, dimensions, finish references, artwork position, defect standards, packing instructions, test results, approval date and version history.