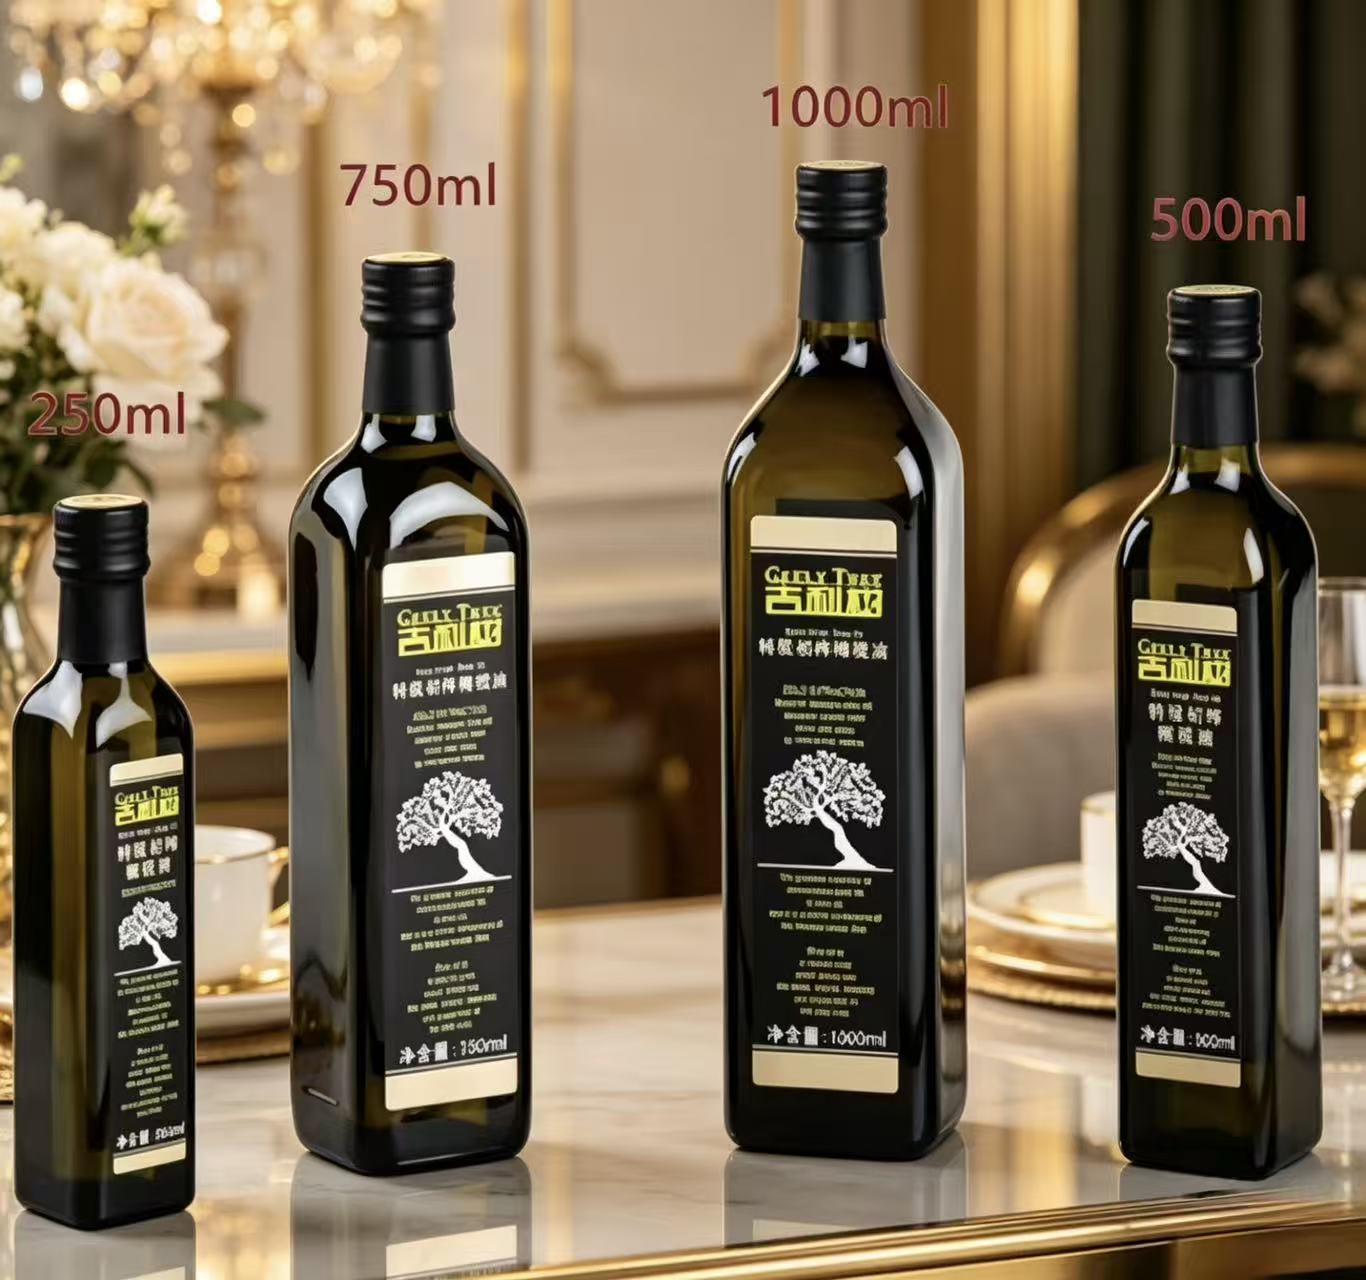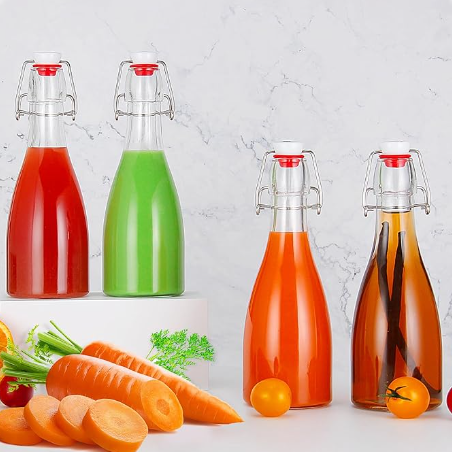
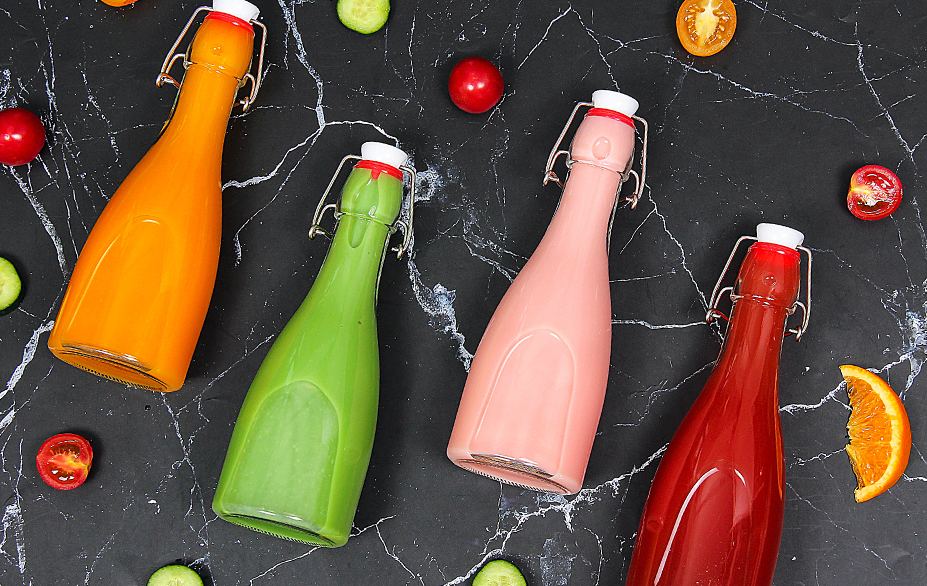
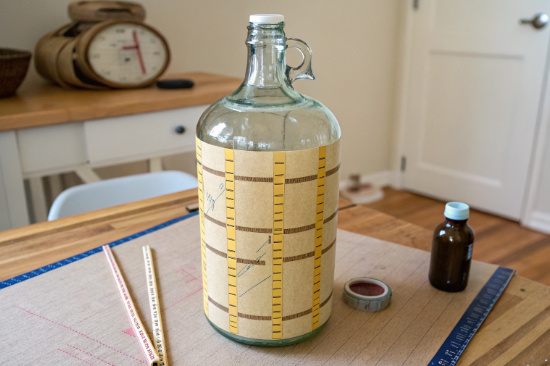
Glass bottles are timeless, elegant, and versatile containers that serve countless purposes in everyday life and creative projects. Whether you want to repurpose empty bottles into decorative lamps, hanging planters, or unique craft pieces, drilling holes in glass bottles is a skill that opens up endless possibilities. At Paupacking, we specialize in premium-qualityGlass Bottlesdesigned to meet the needs of both hobbyists and professionals. This comprehensive guide will provide you with detailed, practical, and safe methods to drill holes in glass bottles effectively, helping you unlock the full potential of your glass bottle projects.

Why Drill Holes in Glass Bottles?
Drilling holes in glass bottles is not just a technical task; it is a gateway to creativity and innovation. Understanding the reasons behind drilling holes can inspire you to explore new ideas and applications.
-
Functional Transformation:By adding holes, you can convert simple glass bottles into functional items like hanging planters, lampshades, or liquid dispensers. For example, a hole near the neck of a bottle can accommodate a spout or tube for pouring liquids.
-
Decorative Appeal:Holes allow you to thread wires, ropes, or chains through bottles, creating stunning hanging decorations or wind chimes that add charm to any space.
-
Gardening Uses:Drilled bottles can serve as self-watering planters or terrariums, where holes provide drainage or ventilation.
-
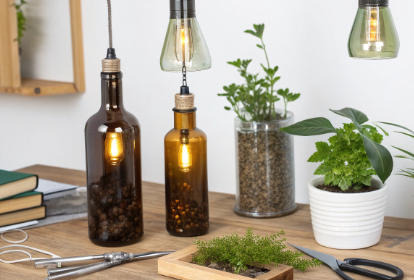
Lighting Projects:Incorporating holes lets you insert electrical wiring or candle holders, turning bottles into beautiful light fixtures.
-
Recycling and Upcycling:Drilling holes is a sustainable way to repurpose bottles, reducing waste and promoting eco-friendly creativity.
At Paupacking, our selection of durable and aesthetically pleasingGlass Bottlesis ideal for these projects, ensuring your drilled bottles maintain integrity and visual appeal.
Essential Tools and Materials for Drilling Glass Bottles
Before you begin, assembling the right tools and materials is crucial for success and safety. Here is a detailed list with explanations:
-
Glass Bottles:Start with high-quality bottles from Paupacking’s extensive range ofGlass Bottles. Their uniform thickness and premium glass quality reduce the risk of cracking.
-
Power Drill:A variable-speed power drill is preferred for better control. Cordless drills offer convenience, but corded drills provide consistent power.
-
Diamond-Coated or Carbide Drill Bits:These specialized bits are designed to cut through hard surfaces like glass and ceramics without shattering them.
-
Masking or Packaging Tape:Applying tape over the drilling spot prevents the drill bit from slipping and helps create a guide.
-
Safety Gear:Protective gloves and safety goggles are essential to protect your hands and eyes from glass shards.
-
Spray Bottle with Water:Cooling the drill bit and glass surface with water prevents overheating and reduces the risk of cracks.
-
Marker or Grease Pencil:For precise marking of the drilling spot.
-
Plumber’s Putty or Silicone Sealant:Useful for creating a small water reservoir around the drilling area to keep it wet.
-
Sandpaper or Diamond File:For smoothing rough edges after drilling to prevent cuts and improve aesthetics.
-
Work Surface:A sturdy, flat surface with a non-slip base or padding to stabilize the bottle during drilling.
Having all these materials ready before starting will streamline the process and minimize errors.
Step-by-Step Guide to Drilling Holes in Glass Bottles
1. Preparation and Planning
Preparation is the foundation of a successful drilling project. Begin by selecting the right bottle from Paupacking’s diverseGlass Bottlescollection, considering size, shape, and glass thickness based on your project’s requirements.
-
Clean the Bottle Thoroughly:Remove labels, dirt, and oils using warm soapy water and a scrubber. Residue can interfere with drilling precision.
-
Dry Completely:Moisture on the surface can affect tape adhesion and marking clarity.
-
Apply Masking Tape:Place one or two layers of tape over the drilling spot. This tape acts as a cushion, preventing the drill bit from wandering and cracking the glass.
-
Mark the Spot:Use a marker or grease pencil to mark the exact point on the tape where you want to drill. Double-check the placement to ensure it aligns with your project design.
-
Check Bottle Thickness:Thicker glass requires more patience and sometimes larger drill bits. Knowing the thickness helps you adjust drilling speed and pressure.
2. Setting Up Your Workspace
A stable and safe workspace is essential to prevent accidents and ensure precision.
-
Stabilize the Bottle:Place the bottle on a flat surface with a non-slip mat or a piece of scrap wood underneath to absorb vibrations.
-
Positioning:The bottle should be secure but not under stress that could cause it to crack. Avoid holding the bottle with your hands while drilling.
-
Lighting:Good lighting helps you see the drill bit and mark clearly.
-
Water Cooling Setup:To keep the drill bit and glass cool, use a spray bottle to mist water continuously. Alternatively, create a small dam around the drilling spot with plumber’s putty and fill it with water to submerge the drill area partially.
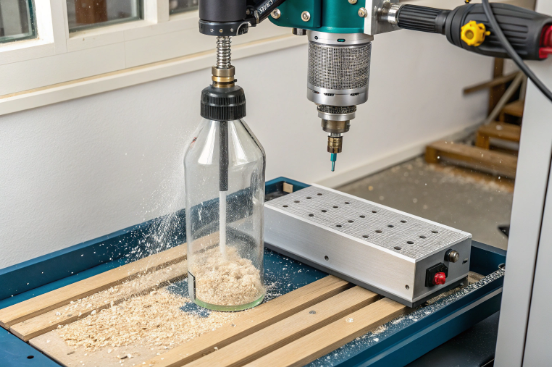
3. Drilling Process
Drilling glass requires patience, precision, and a gentle touch.
-
Attach the Correct Drill Bit:Use a diamond-coated or carbide bit sized appropriately for your hole.
-
Start at an Angle:Begin drilling at a 45-degree angle to create a small groove, which helps the drill bit grip the glass surface.
-
Slowly Move to Vertical:Once the groove is established, gradually bring the drill to a perpendicular position relative to the bottle surface.
-
Low Speed and Light Pressure:Set your drill to the lowest speed setting. Apply gentle, steady pressure—too much force can cause the glass to crack or shatter.
-
Keep the Area Wet:Continuously spray water on the drill bit and the drilling spot. This prevents overheating, reduces friction, and helps remove glass dust.
-
Pause and Cool:If the drill bit or glass feels hot, pause drilling to allow cooling. Overheating is a common cause of cracks.
-
Drill Through Slowly:Depending on the glass thickness, drilling can take several minutes. Resist the urge to rush.

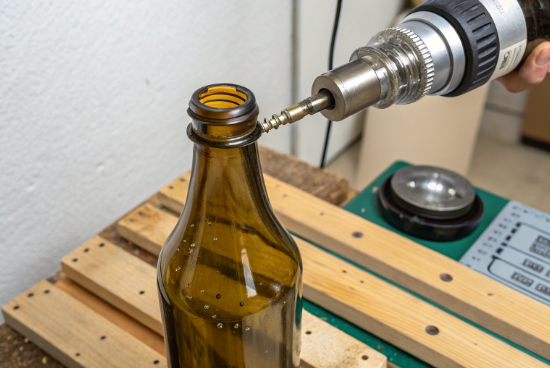
4. After Drilling
Once the hole is complete, finishing touches are necessary for safety and appearance.
-
Remove Tape Carefully:Peel off the masking tape gently to avoid chipping the drilled area.
-
Smooth Edges:The hole edges may be sharp or uneven. Use fine-grit sandpaper, a diamond file, or a glass grinder to smooth the edges thoroughly.
-
Clean the Bottle:Rinse the bottle with water to remove glass dust and debris. Dry it with a soft cloth.
-
Inspect for Cracks:Examine the bottle carefully for any cracks or chips that may have developed during drilling.
Alternative Method: Using a Soldering Iron to Make Holes
For those without access to power drills, a soldering iron offers an alternative method to create holes, especially larger ones, in glass bottles.
Materials Required
-
Glass bottle from Paupacking’sGlass Bottlesrange
-
High-quality soldering iron with a pointed tip
-
Marker for marking the drilling spot
-
Protective gloves and safety goggles
-
Heat-resistant surface for working
Method Overview
-
Mark the Spot:Clean and dry the bottle, then mark the desired hole location.
-
Heat the Soldering Iron:Plug in and allow the soldering iron to reach its maximum temperature.
-
Apply Heat Gradually:Press the hot tip gently against the glass at the marked spot. The glass will start to melt slowly.
-
Rotate the Bottle:To avoid uneven heating and cracking, rotate the bottle slowly while maintaining contact with the soldering iron.
-
Create the Hole:Continue heating until the glass melts through, forming a hole.
-
Cool Down:Gradually cool the bottle by spraying water or letting it sit at room temperature to avoid thermal shock.
Advantages and Considerations
-
This method is suitable for larger holes where drill bits may be impractical.
-
It requires patience and steady hands to avoid cracking.
-
The edges of holes made by this method may be rougher and require more finishing work.
Tips for Successful Drilling and Hole Making
-
Practice First:Use scrap or inexpensive bottles to practice drilling before working on your final piece.
-
Distance from Edges:Always drill holes at least one inch away from the bottle’s edges or seams to reduce the risk of cracking.
-
Use a Drill Press:If available, a drill press provides better control and stability than a handheld drill.
-
Maintain Constant Cooling:Never let the drill bit or glass dry out during drilling; continuous water application is critical.
-
Don’t Rush:Slow and steady drilling is safer and more effective.
-
Use the Right Drill Bit Size:Starting with a smaller bit and gradually increasing size can help create cleaner holes.
-
Wear Safety Gear:Always protect your eyes and hands.
-
Work in a Well-Ventilated Area:Glass dust can be harmful if inhaled.
Safety Precautions
Working with glass requires strict safety measures to prevent injury.
-
Eye Protection:Always wear safety goggles to protect from flying glass shards.
-
Gloves:Use cut-resistant gloves to protect your hands.
-
Work Area:Keep your workspace clean and free of clutter.
-
Disposal:Collect and dispose of glass shards safely in a rigid container.
-
Keep Children and Pets Away:Glass drilling is not safe around children or animals.
-
Avoid Excessive Force:If the glass cracks, stop immediately to prevent injury.
Why Paupacking Is Your Best Choice for Glass Bottles
Paupacking stands out as a trusted supplier of premiumGlass Bottlesthat cater to diverse needs. Our bottles are crafted with precision and quality materials, ensuring durability and aesthetic excellence. Whether you are a craftsperson, business owner, or hobbyist, Paupacking offers:
-
Wide Variety:From clear to amber, frosted to colored glass, in multiple sizes and shapes.
-
Consistent Quality:Uniform thickness and high-grade glass reduce breakage risk.
-
Eco-Friendly Packaging:Sustainable and protective packaging to reduce environmental impact.
-
Competitive Pricing:Affordable options without compromising quality.
-
Customer Support:Expert advice and assistance for your projects.
Choosing Paupacking’sGlass Bottlesmeans investing in reliability and beauty, making your drilling projects more successful and enjoyable.
Comparison Table: Drilling Methods for Glass Bottles
| Method | Tools Needed | Hole Size Range | Difficulty Level | Cooling Method | Best For |
|---|---|---|---|---|---|
| Power Drill with Diamond Bit | Power drill, diamond drill bit, masking tape, water spray | Small to medium (1/8" to 1") | Moderate | Continuous water spray | Precise, clean holes for crafts |
| Soldering Iron Method | Soldering iron, marker, gloves | Medium to large holes | High | Gradual water cooling | Larger holes, terrariums |
| Manual Scoring & Breaking | Glass cutter, marker | Small holes (requires breaking) | Difficult | N/A | Simple cuts, not precise holes |
Extended Applications of Drilled Glass Bottles
Drilling holes in glass bottles unlocks a world of creative and practical applications beyond the basics.
-
Hanging Planters:By drilling holes near the neck or sides, you can thread ropes or chains to hang bottles filled with soil and plants, perfect for urban gardening or decorative indoor greenery.
-
Lamp Fixtures:Holes allow wiring to pass through, enabling the conversion of bottles into unique lamps or chandeliers that add ambiance to any room.
-
Watering Systems:Drilled bottles can serve as self-watering containers for plants, where holes control water flow and drainage.
-
Decorative Art:Threading lights or beads through drilled holes creates stunning visual effects for events or home décor.
-
Wind Chimes:Multiple drilled bottles can be strung together, producing pleasant sounds when moved by the breeze.
-
Liquid Dispensers:Adding holes for spouts or pumps transforms bottles into soap dispensers or beverage containers with controlled flow.
Maintenance and Care for Drilled Glass Bottles
To ensure longevity and safety, maintain your drilled glass bottles properly:
-
Clean Gently:Use mild soap and water; avoid abrasive cleaners that can weaken glass.
-
Inspect Regularly:Check for cracks or chips around drilled holes.
-
Handle with Care:Avoid dropping or knocking bottles, especially near drilled areas.
-
Smooth Edges:If roughness develops, re-sand edges to prevent injury.
Conclusion
Mastering the art of drilling holes in glass bottles is both rewarding and practical. With the right tools, techniques, and safety measures, you can transform Paupacking’s exquisiteGlass Bottlesinto beautiful, functional masterpieces. Whether for personal projects or commercial applications, this skill enhances your creative potential and supports sustainable reuse of glass materials.
Explore Paupacking’s extensive range ofGlass Bottlestoday and start your next innovative project with confidence and quality you can trust.