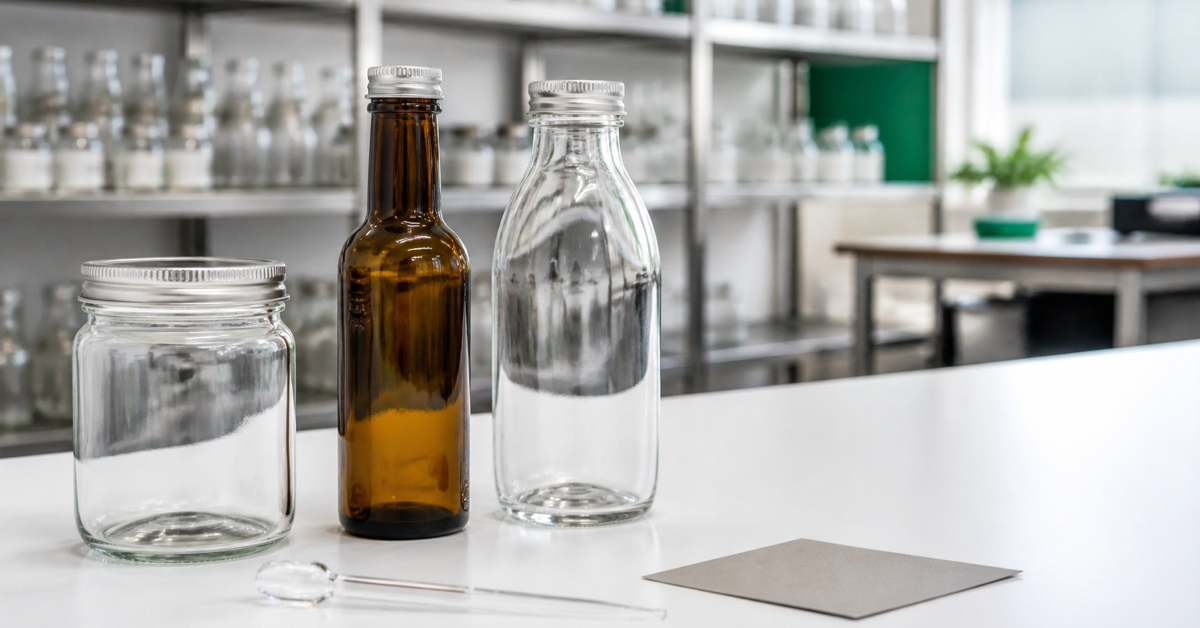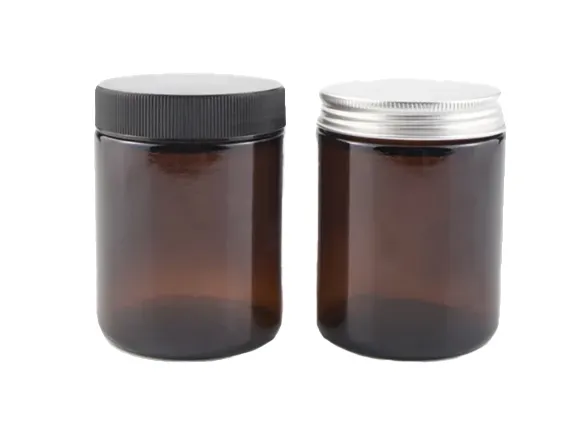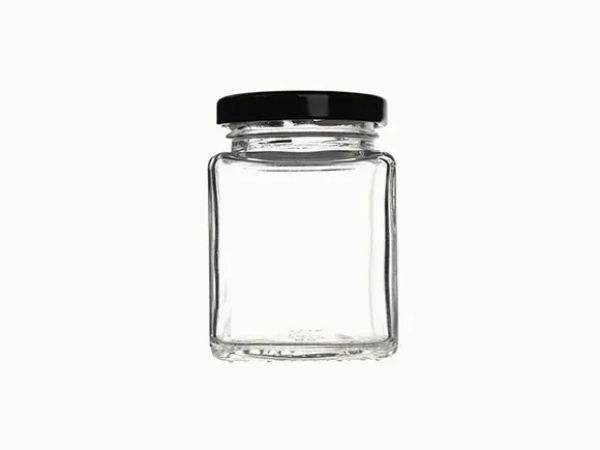


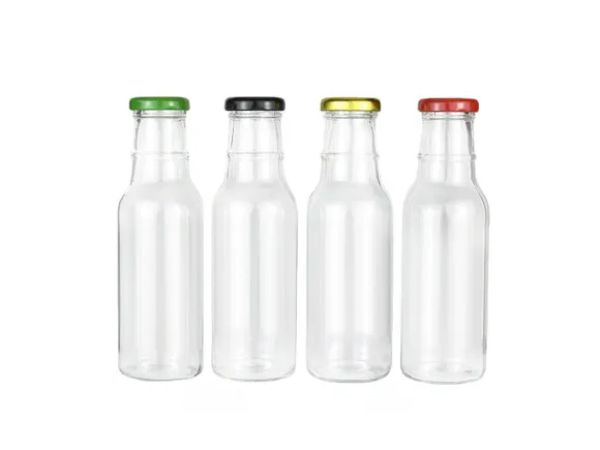
A beverage bottle sample should be used to find failure modes before a bulk order. A sample that looks correct on a desk has not yet proved that it can be filled, closed, labeled, packed and distributed in the intended system.
This beverage bottle sample testing method uses six test stations. Each station answers a different procurement question and creates a record for approval.
Station 1: Confirm Capacity, Fill and Headspace
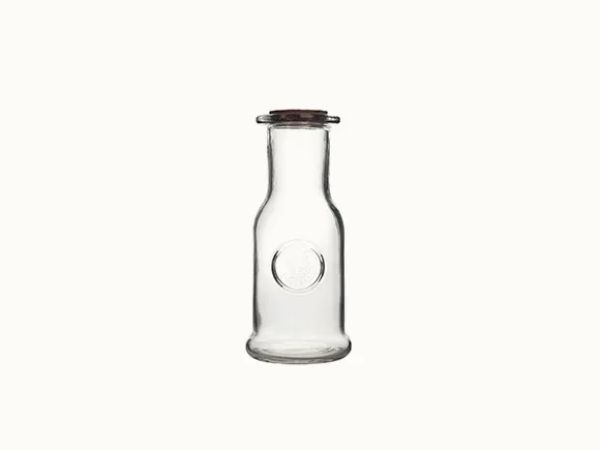
Fill the bottle with the intended beverage or a technically appropriate trial agreed by the product team. Record target net content, actual fill quantity, visual fill line and headspace.
Check:
- Usable capacity
- Bottle stability during filling
- Foaming or product behavior relevant to the process
- Nozzle clearance
- Product around the rim or neck
- Visual consistency across several samples
PauPack's food and beverage packaging and juice bottle range can support early format comparison.
Station 2: Test the Closure System
Use the production-intended closure and application method. Review alignment, application consistency, opening experience and leakage under conditions relevant to the product.
Record the bottle and closure references together. A cap that fits one sample does not prove interchangeability with visually similar bottles.
| Failure mode | What to observe | Follow-up question |
|---|---|---|
| Incomplete closure | Cap height or alignment varies | Is application method controlled? |
| Product at rim | Residue affects closure area | Does filling need adjustment? |
| Leakage | Moisture appears after orientation or handling | Is bottle, cap or application the cause? |
| Difficult opening | Consumer force is excessive | Is closure specification appropriate? |
Station 3: Match the Test to the Beverage Process
The test plan must reflect the real product and process. Hot filling, cold filling, carbonation, fermentation, pasteurization or other conditions can require different validation by the product owner, filler and technical specialists.
Do not apply a pressure or thermal test simply because it appears on a generic checklist. Define the condition, method, acceptance criterion and responsible expert first.
Station 4: Check Label and Decoration Performance
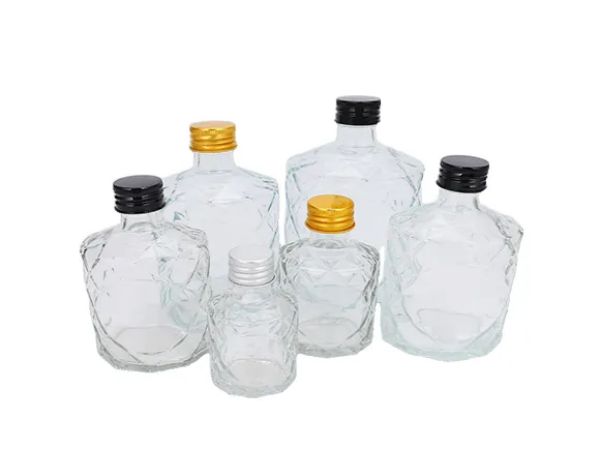
Apply the real label or production-style decoration after the bottle has been filled and handled as expected.
Review:
- Label panel size and curvature
- Adhesion and edge lift under relevant storage
- Readability at shelf distance
- Position relative to fill line and bottle features
- Scuffing during case packing
- Batch and product-identification areas
PauPack's custom design service can support the relationship between bottle geometry and artwork.
Station 5: Run the Distribution Pack Test
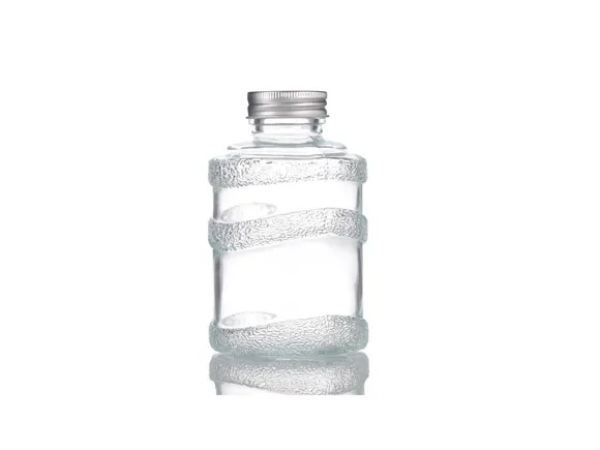
Test the finished bottle with closure, label, retail carton if used, dividers and export carton. Match the plan to the actual distribution route.
Observe:
- Bottle movement inside the carton
- Glass-to-glass contact
- Closure protection
- Label or coating abrasion
- Carton deformation
- Product identification after handling
For e-commerce, include the secondary packaging used for individual orders. For pallet or distributor shipments, confirm case and divider performance.
Use PauPack's quality management and services pages when writing the inspection and pack-out requirements.
Station 6: Create a Defect and Decision Record
The purpose of beverage bottle sample testing is not to produce a pass/fail opinion without evidence. Create a record for each issue.
Use these fields:
- Sample and component reference
- Test condition
- Observation
- Defect category
- Likely source
- Corrective action owner
- Retest required
- Final decision
Photographs should include scale and sample identification where useful.
Use a Red-Yellow-Green Approval Board
Organize decisions visibly:
Green: Approved
The sample meets the defined criteria and can become part of the production reference.
Yellow: Conditional
The concept is acceptable, but one component, process or specification needs confirmation before bulk release.
Red: Stop
The sample fails a critical functional, filling, packing or product requirement and should not progress until the cause is resolved.
This board helps commercial and technical teams see the same project status.
Keep a Retained Sample Set
Retain the approved bottle, closure, label and packed configuration. Store it with drawings, artwork, test records and acceptance criteria.
The previous PauPack guide for a custom juice bottle manufacturer shows how these tests fit into a wider development-gate process.
Convert Observations into Release Criteria
Before the final review meeting, convert every station result into a criterion that production and inspection teams can use. Avoid statements such as "label looks good" or "closure seems tight." Record the measurable condition, method, sample quantity and decision owner.
An approval sheet can include:
| Area | Release criterion | Evidence |
|---|---|---|
| Fill | Target quantity and visual line stay within the agreed range | Filled samples and line record |
| Closure | Application, alignment and leakage meet the defined method | Closure test sheet |
| Label | Position and adhesion meet the approved reference | Artwork sample and photographs |
| Packing | No unacceptable contact, movement or damage after the selected test | Packed sample and test report |
Mark which criteria are supplier-controlled, filler-controlled or jointly controlled. For example, the supplier may control dimensional inspection while the filler controls application settings. This ownership map prevents a defect from being discussed without a responsible corrective action.
Release only the exact combination tested. If the closure liner, bottle weight, label stock or carton divider changes, decide which stations must be repeated. A controlled retest is faster than discovering after shipment that a small substitution changed the complete system.
Final Procurement Decision
Approve the component system, not an isolated bottle. Confirm filling, closure, decoration, packing and the relevant product-specific tests before production release.
A strong beverage bottle sample testing program finds the expensive questions while changes are still relatively easy to make.
Frequently Asked Questions
How many beverage bottle samples should be tested?
Use enough units to compare every bottle, closure, decoration and packing combination and to retain approved references.
Can water be used for beverage bottle testing?
Water may support limited dimensional or handling checks, but the product team should define when the actual beverage or a technically appropriate trial is required.
What should a beverage closure test include?
Review application, alignment, opening, leakage and performance under storage and distribution conditions relevant to the product.
What records should be kept after approval?
Keep samples, drawings, component references, artwork, test conditions, results, defect decisions and packing instructions.