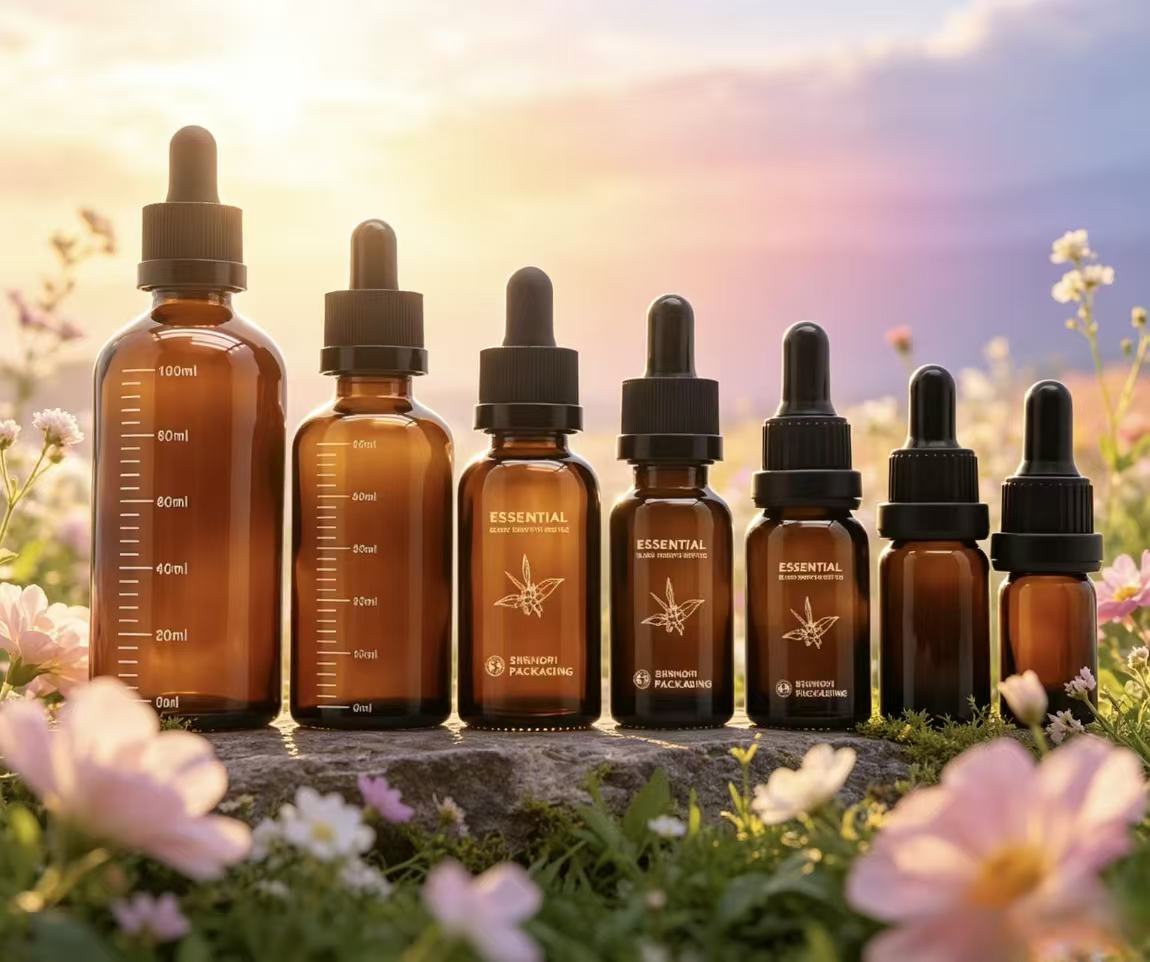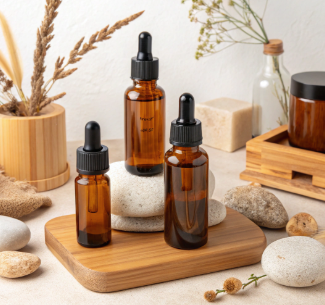
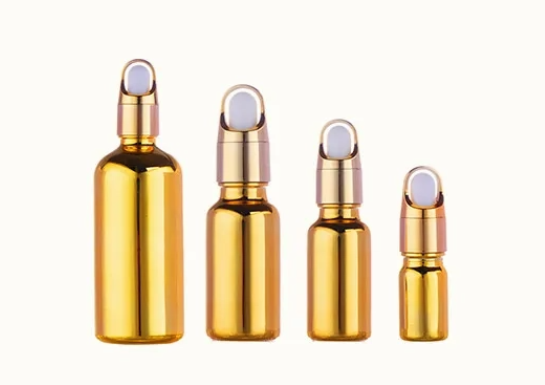
Maintaining yourEssential Oil Bottleclean is essential for preserving the integrity, aroma, and therapeutic efficacy of your essential oils. As the packaging plays a vital role in the aromatherapy industry, Paupack provides premium quality glass essential oil bottles that support both sustainability and ease of maintenance. This comprehensive guide will expand on each crucial cleaning step in detail to ensure you achieve the highest standards in bottle care, reaching a full depth appropriate for 2025’s demanding market and user expectations.
| Step No. | Cleaning Aspect | Description | Key Tips |
|---|---|---|---|
| 1 | Emptying Residual Oil | Complete removal of leftover oils to prevent contamination | Use absorbent materials such as Epsom salts or rice |
| 2 | Disassembling Bottles | Taking apart all removable components | Use care and appropriate tools to avoid damage |
| 3 | Removing Labels and Adhesive | Methods to safely detach labels and remove glue residues | Warm soap washes, citrus oils, and alcohol application |
| 4 | Cleaning the Bottle Interior | Techniques for dissolving oils and eliminating residue | Alcohol soaks combined with agitation techniques |
| 5 | Cleaning External Surfaces | Removing dirt, fingerprints, and glue from the outside | Use gentle cleaning cloths and mild detergents |
| 6 | Sanitizing and Disinfecting | Procedures to kill germs and mold | Vinegar soak, isopropyl alcohol, UV sterilization |
| 7 | Drying and Storage | Best drying practices and proper bottle storage | Air drying inverted in clean environments |
| 8 | Cleaning Caps and Droppers | Detailed cleaning of smaller bottle components | Soaking and scrubbing with soft tools |
| 9 | Dealing with Persistent Odors | Neutralizing stubborn scents after usual cleaning | Baking soda paste, charcoal, repeated vinegar soaks |
| 10 | Preparing for Refill or Reuse | Final inspection and bottle readiness | Check for damage, dryness, and seal integrity |
1. Emptying Residual Oil
Thoroughly emptying all residual essential oil before beginning the cleaning process is crucial to avoid cross-contamination and maintain oil purity. Essential oils are highly concentrated and even the smallest leftover amounts can affect new batches’ quality.
Techniques and Tips:
-
Absorbent Fillers:Pour materials like Epsom salts, uncooked rice, or baking soda into the bottle. Seal and shake lightly, then leave for 48–72 hours. These substances absorb lingering oils effectively, making them easier to clean later.
-
Solvent Rinse:Add warm water mixed with a food-safe solvent such as high-proof vodka or isopropyl alcohol to the bottle. Seal and shake vigorously to dissolve oil residues. Pour out the solution, repeating as necessary to clear the bottle interior.
-
Safety Considerations:Always dispose of oil-soaked absorbents and solvents responsibly to minimize environmental impact. Avoid very hot water or harsh chemicals that might damage bottle components or seals.
By investing time in this initial step, you ensure the following cleaning phases remove oils and scents more thoroughly, preserving the bottle’s reusability and product integrity.

2. Disassembling Bottles
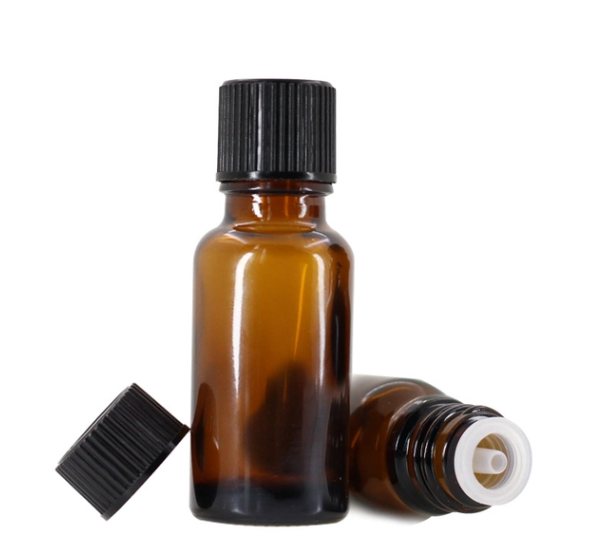
The design of Paupack’sEssential Oil Bottlesoften includes removable caps, droppers, and orifice reducers intended to facilitate precise dispensing and efficient cleaning.
Detailed Approach:
-
Careful Separation:Use gentle force when unscrewing and separating parts to avoid damaging delicate glass or seals. Utilize small tools, such as rubber jar openers or precision tweezers, to loosen tight components safely.
-
Component Sorting:Lay out recoiled parts in a clean, organized area to prevent loss. Keeping track of all pieces ensures accurate reassembly after cleaning.
-
Importance:Internal components like droppers and caps can trap oils and bacteria. Disassembly enables thorough cleaning of these intricate parts, essential for hygiene and product safety.
Disassembling not only increases contact surface area for cleaning agents but also speeds up drying, reducing risks of mold and odor formation.
3. Removing Labels and Adhesive
Stubborn labels and adhesive residues can harbor dirt and bacteria, degrade bottle appearance, and interfere with hygiene. Safe, effective methods exist to completely remove them without damaging the glass or coatings.
Step-by-step Techniques:
-
Soaking for Softening:Submerge bottles in warm soapy water for 20–30 minutes. This loosens stickers and glue, allowing easy peeling.
-
Natural Oils:Apply citrus-based oils or oil-infused cleaners (lemon or orange) on glued areas with a soft cloth. These natural solvents break down adhesive bonds while being gentle on glass.
-
Alcohol Application:For especially tenacious glue, lightly dab isopropyl alcohol or rubbing alcohol onto the residue, then rub gently. Avoid acetone or harsh chemicals that may affect bottle finishes.
-
Clean Rinsing:After label removal, rinse thoroughly under running water to eliminate any residual solvent or loosened glue.
Removing every trace of adhesive enhances both appearance and hygiene, preparing your bottles for beautification or resale.
4. Cleaning the Bottle Interior
The inner surfaces of yourEssential Oil Bottleaccumulate oils that form thin films and odors challenging to eliminate without proper methods.
Recommended Techniques:
-
Alcohol Rinses:Filling the bottle partially with 70% or higher alcohol and swirling vigorously dissolves grease and oil. Leave to soak for 15–30 minutes before draining.
-
Mechanical Agitation:Adding a few tiny sterile glass or stainless-steel beads to the bottle and shaking vigorously physically loosens oil residues.
-
Soft Brushes:Use flexible, narrow bottle brushes designed for essential oil bottles to scrub interior walls manually. This step is great for persistent residues.
-
Enzymatic Cleaners:Eco-friendly enzymatic detergents designed to digest organic residues can be a gentle alternative for delicate bottles and reduce chemical usage.
-
Repeated Washes:For thorough cleansing, perform multiple iterations of soaking, agitation, rinsing, and drying.
Paupack bottles are engineered for chemical resistance and durability, making them ideal for repeated intensive cleaning without loss of structural integrity.
5. Cleaning External Surfaces
The outside of your bottle often accumulates fingerprints, dust, and adhesive remnants detracting from visual appeal and clean presentation.
Best Practices:
-
Gentle Cloths:Use soft microfiber or lint-free cloths with warm water and mild dish detergent to wipe external surfaces. Avoid abrasive materials that may scratch or dull glass.
-
Spot Removal:For stubborn spots, gently rub with a soft sponge or brush, taking care around labels or decorative finishes.
-
Aftercare:Dry surfaces with a clean microfiber cloth and consider glass-safe polishing sprays to restore sparkle and remove water spots.
-
Regular Maintenance:Frequent external cleaning prevents buildup and maintains professional product presentation.
This step ensures that the presentation quality of your bottles matches the premium oils inside, maintaining customer confidence.
6. Sanitizing and Disinfecting
Sterility is critical when working with essential oils as microbial contamination can compromise product safety and shelf life.
Effective Methods:
-
Vinegar Solution:Dilute white vinegar with equal parts water for a natural disinfectant soak lasting 15–20 minutes. Vinegar’s acidity kills many bacteria and neutralizes odors naturally.
-
Isopropyl Alcohol Wipes:For droppers, caps, and bottles, alcohol immersion or wiping with 70%+ alcohol instantly disinfects, but avoid prolonged exposure to rubber or plastic parts which may degrade.
-
UV Sterilization:In professional or large-scale use, ultraviolet sterilization devices efficiently sanitize surfaces without chemicals, protecting bottle materials from wear.
-
Rinsing:After sanitization, rinse bottles with distilled water to remove disinfectant residues and prevent irritation on skin-contact areas.
Combining cleaning and sterilizing guarantees your bottles meet health and safety standards, essential in retail and personal use.
7. Drying and Storage
Proper drying is essential to prevent mold growth and prolong bottle lifespan.
Guidelines:
-
Inverted Drying:Position bottles upside down on clean drying racks or sterile paper towels to ensure full drainage.
-
Air Circulation:Select dust-free, ventilated environments with moderate temperatures to optimize drying rates.
-
Avoid Heat Exposure:Do not use direct sunlight or high heat to dry bottles as it may weaken seals or degrade finishes.
-
Storage Conditions:Store dry, sealed bottles in cool, dark locations, preferably in their original packaging or sealed containers to block dust ingress.
These practices secure bottle hygiene between cleaning and reuse, sustaining the essential oils’ quality.
8. Cleaning Caps and Droppers
Caps and droppers are often overlooked yet vital components for hygiene due to their contact with oil and skin.
Detailed Care:
-
Soaking:Submerge caps and droppers in warm soapy water for 20–30 minutes, loosening oils and buildup.
-
Internal Cleaning:Use small plastic or silicone brushes to reach inside dropper tubes and orifice reducers gently.
-
Rinsing & Drying:Rinse thoroughly to clear detergents and air dry completely before reassembling.
Neglecting these parts causes odor carryover and contamination risks; hence, detailed cleaning ensures product purity.
9. Dealing with Persistent Odors
Sometimes, even thorough cleaning cannot eliminate strong residual scents from previous oils.
Effective Solutions:
-
Baking Soda Paste:Mix baking soda with water to form a paste, apply on the inside, and let sit overnight to bind odor molecules.
-
Activated Charcoal Sachets:Place charcoal sachets inside sealed bottles for prolonged odor absorption.
-
Repeated Vinegar Soaks:Multiple acidic soaks can neutralize remaining oils and smells.
-
Commercial Odor Neutralizers:Carefully used, these can assist stubborn odors but ensure compatibility with glass.
Persistence removes unwanted scents, preparing bottles fully for new essential oil fills without contamination.
10. Preparing for Refill or Reuse
Before returning your bottle to active use, conduct final quality checks.
Inspection & Preparation:
-
Check for Damage:Inspect bottles for chips, cracks, or scratches that can harbor bacteria or cause leaks.
-
Seal Test:Ensure caps and droppers fit tightly and function correctly.
-
Final Rinse:Use distilled or purified water for last rinses to avoid mineral deposits.
-
Complete Drying:Confirm no moisture remains inside or on components to prevent microbial growth.
Paupack glass bottles are designed to withstand multiple reuse cycles with minimal degradation, supporting sustainable practices and cost-efficiency.
Why Paupack’s Essential Oil Bottles Are Your Best Choice
Paupack’sglass essential oil bottlesexemplify durability, purity, and elegance. Manufactured for longevity and designed for easy cleaning and reuse, they contribute to sustainable aromatherapy packaging solutions for 2025 and beyond.
-
Premium Materials:Chemical-resistant glass and precision fittings protect oil integrity.
-
Functional Design:User-friendly components such as droppers and caps simplify cleaning and application.
-
Sustainability:Reusable, recyclable, and compatible with eco-conscious cleaning ensure environmental responsibility.
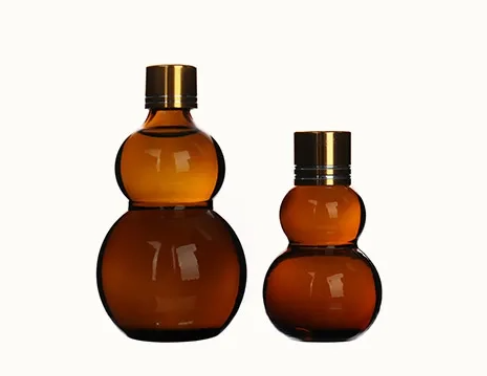
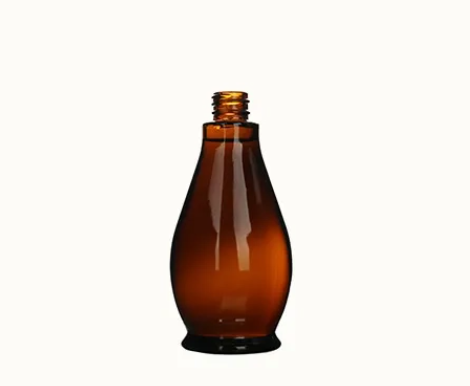
-
Customization:Available in various sizes, colors, and finishes to suit diverse branding needs.
Combining Paupack bottles with comprehensive, expert cleaning practices ensures your essential oils remain untainted, fresh, and appealing.
Discover our full range ofglass essential oil bottlestoday. Trust Paupack, your partner committed to quality, hygiene, and sustainability in essential oil packaging.