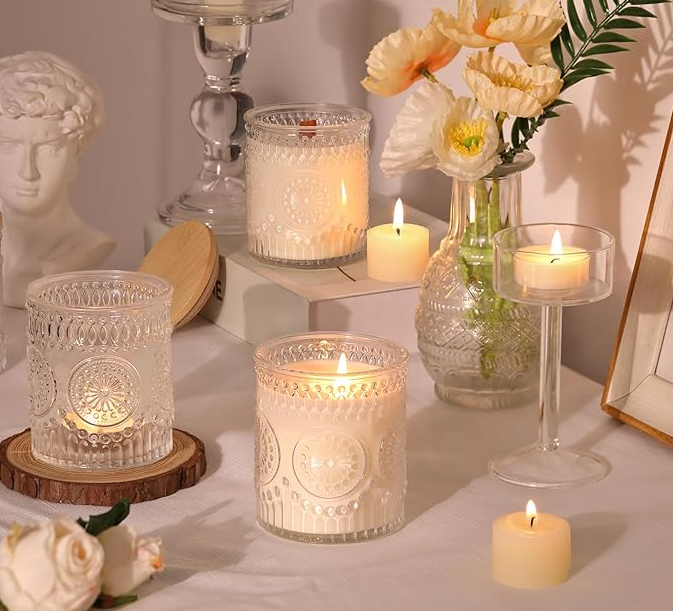
Candle jars are not only containers for beautiful, fragrant candles but also versatile vessels that can be reused for various purposes once the candle has burned down. However, one of the most common challenges candle users face is how to effectively remove leftover wax from theCandle Jarwithout damaging the jar or creating a mess.
Removing wax properly is essential for reusing the jar, whether for crafting, storage, or simply to recycle it. This comprehensive guide will walk you through multiple methods of wax removal, cleaning tips, safety precautions, and creative reuse ideas. Additionally, we will highlight howPaupackingoffers premium, durableCandle Jarsdesigned for easy cleaning and long-term use.

Why Remove Wax From Candle Jars?
Before exploring removal techniques, it’s important to understand why cleaning out wax from candle jars is beneficial:
1. Promote Sustainability and Reduce Waste
Reusing candle jars reduces the demand for new containers, cutting down on waste and environmental impact. Instead of discarding jars filled with hardened wax, cleaning them for reuse or recycling supports a circular economy.
2. Safety Considerations
Leftover wax in jars can pose a fire hazard if the jar is reused for candle-making without proper cleaning. Residual wax can ignite unevenly or cause flare-ups, so thorough wax removal is crucial for safety.
3. Preserve Aesthetic and Functional Value
Wax residue and soot buildup can make jars look unattractive and sticky. Cleaning restores the jar's clarity and smoothness, making it suitable for decorative or practical reuse.
4. Extend the Life of Quality Candle Jars
High-quality jars, like those from Paupacking, are made of thick, durable glass designed to withstand cleaning processes. Proper maintenance ensures these jars last longer and retain their beauty.
Common Challenges in Removing Candle Wax
Removing candle wax isn’t always straightforward. Wax can adhere strongly to glass, and some jars have narrow openings or intricate shapes that complicate cleaning. Additionally, heating wax improperly can cause glass to crack or release unpleasant fumes.
Understanding these challenges helps you choose the safest and most effective removal method for your jar.
Method 1: Freezing Method — A Gentle and Effective Approach
Why Freezing Works
Wax contracts and becomes brittle when frozen, making it easier to separate from the glass surface. This method avoids heat, reducing the risk of glass damage.
Step-by-Step Instructions
-
Place the candle jar in the freezer:Ensure the jar is upright and stable. Leave it in the freezer for at least 4-6 hours, preferably overnight for thick wax.
-
Remove the jar carefully:Take it out and inspect the wax.
-
Gently pry out the wax:Use a plastic spatula, butter knife, or spoon to loosen the wax. It should pop out in chunks.
-
Dispose of wax responsibly:Collect wax pieces and recycle or reuse them for candle-making.
-
Clean the jar:Wash with warm soapy water to remove any remaining residue.
Advantages
-
No heat involved, making it safe for all glass types.
-
Minimal mess and easy to perform with household freezers.
-
Preserves jar integrity.
Tips for Best Results
-
Use plastic or silicone tools to avoid scratching.
-
If wax is stubborn, repeat freezing or combine with warm water cleaning.
-
Avoid metal tools that may chip the glass.

Method 2: Hot Water Bath — Melting Wax for Easy Removal
How Hot Water Helps
Hot water melts the wax inside the jar, allowing it to float to the surface where it can be scooped out.
Detailed Procedure
-
Boil water:Heat water to near boiling.
-
Pour hot water into the jar:Fill about halfway to cover the wax.
-
Let the wax melt:Wait 10-15 minutes for the wax to soften and rise.
-
Remove solidified wax:Once the water cools, wax will harden on top. Scoop it out with a spoon or paper towel.
-
Discard wax properly:Never pour melted wax down the drain.
-
Wash the jar:Use warm soapy water and a sponge to clean any leftover residue.
Safety Precautions
-
Use thick glass jars to avoid thermal shock.
-
Avoid overfilling to prevent spills.
-
Handle hot water carefully to prevent burns.
Benefits
-
Effective for thick wax buildup.
-
Can be done with common kitchen supplies.
-
Allows reuse of wax if collected carefully.
Method 3: Oven Method — Efficient for Large Wax Deposits
Why Use the Oven?
Heating the jar in the oven melts wax thoroughly, allowing it to drip off easily.
Step-by-Step Guide
-
Preheat the oven:Set to 100°C (212°F).
-
Prepare a baking tray:Line with aluminum foil to catch dripping wax.
-
Place the jar upside down:Position the jar on the tray so wax drips onto foil.
-
Heat for 15-30 minutes:Monitor closely to prevent overheating.
-
Remove jar with oven mitts:Let it cool slightly.
-
Clean remaining wax:Use warm soapy water and a scrubber.
Advantages
-
Quick and thorough wax removal.
-
Suitable for multiple jars at once.
-
Minimal manual scraping required.
Important Safety Tips
-
Use heat-resistant gloves.
-
Do not exceed recommended temperature.
-
Ventilate the kitchen to avoid wax fumes.
Method 4: Hair Dryer Method — Targeted Wax Softening
When to Use This Method
Ideal for small wax patches or delicate jars that can’t be heated extensively.
How to Do It
-
Hold the jar securely:Use an oven mitt or towel.
-
Direct hot air:Aim a hair dryer at the wax spots on high heat.
-
Scrape softened wax:Use a plastic spatula to gently remove wax.
-
Wipe clean:Use paper towels or cloth.
-
Wash the jar:Finish with warm soapy water.
Pros and Cons
-
Safe for delicate jars.
-
Requires patience for larger wax amounts.
-
No risk of thermal shock.
Method 5: Double Boiler / Stove-Top Water Bath — Controlled Wax Melting
Why This Method Works
Indirect heat melts wax gently, reducing risk of glass damage.
Instructions
-
Fill a pot with simmering water.
-
Place the candle jar in a heatproof bowl or smaller pot.
-
Set the bowl inside the simmering water.
-
Allow wax to melt slowly.
-
Pour out melted wax carefully.
-
Clean jar with warm soapy water.
Benefits
-
Controlled heating prevents damage.
-
Allows wax reuse.
-
Suitable for thick or stubborn wax.
Cleaning and Removing Labels from Candle Jars
After wax removal, jars often have sticky labels or adhesive residue.
How to Remove Labels
-
Soak jars in warm soapy water for 30 minutes.
-
Peel off softened labels.
-
Use olive oil, rubbing alcohol, or commercial adhesive remover on sticky spots.
-
Scrub gently with a sponge.
-
Rinse and dry thoroughly.
How to Repurpose Clean Candle Jars
Clean candle jars can be reused creatively:
-
Storage containers:For spices, jewelry, or craft supplies.
-
Planters:Ideal for small succulents or herbs.
-
Decorative holders:For tea lights or fairy lights.
-
DIY candles:Refill with wax and new wicks.
-
Gift jars:Fill with treats or bath salts.
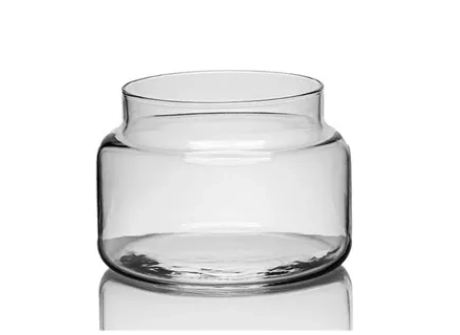
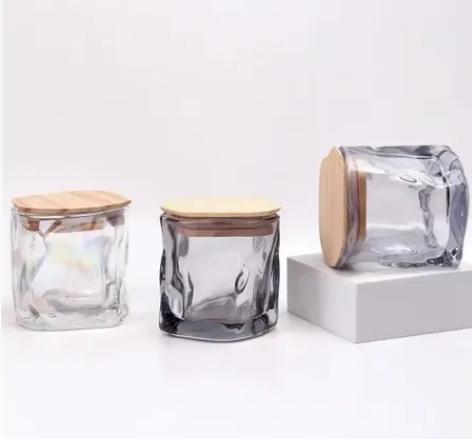
Why Paupacking’s Candle Jars Are the Best Choice
AtPaupacking, we offer premiumCandle Jarscrafted from thick, durable glass designed to withstand heating and cleaning processes. Our jars combine functionality with elegance, making wax removal easy and reuse enjoyable.
Features Include:
-
Variety of sizes and shapes.
-
Thick glass walls for durability.
-
Smooth interiors for easy cleaning.
-
Eco-friendly and recyclable materials.
-
Customizable options for branding.
Safety Tips for Wax Removal
-
Use heat-resistant gloves or mitts.
-
Avoid rapid temperature changes to prevent glass cracking.
-
Never pour melted wax down drains.
-
Work in well-ventilated areas.
-
Use plastic or silicone tools to avoid scratching.
Comparison Table: Wax Removal Methods for Candle Jars
| Method | Ease of Use | Safety | Effectiveness | Time Required | Best For |
|---|---|---|---|---|---|
| Freezing | Easy | Very Safe | Good | Several hours | Small to medium wax amounts |
| Hot Water Bath | Moderate | Safe with care | Very Good | 30-60 minutes | Thick wax, sturdy jars |
| Oven | Moderate | Moderate risk | Excellent | 15-30 minutes | Large wax, multiple jars |
| Hair Dryer | Easy | Safe | Moderate | 10-20 minutes | Small wax spots, delicate jars |
| Double Boiler | Moderate | Safe | Excellent | 30-60 minutes | Controlled heating, wax reuse |
Final Thoughts
Removing candle wax from aCandle Jaris a straightforward process when you choose the right method for your jar and wax type. Whether you prefer the gentle freezing method, the thorough hot water bath, or the efficient oven technique, each approach has its advantages.
Using high-quality candle jars like those fromPaupackingmakes wax removal safer and easier, thanks to their durable design and premium glass. Once cleaned, these jars offer endless possibilities for reuse, supporting sustainability and creativity.
Explore Paupacking’s full range ofCandle Jarstoday and discover packaging solutions that combine beauty, functionality, and environmental responsibility.