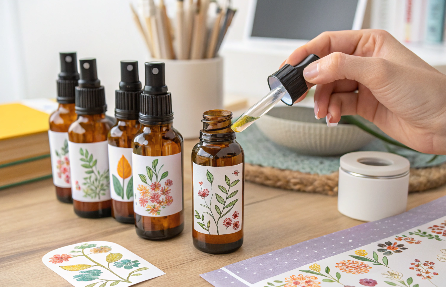
Whether you're crafting DIY essential oil blends, gifting handmade syrups, or launching your own beauty brand, a professional-looking label can make all the difference. Good news? You don’t need a factory setup to get it done.
To make bottle labels at home, design them using software like Canva or Word, print them on adhesive or waterproof label paper, and apply using a smooth, clean technique.
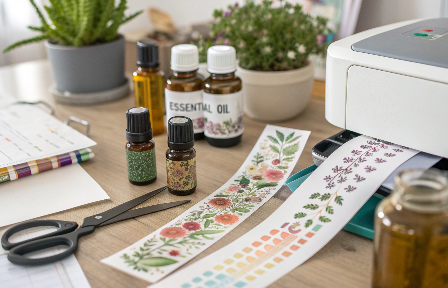
Let’s walk through tools, materials, and tricks to make your home-printed labels look polished and stay put.

How do you label bottles at home?
With the right materials and a steady hand, it’s easy.
To label bottles at home, create your design, print on adhesive label paper, trim the labels, and apply them to clean, dry bottles. Use a smoothing tool or your fingers to remove bubbles.
Supplies You’ll Need:
| Item | Purpose |
|---|---|
| Design Software | Canva, Word, Illustrator |
| Printer | Inkjet (for color) or laser |
| Label Paper | Glossy, matte, or waterproof adhesive paper |
| Scissors or Cutter | For trimming labels |
| Squeegee/Card | To smooth out air bubbles |
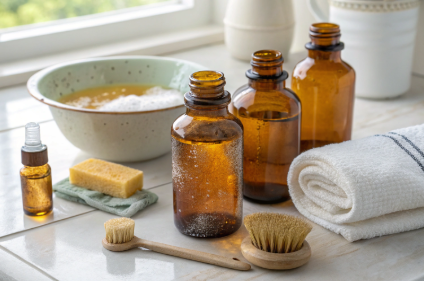
PauPack tip: For essential oil or cosmetic bottles, always use waterproof or oil-resistant paper to avoid smudging. We recommend vinyl or laminated sticker paper for long wear.
How do you make jar labels at home?
Jars are all about curves—plan for the shape.
To make jar labels at home, measure the jar surface, design a label that fits (front or wraparound), and use round or rectangle adhesive labels for easy application.
Design Tips for Jars:
-
Use template shapes in Canva or Avery Design & Print
-
Add a border or background for visibility on clear glass
-
Include product name, ingredients, date, or scent clearly
-
Use permanent adhesive if labeling for sale
For small batches, you can print on full-sheet label paper and cut custom shapes. If you plan to scale up, consider using PauPack’s label printing service for custom-designed waterproof labels.
What kind of paper do you use to make water bottle labels?
You need durability—especially against moisture.
Use waterproof or weatherproof label paper for water bottle labels, especially if they’ll be chilled or exposed to condensation.
Best Label Papers:
| Type | Features | Best For |
|---|---|---|
| Vinyl/Polyester | Waterproof, durable | Essential oils, water bottles |
| Glossy Adhesive Paper | Great color, basic splash resistance | Gift packaging, short-term use |
| Matte Adhesive Paper | Easy to write on | Handmade goods, trial runs |
| Clear Sticker Sheets | Transparent finish | Sleek packaging, logo overlays |
For long-term use, always laminate or spray-seal printed labels to protect ink from smearing.
Can you make your own labels at home?
Yes—and you can make them look professional with simple tools.
You can easily make your own labels at home using free templates, printable sticker sheets, and a basic inkjet or laser printer.
Steps to DIY Labels:
-
Design your label (free tools: Canva, Avery.com)
-
Print on the correct paper (check printer compatibility)
-
Cut precisely—use a paper trimmer for clean edges
-
Apply to clean, dry bottles
-
Seal if needed (spray or laminate)
Want your products to look shelf-ready? PauPack offers packaging design services, including label templates tailored to glass, PET, or aluminum bottles in our catalog.
Conclusion
You can absolutely make bottle labels at home—just combine the right design tools, waterproof paper, and careful application. Whether you’re crafting gifts or selling your own products, DIY labels can look clean, professional, and brand-ready.