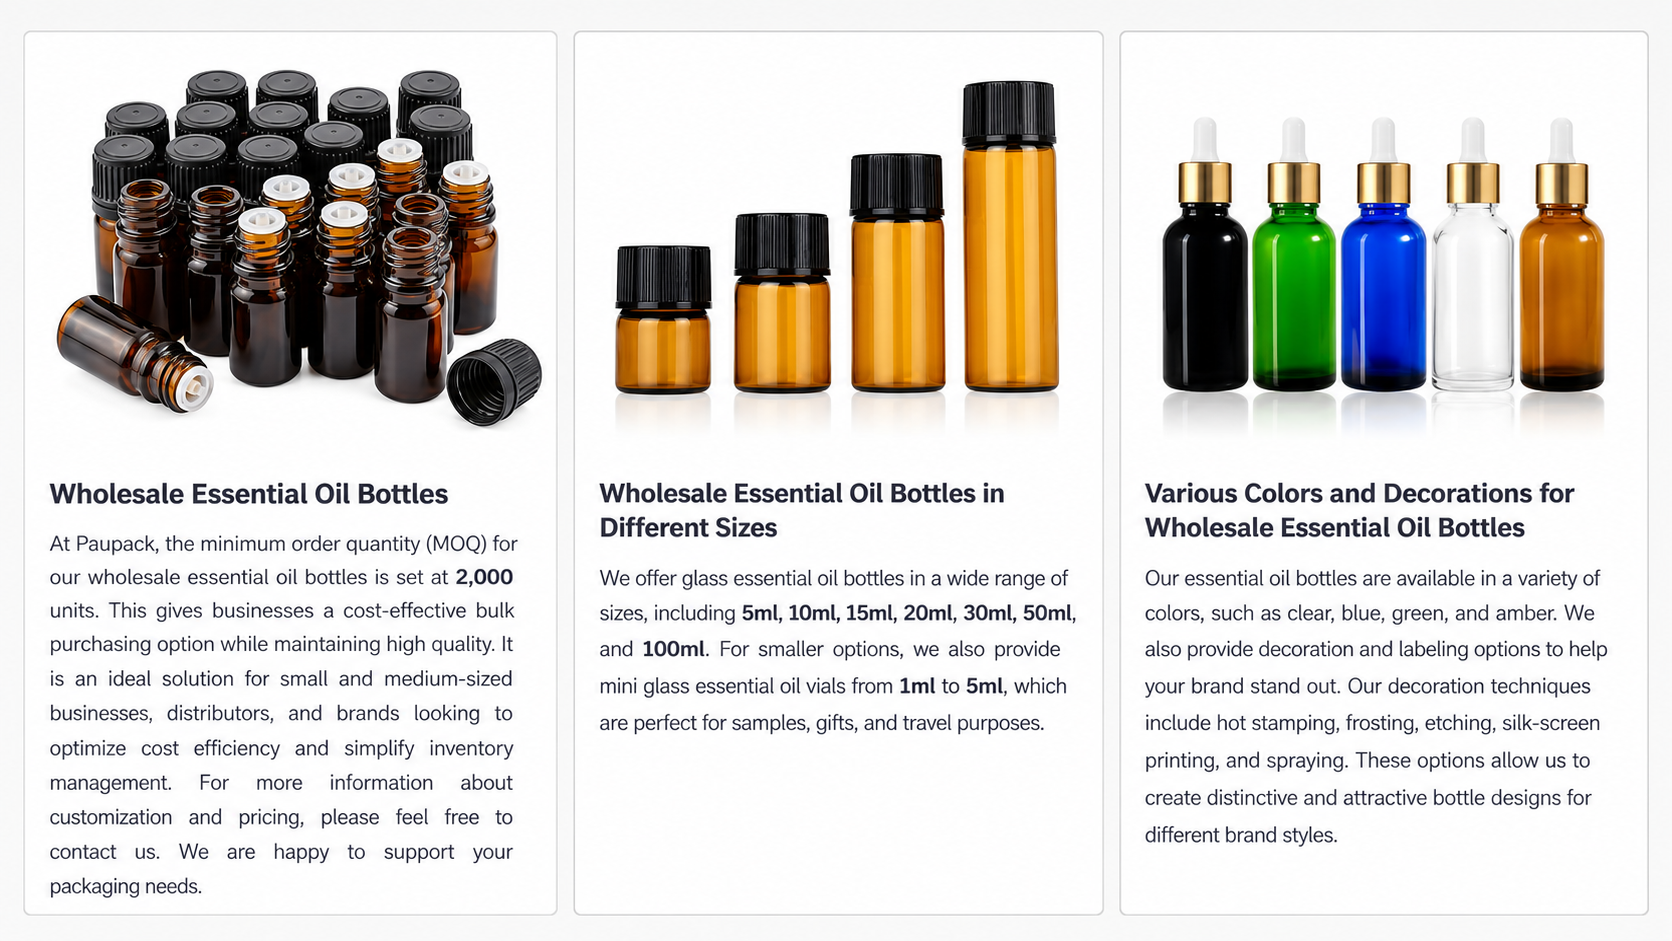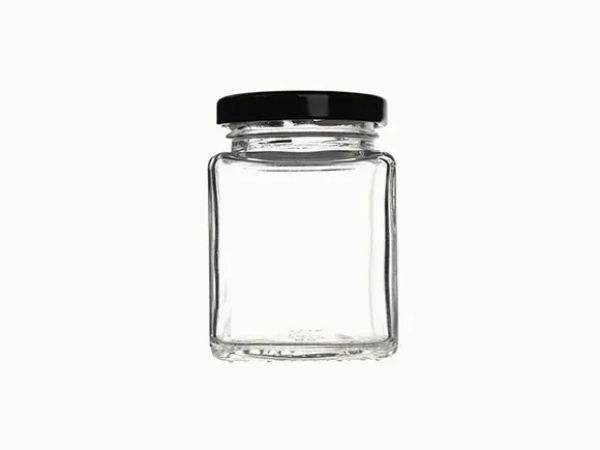


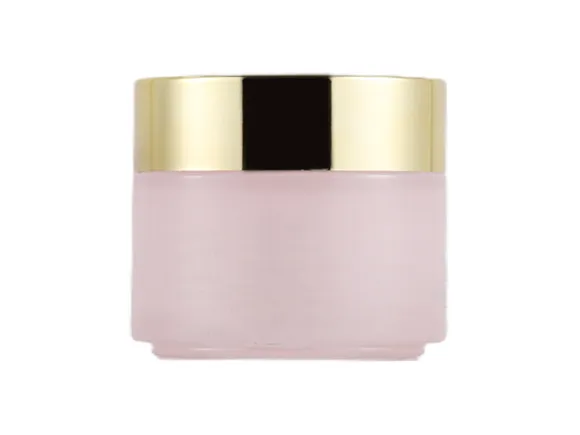
A bottle inspection checklist is most useful when it helps a receiving operator make a decision in the time available at the dock. It should identify the exact bottle and closure, show what to sample, describe what a defect looks like, and state who can release or quarantine the lot. PauPack builds the checklist around the physical pack rather than a generic quality slogan, so purchasing, quality and production teams use the same reference.
Start With the Decision at Receiving
Write the decision before listing inspection points: accept, hold, rework, return or request a deviation. Then name the lot, purchase order, article code, drawing revision, case count and sampling owner. A bottle inspection checklist that begins with an outcome keeps the dock team from collecting photographs without knowing what happens next. PauPack connects the receiving decision to the current specification and escalation path.
Lock Identity Before Appearance
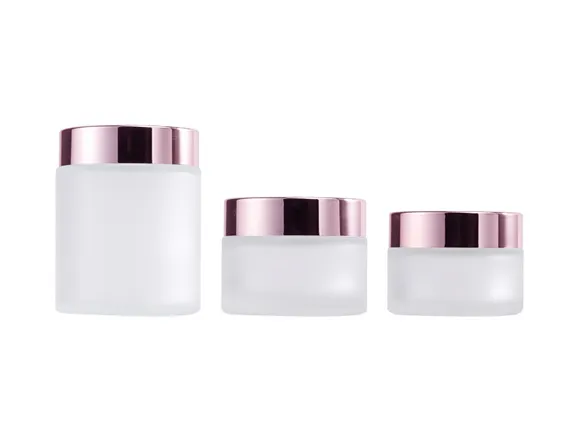
Record bottle code, glass or plastic family, nominal capacity, finish, closure, liner, decoration, lot and supplier. Photograph the case label and one representative unit before unpacking the full sample. If the code or revision does not match the order, stop the visual comparison. PauPack treats identity as the first gate because a beautiful unit from the wrong drawing is still a nonconforming delivery.
Use Three Inspection Lenses
Separate the inspection into identity, function and appearance. Identity confirms the right components. Function checks fit, containment, actuation or filling behavior. Appearance covers scratches, seeds, stones, blisters, print, coating, color and contamination. The three-lens layout keeps a cosmetic observation from hiding a closure risk, and it gives the bottle inspection checklist a repeatable rhythm across shifts.
Dimensions That Actually Affect the Line
Choose dimensions that influence filling, capping, labeling, packing or shelf stability: height, diameter, neck finish, thread, wall variation, base flatness, shoulder clearance and closure seating. Define the tool, measurement location, temperature assumption and tolerance. Do not fill a form with every drawing dimension if the dock cannot verify it. PauPack helps teams mark critical-to-function dimensions separately from reference dimensions.
The Sampling Grid
| Gate | What to sample | Record |
|---|---|---|
| Case identity | Outer label and packing count | PO, lot, case and revision |
| Visual | Units from top, middle and bottom cases | Defect class and location |
| Dimension | Units across the lot | Tool, value and tolerance |
| Function | Filled or assembled units | Fit, leak, torque or actuation result |
| Disposition | Accepted and held units | Owner, date and next action |
Make Defect Language Concrete
Replace “bad finish” with a phrase such as “continuous chip across the sealing land” or “thread start prevents full closure seating.” Show a reference photograph only when the image is linked to a defect number and revision. PauPack writes the bottle inspection checklist so different reviewers can describe the same observation without turning every difference into a dispute.
Inspect the Finish as a System
Check neck finish, thread, bead, stopper seat, liner contact, cap engagement and seal placement together. A bottle may pass a dimensional check while the assembled closure rocks, bottoms out or leaves a leak path. Use the intended cap, liner and application method for functional samples. PauPack keeps component identity with the assembly record, which makes a later supplier question easier to answer.
Separate Cosmetic Zones
Mark the label panel, front display zone, shoulder, sidewall, base and hidden packing zones. A tiny mark in a hidden zone may be acceptable while the same mark in the brand-facing panel is not. Record lighting, viewing distance and rotation speed. A visual standard becomes useful when the team can reproduce the viewing condition instead of arguing from memory.
Test What the Customer Will Do
For pump bottles, press, prime and observe the first and last dose. For perfume, assemble the sprayer and check crimp, spray pattern and leakage. For food jars, fill, close, invert where appropriate and inspect the seal. For diffuser vessels, check stopper and reed fit. PauPack adapts the bottle inspection checklist to the user's route, not only to an empty component on a table.
Check Packing Before Blaming the Bottle
Open cases from different pallet positions. Inspect dividers, sleeves, caps, labels and contact points for compression or rubbing. Note whether a mark appears before or after unpacking. A case that lets bottles move can create a complaint that looks like a glass defect. PauPack records the case pattern, orientation and count so corrective action can address the packaging route.
Build a Hold-and-Release Path
Define a colored status or electronic field for accepted, held, rejected and conditionally released material. A hold tag should carry lot, case, quantity, reason, owner and expiry date. Do not allow a replacement unit to lose its original identity. PauPack links the hold record to the purchase order and deviation file, reducing the risk that a temporary decision becomes permanent stock.
Review Supplier Responses With Evidence
When a lot fails, request the supplier's lot trace, inspection record, packing photographs, process change history and proposed containment. Compare the answer with the physical evidence. A polished apology is not a root cause. PauPack can place the response beside the bottle inspection checklist record, making it easier for purchasing and quality to decide whether to accept, sort, replace or reopen qualification.
Version the Checklist Like a Drawing
Give the checklist a number, revision, effective date, owner and linked specification. Retire old copies at receiving, filling and inspection stations. If the closure or decoration changes, highlight the affected rows and retrain the people who use them. PauPack treats a checklist as a controlled work instruction, not a spreadsheet that can be edited silently.
Use a Post-Lot Review
After release, record defects per lot, line interruptions, false rejects, response time, replacement speed and document completeness. Look for patterns by supplier, case position, finish or decoration. Remove checks that never influence a decision and strengthen checks that catch repeat complaints. PauPack uses the review to tune the next sampling plan and keep the checklist focused.
Keep the Customer Promise Specific
Sales and customer service should know the approved appearance, normal variation and escalation route. They should not promise that a visual approval covers a new formula, closure or transport condition. PauPack connects the quality process with the bottle manufacturing workflow so the external promise follows the controlled specification.
Ask PauPack for a Ready-to-Use Sheet
Send the bottle drawing, closure system, filled product, label zones, forecast, markets, packing route and known issues. PauPack can turn those inputs into a bottle inspection checklist with identity fields, sampling logic, functional checks, defect language, hold rules and a clear release owner.
Make the Record Usable on a Busy Dock
A form succeeds when a second-shift operator can use it without calling the original buyer. Put the lot number, sample quantity, reference revision and escalation contact in the first view. Use a short defect code beside the plain-language description, then leave enough space for a measurement, photograph ID and disposition. The reviewer should be able to circle a status, sign it and hand the held case to the next owner. PauPack recommends a printed fallback even when the main record is digital, because receiving work can continue during a network or device interruption.
Close the loop by comparing the dock record with the supplier's certificate, retained sample and packing images. Differences are useful signals: they may reveal a changed mold, a mixed lot, a new decoration setting or a packing issue that began after production. Store the evidence under one lot folder and link it to the purchase order. For food and beverage packaging, teams can review the FDA's current food-contact packaging guidance when defining documentation expectations. This makes the inspection decision easier to defend months later.
Frequently Asked Questions
What belongs on a bottle inspection checklist?
Include identity, dimensions, finish, appearance, closure fit, functional tests, packing, sampling and disposition fields.
Should every defect be treated as critical?
No. Classify critical, major and minor observations against the product risk and the approved specification.
How do receiving teams use the checklist?
They compare the delivered lot with the current reference, record samples, isolate suspect units and escalate exceptions.
Can photographs replace measurements?
Photographs preserve visual evidence, but dimensional and functional characteristics still need suitable measurements.
What is a golden sample?
It is an identified approved reference showing the configuration, finish and appearance that the lot must match.
How often should a checklist change?
Update it when the drawing, closure, supplier, process, market or inspection method changes.
Why inspect the case pack?
Case orientation, dividers and compression can create damage even when individual bottles look acceptable.
What should happen after a failed check?
Quarantine the lot, preserve evidence, record the decision owner and investigate before release or rework.
Can PauPack adapt a checklist to a new bottle?
Yes. PauPack can map the bottle, closure, decoration, sampling and packing references into a practical receiving sheet.
What should a buyer send PauPack?
Send the drawing, filled product, closure route, forecast, market, packing objective and known defect concerns.