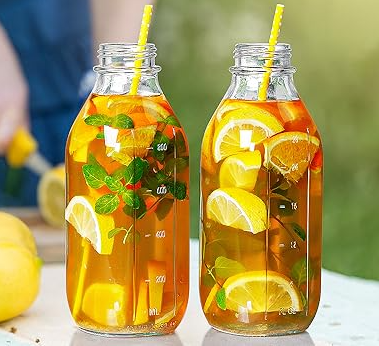
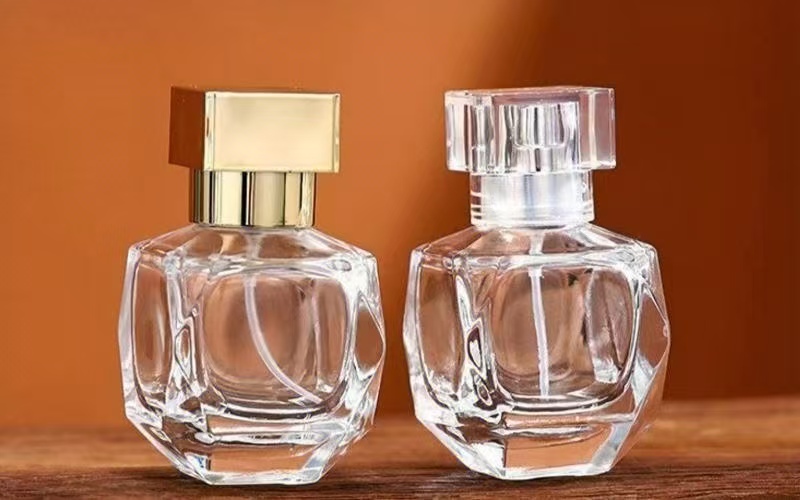
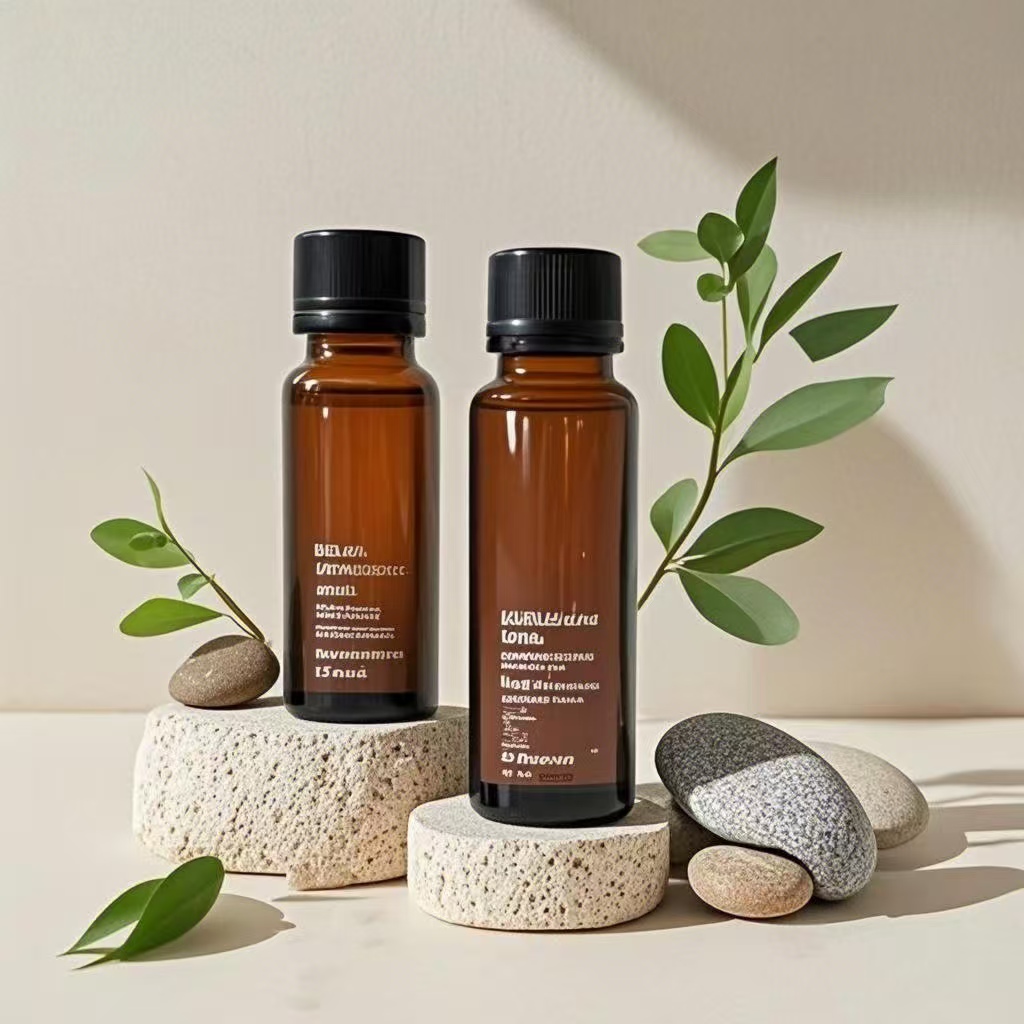
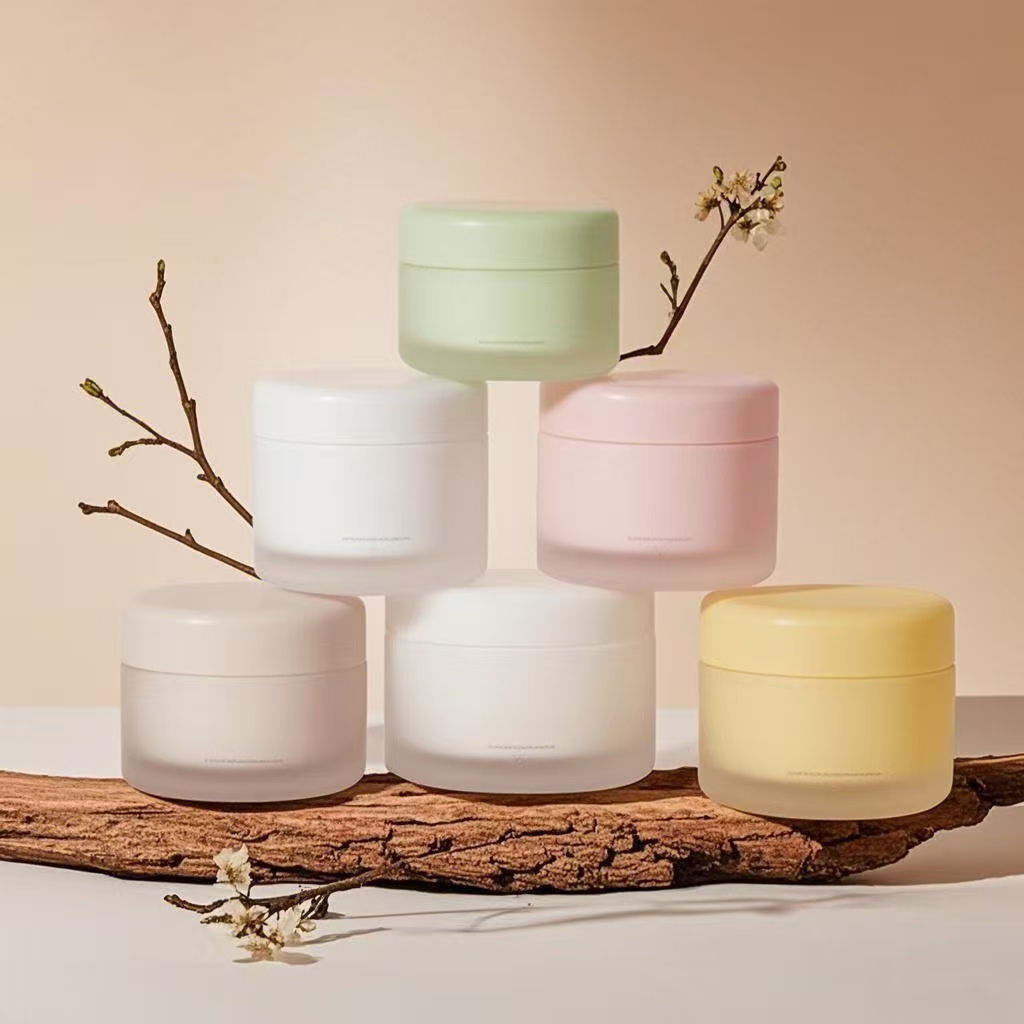
Sterilizing glass jars is a crucial step for anyone involved in food preservation, cosmetic making, or even craft storage. Whether you are canning homemade jams, pickling vegetables, or preparing skincare products, ensuring your glass jars are properly sterilized is essential for safety, quality, and longevity. At Paupacking, we specialize in premiumGlass Jarsthat meet the highest standards of durability and style, making them ideal for all your storage needs.
In this comprehensive guide, we will walk you through why sterilization matters, how to prepare your jars, detailed sterilization methods, tips for handling and maintaining your jars, and why Paupacking’sGlass Jarsare your best choice. By the end, you will be equipped with all the knowledge needed to confidently sterilize your jars and keep your products safe and fresh.

Why Is Sterilizing Glass Jars Important?
Sterilization is the process of eliminating all forms of microbial life, including bacteria, viruses, fungi, and spores, from a surface or container. When it comes to glass jars, sterilization is vital for several reasons:
1. Preventing Food Spoilage and Contamination
When preserving foods like jams, jellies, pickles, or sauces, any residual microorganisms inside the jar can multiply and spoil the contents. This not only ruins your hard work but can also pose serious health risks. Proper sterilization kills these microbes, significantly reducing the chance of spoilage and extending shelf life.
2. Ensuring Food Safety
Improperly sterilized jars can harbor harmful bacteria such as Clostridium botulinum, which causes botulism—a potentially fatal illness. Sterilizing jars before filling them with hot preserves or canned goods is a critical food safety step recognized by food safety authorities worldwide.
3. Maintaining Product Quality
Sterilized jars help maintain the flavor, color, and texture of your preserved goods. Microbial activity can cause off-flavors, discoloration, and texture degradation. Sterilization preserves the integrity of your products, ensuring they taste and look as intended.
4. Reusability and Sustainability
Sterilizing glass jars properly allows them to be reused safely multiple times, reducing waste and supporting sustainable living. Paupacking’s high-qualityGlass Jarsare designed for repeated use, making them an eco-friendly choice for your storage needs.
5. Versatility Across Applications
Beyond food preservation, sterilized glass jars are essential for cosmetics, herbal tinctures, essential oils, and craft supplies. Sterility ensures that your homemade lotions, creams, or herbal infusions remain uncontaminated and effective.

Preparing Your Glass Jars for Sterilization
Before sterilizing, thorough cleaning and preparation of your jars are necessary. This step removes dirt, grease, and residues that can interfere with sterilization and contaminate your contents.
Step 1: Removing Labels and Adhesive Residue
If your jars are reused and still have labels, soak them in warm, soapy water for 20-30 minutes. This softens the adhesive, making it easier to peel off labels. Use a sponge or plastic scraper to gently remove any remaining glue. For stubborn residue, a mixture of baking soda and cooking oil or commercial adhesive removers can help. Be sure to rinse thoroughly afterward.
Step 2: Washing the Jars
Wash the jars inside and out with hot water and dish soap. Use a bottle brush to reach the bottom and sides, especially if the jars have narrow necks. This removes any dust, oils, or particles that could harbor bacteria.
Step 3: Inspecting for Damage
Carefully examine each jar for cracks, chips, or imperfections. Damaged jars can break during sterilization or compromise the seal, leading to contamination. Discard any jars with visible damage.
Step 4: Keeping Jars Wet Before Sterilization
For boiling or oven sterilization methods, keeping jars wet helps prevent thermal shock, which can cause the glass to crack or shatter when exposed to heat. After washing, leave the jars wet or fill them with water until you are ready to sterilize.
Step 5: Preparing Lids and Seals
Jar lids and sealing rings require special care. Metal lids with sealing compounds should not be boiled vigorously as this can degrade the seal. Instead, soak lids in hot (not boiling) water to sanitize. Rubber seals should be washed and inspected for wear and replaced if necessary.
Detailed Methods to Sterilize Glass Jars
There are several effective ways to sterilize glass jars, each with its own advantages and considerations. Below, we explore these methods in detail.

1. Boiling Water Method: The Classic and Most Reliable
The boiling water method is the gold standard for sterilizing glass jars, especially for home canning. It is simple, effective, and USDA-approved for food safety.
How to Boil Sterilize Jars
-
Place a rack or a folded kitchen towel in the bottom of a large pot or canner to prevent jars from touching the base directly.
-
Arrange the clean, wet jars upright on the rack.
-
Fill the pot with hot water until jars are submerged by at least 1 inch.
-
Cover the pot and bring the water to a rolling boil.
-
Boil the jars for 10 minutes. If you live at an altitude above 1,000 feet, add 1 minute of boiling time for every additional 1,000 feet.
-
Use a jar lifter or tongs to carefully remove the hot jars without touching the insides.
-
Place jars upside down on a clean towel or drying rack to drain and air dry.
-
Fill jars immediately while still hot to avoid contamination.
Why This Method Works Well
Boiling water reaches 212°F (100°C), which is sufficient to kill most bacteria, yeasts, and molds. The prolonged exposure ensures even heat penetration into the jar interiors. This method is especially suited for all types of PaupackingGlass Jars, whether clear, frosted, or amber.
Tips for Success
-
Always use a pot large enough to fully submerge jars.
-
Avoid overcrowding jars to ensure even heat distribution.
-
Keep lids and seals separate and sanitize them with hot water.
-
Use clean utensils and gloves to handle sterilized jars.
2. Oven Sterilization: Convenient for Dry Sterilization
Oven sterilization is an excellent choice when you want dry heat sterilization without using water. This method is quick and energy-efficient but is not suitable for jars with rubber seals or metal lids, which can be damaged by dry heat.
How to Oven Sterilize Jars
-
Preheat your oven to 275°F (135°C).
-
Wash jars thoroughly and keep them wet.
-
Place jars upside down on a baking tray or directly on the oven rack.
-
Heat the jars for 20 minutes.
-
Turn off the oven and allow jars to cool inside or remove carefully with oven mitts.
-
Use jars immediately or keep them covered until use.
Advantages of Oven Sterilization
-
No water required, so no mess or drying time.
-
Ideal for sterilizing large quantities of jars quickly.
-
Dry heat can penetrate and sterilize even the jar neck and threads.
Limitations
-
Not recommended for jars with rubber or plastic components.
-
Risk of thermal shock if jars are dry before heating.
-
Metal lids and seals must be sterilized separately.
3. Microwave Sterilization: Fast and Efficient for Small Batches
Microwave sterilization is a quick method suitable for small batches of regular glass jars without metal parts. It uses microwave energy to generate steam inside the wet jar, killing microbes rapidly.
How to Microwave Sterilize Jars
-
Wash jars thoroughly and rinse well.
-
Leave jars wet inside and out.
-
Place jars one at a time in the microwave.
-
Heat on high for 30 to 45 seconds, depending on jar size.
-
Carefully remove the hot jars using oven mitts.
-
Let jars air dry or fill immediately.
Benefits of Microwave Sterilization
-
Extremely fast compared to boiling or oven methods.
-
Uses minimal water and energy.
-
Convenient for quick sterilization in small kitchens.
Precautions
-
Do not microwave jars with metal lids or clips.
-
Avoid overheating to prevent glass breakage.
-
Use microwave-safe jars only.
4. Dishwasher Sterilization: Hands-Off and Convenient
Modern dishwashers often come with a sanitize cycle that reaches high temperatures capable of sterilizing glass jars. This method is convenient and combines cleaning with sterilization.
How to Sterilize Jars in a Dishwasher
-
Place clean jars on the top rack of the dishwasher.
-
Use a high-temperature sanitize or steam cycle.
-
Avoid placing lids in the dishwasher as they may be damaged.
-
Remove jars immediately after the cycle ends to prevent recontamination.
-
Use jars while still warm.
Pros and Cons
-
Pros: Minimal effort, simultaneous cleaning and sterilizing, good for large batches.
-
Cons: Uses more water and electricity, timing must align with filling process, lids require separate treatment.
5. Vinegar Sterilization: Natural and Chemical-Free Option
Distilled white vinegar is a natural antimicrobial agent that can enhance sterilization when combined with heat.
How to Use Vinegar for Sterilization
-
Fill one-third of the jar with distilled white vinegar.
-
Add hot water to fill the jar.
-
Let the mixture sit for 10 minutes.
-
Pour out the solution and rinse jars thoroughly 2-3 times with hot water to remove vinegar odor.
-
Air dry or fill immediately.
Advantages
-
Chemical-free and environmentally friendly.
-
Enhances microbial kill rate when used with heat.
-
Safe for all types of glass jars.
Drawbacks
-
Requires thorough rinsing to avoid vinegar smell in contents.
-
Not sufficient alone for complete sterilization; best used as a supplement.
Additional Tips for Sterilizing and Handling Glass Jars
Proper sterilization is not just about the method but also about how you handle and store jars before and after sterilization.
Timing Is Everything
Sterilize jars immediately before filling them. The longer sterilized jars sit exposed, the higher the chance of airborne contamination. Ideally, fill jars while they are still warm to maintain sterility and reduce thermal shock.
Handling Sterilized Jars Safely
Use clean tongs, jar lifters, or gloves to handle sterilized jars. Avoid touching the inside or rim to prevent reintroducing bacteria. Place sterilized jars on a clean, sanitized surface.
Sterilizing Lids and Seals
Do not boil metal lids as this can damage the sealing compound. Instead, soak lids in hot (not boiling) water for 10 minutes. Rubber seals should be washed gently and inspected for cracks or wear. Replace seals regularly to ensure airtight closures.
Avoid Thermal Shock
Glass jars can crack if exposed to sudden temperature changes. Keep jars wet before heating and fill them with hot contents immediately after sterilization. Avoid placing hot jars on cold surfaces.
Storage of Sterilized Jars
If you must store sterilized jars before use, keep them covered with a clean towel or inverted on a sanitized surface. Do not seal jars until filled and cooled.
Caring for Your Paupacking Glass Jars
Paupacking’sGlass Jarsare crafted with premium materials designed for repeated sterilization and long-term use. To maximize their lifespan and maintain their aesthetic appeal, follow these care tips:
Cleaning After Use
Clean jars promptly after emptying to prevent stains and residue buildup. Use warm, soapy water and a soft sponge. Avoid abrasive pads or harsh chemicals that can scratch or weaken the glass.
Avoiding Damage
Handle jars carefully to prevent chips or cracks. Store jars in a padded or organized manner to avoid collisions. Inspect jars before each use.
Proper Storage
Store empty jars in a cool, dry place away from direct sunlight to prevent discoloration. Keep lids and seals separately in a clean container.
Labeling and Organization
Label your jars clearly with contents and date to keep track of storage times. Paupacking offers a variety of jar sizes and styles to suit different needs, making organization easy.
Why Choose Paupacking for Your Glass Jars?
At Paupacking, we understand the importance of quality and safety in glass storage. OurGlass Jarsare designed with precision, combining functionality with elegant design. Here’s why Paupacking stands out:
-
High-Quality Materials:Durable, thick glass that withstands repeated sterilization and temperature changes.
-
Variety of Styles:Clear, amber, frosted, and colored jars to suit food, cosmetic, or craft applications.
-
Eco-Friendly:Reusable and recyclable jars that support sustainable living.
-
Customizable Options:Various sizes and lid types available to meet your specific needs.
-
Trusted Supplier:Reliable customer service and fast shipping to support your projects.
Explore our full range ofGlass Jarsand experience the Paupacking difference today.

Summary Table of Sterilization Methods
| Method | Process Time | Suitable For | Pros | Cons |
|---|---|---|---|---|
| Boiling Water | 10-15 minutes | All glass jars | USDA-approved, highly effective | Requires large pot and water |
| Oven | 20 minutes | Dry sterilization, no metal lids | Quick, dry method | Not for jars with rubber seals |
| Microwave | 30-45 seconds | Regular glass jars, no metal | Fast and convenient | Not for metal lids or clips |
| Dishwasher | Cycle length varies | Jars with sanitize cycle | Hands-off, simultaneous cleaning | Water-intensive, timing critical |
| Vinegar | 10 minutes + rinses | Natural sterilization | Chemical-free, enhances kill rate | Requires thorough rinsing |
Final Thoughts
Sterilizing your glass jars is an indispensable step in ensuring the safety, quality, and longevity of your preserved foods, cosmetics, or other stored items. By understanding the various sterilization methods and following best practices, you can confidently prepare your jars for any project.
Paupacking’s premiumGlass Jarsprovide the perfect vessel for your needs, combining durability, style, and sustainability. Whether you prefer boiling, oven, microwave, dishwasher, or natural vinegar sterilization, our jars are designed to withstand it all.
Invest in quality, practice proper sterilization, and enjoy the peace of mind that comes with safe, beautiful storage solutions. Visit Paupacking today to browse our extensive collection and start your next project with confidence!


