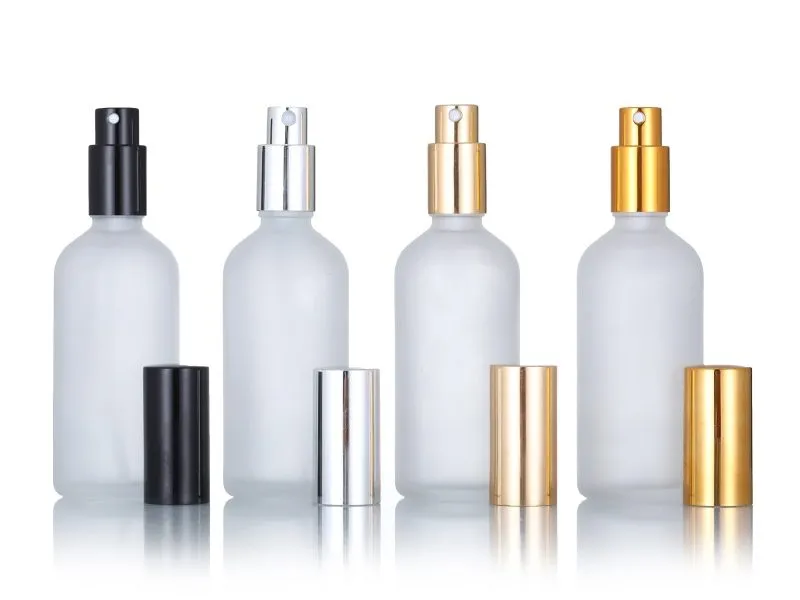
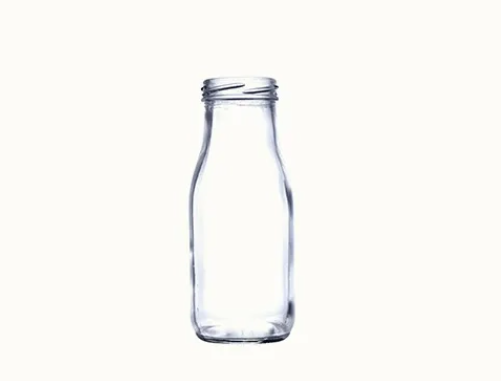
Sterilizing glass milk bottles is a critical step in ensuring the safety, hygiene, and longevity of your milk or dairy products. Whether you are a parent preparing milk for your baby, a dairy producer, or a consumer who values clean and safe packaging, understanding how to properly sterilize your glass milk bottles is essential. At Paupacking, we pride ourselves on offering premium-qualityGlass Milk Bottlesdesigned for ease of use, durability, and safety. This detailed guide will walk you through every aspect of sterilizing glass milk bottles, from why it’s necessary to the best methods and tips for maintenance.

Why Sterilize a Glass Milk Bottle?
The Importance of Sterilization
Sterilization is the process of eliminating all forms of microbial life, including bacteria, viruses, fungi, and spores, from an object or surface. When it comes to glass milk bottles, sterilization is particularly important because milk is a highly perishable product that can easily become contaminated. Even a tiny amount of bacteria can multiply rapidly in milk, leading to spoilage and potential health risks such as foodborne illnesses.
Milk bottles, especially those used for infants, must be sterilized to prevent infections caused by harmful bacteria likeE. coli,Salmonella, andListeria. These bacteria can enter the bottle through improper cleaning or storage, making sterilization a non-negotiable step.
Beyond Cleanliness: Sterilization vs. Cleaning
It’s important to distinguish between cleaning and sterilizing. Cleaning removes visible dirt and milk residue, but it does not necessarily kill all microorganisms. Sterilization goes a step further by killing or inactivating all pathogens, ensuring the bottle is completely safe for use.
Even if yourGlass Milk Bottlelooks spotless, invisible microorganisms can linger and contaminate the milk. This is why sterilization is essential before first use and after every use.
Environmental and Health Benefits
Using glass bottles, like those from Paupacking, is an eco-friendly choice. Glass is reusable, recyclable, and free from harmful chemicals like BPA found in some plastics. Proper sterilization extends the life of your glass bottles, reducing waste and promoting sustainability.
Different Methods to Sterilize a Glass Milk Bottle
There are several effective methods to sterilize glass milk bottles. Each method has its advantages and may suit different lifestyles or requirements.

1. Boiling Water Method
The boiling water method is the most traditional and widely used sterilization technique. It is simple, effective, and requires minimal equipment.
Detailed Procedure:
-
Step 1: Disassemble the Bottle
Begin by taking apart the bottle completely. Remove the lid, nipple, and any other detachable parts. This ensures every component is sterilized thoroughly. -
Step 2: Clean with Soap and Water
Wash all parts with warm water and a mild dish soap. Use a bottle brush to scrub inside the bottle and nipple to remove milk residue and dirt. Rinse thoroughly to remove all soap. -
Step 3: Prepare Boiling Water
Fill a large pot with enough water to fully submerge all components of the bottle. Place the pot on the stove and bring the water to a rolling boil. -
Step 4: Submerge and Boil
Carefully place the bottle parts into the boiling water using tongs. Make sure the water covers all parts completely. Boil for at least 10 minutes to ensure all bacteria and spores are killed. -
Step 5: Remove and Dry
Using sterilized tongs, remove the bottle parts from the water and place them on a clean, dry towel or drying rack. Allow them to air dry completely before reassembling.
Advantages of Boiling Method:
-
No special equipment needed beyond a pot and stove.
-
Highly effective at killing bacteria and spores.
-
Suitable for all types of glass bottles, including Paupacking’sGlass Milk Bottles.
Considerations:
-
Be cautious when handling boiling water to avoid burns.
-
Repeated boiling may cause wear on some bottle components over time, so inspect for damage regularly.

2. Steam Sterilization
Steam sterilization is a modern, convenient method that uses high-temperature steam to kill microorganisms. It is widely used in hospitals and homes due to its efficiency and safety.
Types of Steam Sterilizers:
-
Electric Steam Sterilizers:These are standalone devices that generate steam and hold bottles in a chamber for sterilization.
-
Microwave Steam Sterilizers:Simple plastic containers designed to produce steam when heated in a microwave oven.
How to Use an Electric Steam Sterilizer:
-
Step 1:Clean the bottle parts thoroughly with soap and water.
-
Step 2:Place the disassembled bottle components inside the sterilizer.
-
Step 3:Add the recommended amount of water to the sterilizer base.
-
Step 4:Turn on the sterilizer and allow it to run its cycle, usually lasting 6-15 minutes.
-
Step 5:Once complete, remove the sterilized parts using clean hands or sterilized tongs.
How to Use a Microwave Steam Sterilizer:
-
Step 1:Wash the bottle parts as usual.
-
Step 2:Place the parts inside the microwave sterilizer container.
-
Step 3:Add water according to the instructions.
-
Step 4:Microwave on high for the recommended time (usually 2-6 minutes).
-
Step 5:Let the container cool before opening and removing the sterilized items.
Benefits of Steam Sterilization:
-
Faster and more convenient than boiling.
-
No risk of water boiling over or spills.
-
Preserves the integrity of glass and silicone parts better than boiling.
-
Ideal for frequent sterilization, especially for busy parents or dairy businesses.
Tips:
-
Always follow the manufacturer’s instructions for your specific sterilizer.
-
Use distilled or filtered water to reduce mineral buildup.
-
Regularly clean the sterilizer to maintain efficiency.
3. Chemical Sterilization
Chemical sterilization involves soaking the glass milk bottle and its parts in a sterilizing solution that kills bacteria and viruses.
Common Sterilizing Agents:
-
Sodium hypochlorite (bleach) solutions, diluted to safe levels.
-
Commercial sterilizing tablets or liquids designed for baby bottles and dairy containers.
Procedure:
-
Step 1:Clean all parts thoroughly with soap and water.
-
Step 2:Prepare the sterilizing solution according to the product instructions.
-
Step 3:Submerge all bottle parts completely in the solution.
-
Step 4:Soak for the recommended time, usually 30 minutes.
-
Step 5:Remove the parts and rinse thoroughly with sterile or boiled water to remove chemical residues.
-
Step 6:Air dry on a clean towel or drying rack.
Pros and Cons:
-
Pros:Useful when heat sterilization is not possible; effective against a broad range of microbes.
-
Cons:Requires careful handling and rinsing to avoid chemical ingestion; less environmentally friendly; not always preferred for glass bottles due to the availability of heat sterilization.
Step-by-Step Guide to Sterilizing Your Glass Milk Bottle
To make the process clear and easy to follow, here is a detailed step-by-step guide summarizing all methods:
| Step | Action | Details |
|---|---|---|
| 1 | Disassemble | Separate bottle, lid, nipple, and any other parts to ensure thorough cleaning and sterilization. |
| 2 | Wash | Use warm water and mild soap; scrub with a soft brush to remove all milk residue and dirt. |
| 3 | Rinse | Rinse thoroughly under running water to remove all soap. |
| 4 | Choose sterilization method | Decide between boiling, steam sterilization, or chemical sterilization based on convenience and resources. |
| 5 | Boiling method: Submerge and boil | Fully submerge parts in boiling water for at least 10 minutes to kill bacteria and spores. |
| 6 | Steam sterilization: Follow device use | Use an electric or microwave steam sterilizer according to the manufacturer’s instructions. |
| 7 | Chemical sterilization: Soak and rinse | Soak parts in sterilizing solution for the recommended time, then rinse with sterile water. |
| 8 | Dry | Place parts on a clean towel or drying rack; air dry completely to prevent moisture buildup. |
| 9 | Store | Store sterilized bottles in a clean, covered container to maintain sterility until use. |
| 10 | Reassemble and use | Only reassemble the bottle once all parts are dry and ready to be filled with milk or other beverages. |
Additional Tips for Maintaining Your Glass Milk Bottle
Proper sterilization is just one part of maintaining your glass milk bottle. To ensure longevity and continued safety, follow these tips:
Inspect Regularly
Check yourGlass Milk Bottlefor any chips, cracks, or scratches. Damaged glass can harbor bacteria and pose a safety risk. Replace any bottles that show signs of damage.
Avoid Abrasive Cleaners
Use mild detergents and soft brushes. Avoid abrasive scrubbers or harsh chemicals that can scratch or weaken the glass surface.
Store Properly
After sterilization and drying, store bottles in a clean, dust-free environment. Use covered containers or dedicated storage cabinets to keep them sterile until use.
Use Fresh Milk
Always fill sterilized bottles with fresh milk or beverages. Avoid leaving milk in bottles for extended periods to prevent bacterial growth.
Re-Sterilize if Needed
If the bottle has been unused for several days or stored improperly, re-sterilize before use.
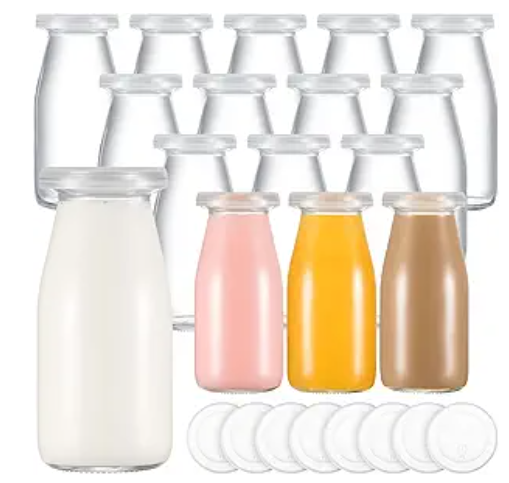
Why Choose Paupacking’s Glass Milk Bottles?
At Paupacking, we understand the importance of hygiene, safety, and sustainability in dairy packaging. OurGlass Milk Bottlesare designed with these principles in mind:
-
Food-Grade Quality:Made from premium, non-toxic glass that is safe for food and beverages.
-
Durability:Resistant to thermal shock and designed to withstand repeated sterilization.
-
Eco-Friendly:Reusable and recyclable, reducing plastic waste and environmental impact.
-
Elegant Design:Stylish and functional, suitable for home use, cafes, and commercial dairy operations.
-
Variety of Sizes:Available in multiple sizes to meet different storage and serving needs.
-
Easy to Clean:Smooth surfaces and wide mouths make cleaning and sterilization easier.
Explore our full range ofGlass Milk Bottlesto find the perfect solution for your dairy packaging needs.
Frequently Asked Questions (FAQs)
Q1: Can I sterilize glass milk bottles in the dishwasher?
Yes, many modern dishwashers have a sanitizing cycle that can sterilize glass bottles. However, it’s important to check that your dishwasher reaches the necessary temperature (usually above 70°C/158°F) and that the bottles are dishwasher-safe. Paupacking’sGlass Milk Bottlesare designed to be dishwasher-friendly, but for complete sterilization, boiling or steam sterilization is recommended.
Q2: How often should I sterilize my glass milk bottles?
Sterilize before the first use and after every use, especially when used for infant feeding. For adult use, sterilizing after each use is still recommended to maintain hygiene.
Q3: Is it safe to reuse glass milk bottles?
Absolutely! Glass bottles are designed for repeated use. Proper cleaning and sterilization ensure they remain safe and hygienic over time.
Q4: Can I sterilize the bottle caps and nipples with the bottle?
Yes, always sterilize all parts that come into contact with milk, including caps, nipples, and seals. These parts can harbor bacteria if not sterilized properly.
Conclusion
Sterilizing your glass milk bottles is an essential practice for anyone who values health, hygiene, and quality in dairy consumption. Whether you opt for the traditional boiling water method, the convenience of steam sterilization, or chemical sterilization, following the correct steps ensures your bottles are safe and ready for use.
At Paupacking, we are committed to providing you with premiumGlass Milk Bottlesthat not only meet but exceed safety and quality standards. Our bottles are designed for easy sterilization, durability, and sustainability, making them the perfect choice for your milk storage needs.
For more information and to browse our extensive collection, visit Paupacking’sGlass Milk Bottlespage today.
Thank you for choosing Paupacking—your trusted partner in safe, sustainable, and stylish dairy packaging.